Stage Tabs
If you are working with a multi-stage model, the Stage Tabs allow you to view and edit the model at each stage. The number of stages is defined in the Project Settings dialog.
The Stage Tabs appear at the lower left of the application window.
To view any stage:
- Click on a Stage Tab with the mouse, OR
- Use the Page Down / Page Up keys to increase/decrease the current viewing stage, OR
- Use the mouse wheel (place the cursor over the stage tabs and rotate the mouse wheel to increase/decrease the viewing stage).
Stage tabs

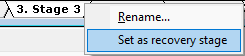
Set as Recovery Stage
When Enable file recovery during analysis is ON, you can set a recovery stage in the Recovery Options section of the Project Settings dialog, or by right-clicking a Stage Tab and selecting Set as recovery stage from the popup menu. Note that:
- This option is available only for eligible stages (i.e., stages that contains recovery data).
- The change is automatically updated in Recovery Options section (Project Settings > Stages
Stage Tab Colour
Groundwater Analysis
If you are performing Transient groundwater analysis, stage tabs will be coloured blue to indicate transient groundwater.

Dynamic Analysis
If you are performing Dynamic analysis, stage tabs will be coloured orange at the selected dynamic stages.

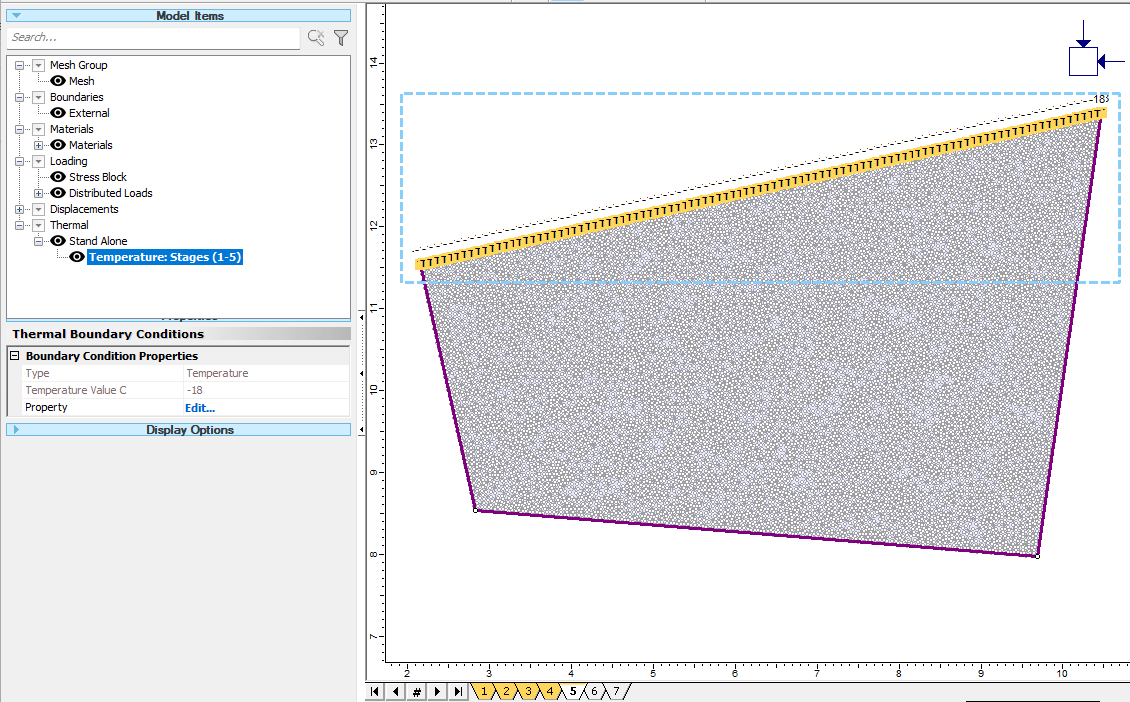
Thermal Analysis
If you are performing Thermal analysis, stage tabs will be coloured yellow accordingly.
Make sure the Thermal workflow tab  is selected. When the thermal boundary condition entity is selected under the Visibility Tree, the stage tabs will be coloured yellow at which the entity exists.
Rename Stages
The stage names can be customized in the Project Settings dialog, or by right-clicking on a Stage Tab and selecting Rename from the popup menu, or by double-clicking on a stage tab.