History Query
Overview
A History Query in RS2 is a user-defined point anywhere on the model, on which the historical data can be interpolated in the RS2 Compute dialog when launching Compute. For a model, RS2 Compute module does not automatically output data for all mesh nodes. The History Query option allows users to specify key location(s) for the development of data change over the simulation. Three types of data are available: displacement, pore pressure, and temperature. A History Query must be added in the modeler after Mesh, and before Compute.
Add History Query
History queries can be specified as individual points within the solid material. Note that History Query can only be added after Mesh. Steps are as followed.
- Select the Add History Query
 option from the Analysis menu.
 - Use the mouse or enter coordinate to locate a query.
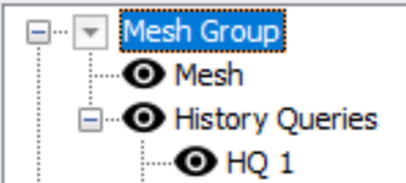
- Use the mouse to enter a point graphically or enter x,y coordinates in the prompt line. Hit Enter or Esc key. A History Query point will be added to the model. The item will be added under the Mesh Group in the Model Items.
- Repeat step 1-3 to add more History Query points.
- After History Query points are defined, the historical data can be viewed in the compute dialog when Compute
 is launched. See View History Query Data section for detail.
Any number of History Query points can be defined. History query points are displayed as light blue circles with label names of “HQ #” (# is the default number) through all tabs and stages in the model. Hover the mouse over the History Query point, and the name and coordinates will display.
Edit History Queries
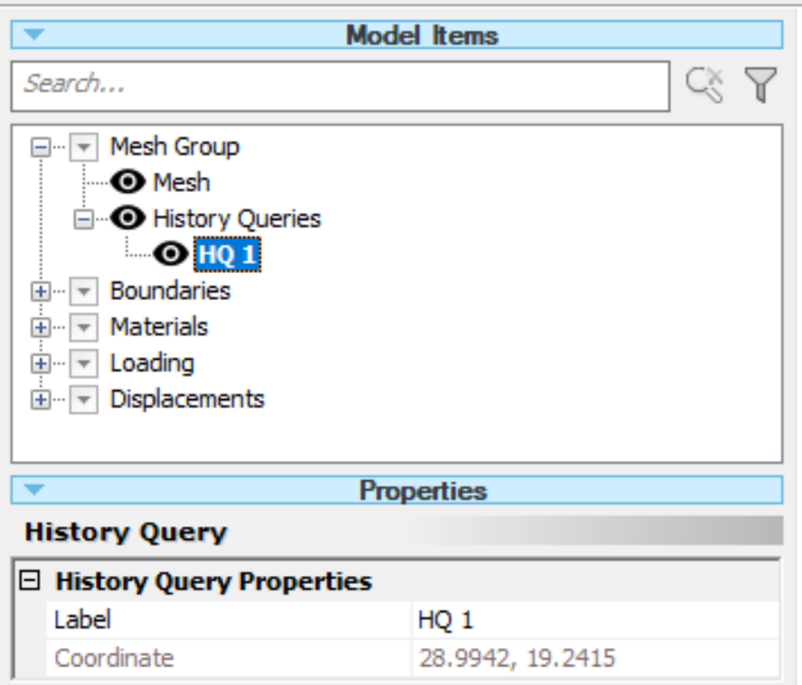
Select the History Query entity under Model Items. The Properties section for History Query will display underneath, users can change the label name.
Delete History Query
To delete History Query point(s), there are two ways.
- Right click on the History Query point in the model and select Delete history query.
- Select the Remove History Query
 option from the Analysis menu. Use the mouse to select one or more History Query point(s), hit the Enter key to complete.
View History Query Data
After a history query point has been created using the Add History Query option, the data generated of the point can be viewed in multiple ways. The history query data include various data types, for the user to observe the data development at a specific location throughout the simulation.
There are the following two ways to view history query data (with details described in the section below).
- To monitor the data change DURING the computation, history query data are presented in the RS2 Compute dialog.
- To view the complete data AFTER the computation, the user can Graph History Query Data from the RS2 Interpret.
View History Query Data in RS2 Compute Dialog
The development of history query data can be viewed under the Current Progress tab in the RS2 Compute dialog during the computation. To view the data, steps should be followed:
- After constructing the model, select Compute from the Analysis menu.
- In the RS2 Compute dialog that pops up, make sure the Current Progress tab is selected.
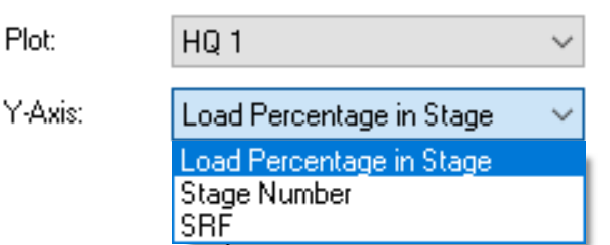
- The History Graphs section sits on the right side of the dialog. Use the dropdown menu for Plot, to select any defined history query.
- Select the Y-axis from one the three options: Load Percentage Stage, Stage Number, and SRF.
- Three types of History Graphs will be presented below: history of displacement vs. y-axis, history of pore pressure change vs. y-axis (when groundwater seepage analysis is enabled), and history of temperature change vs. y-axis (when thermal analysis is enabled).
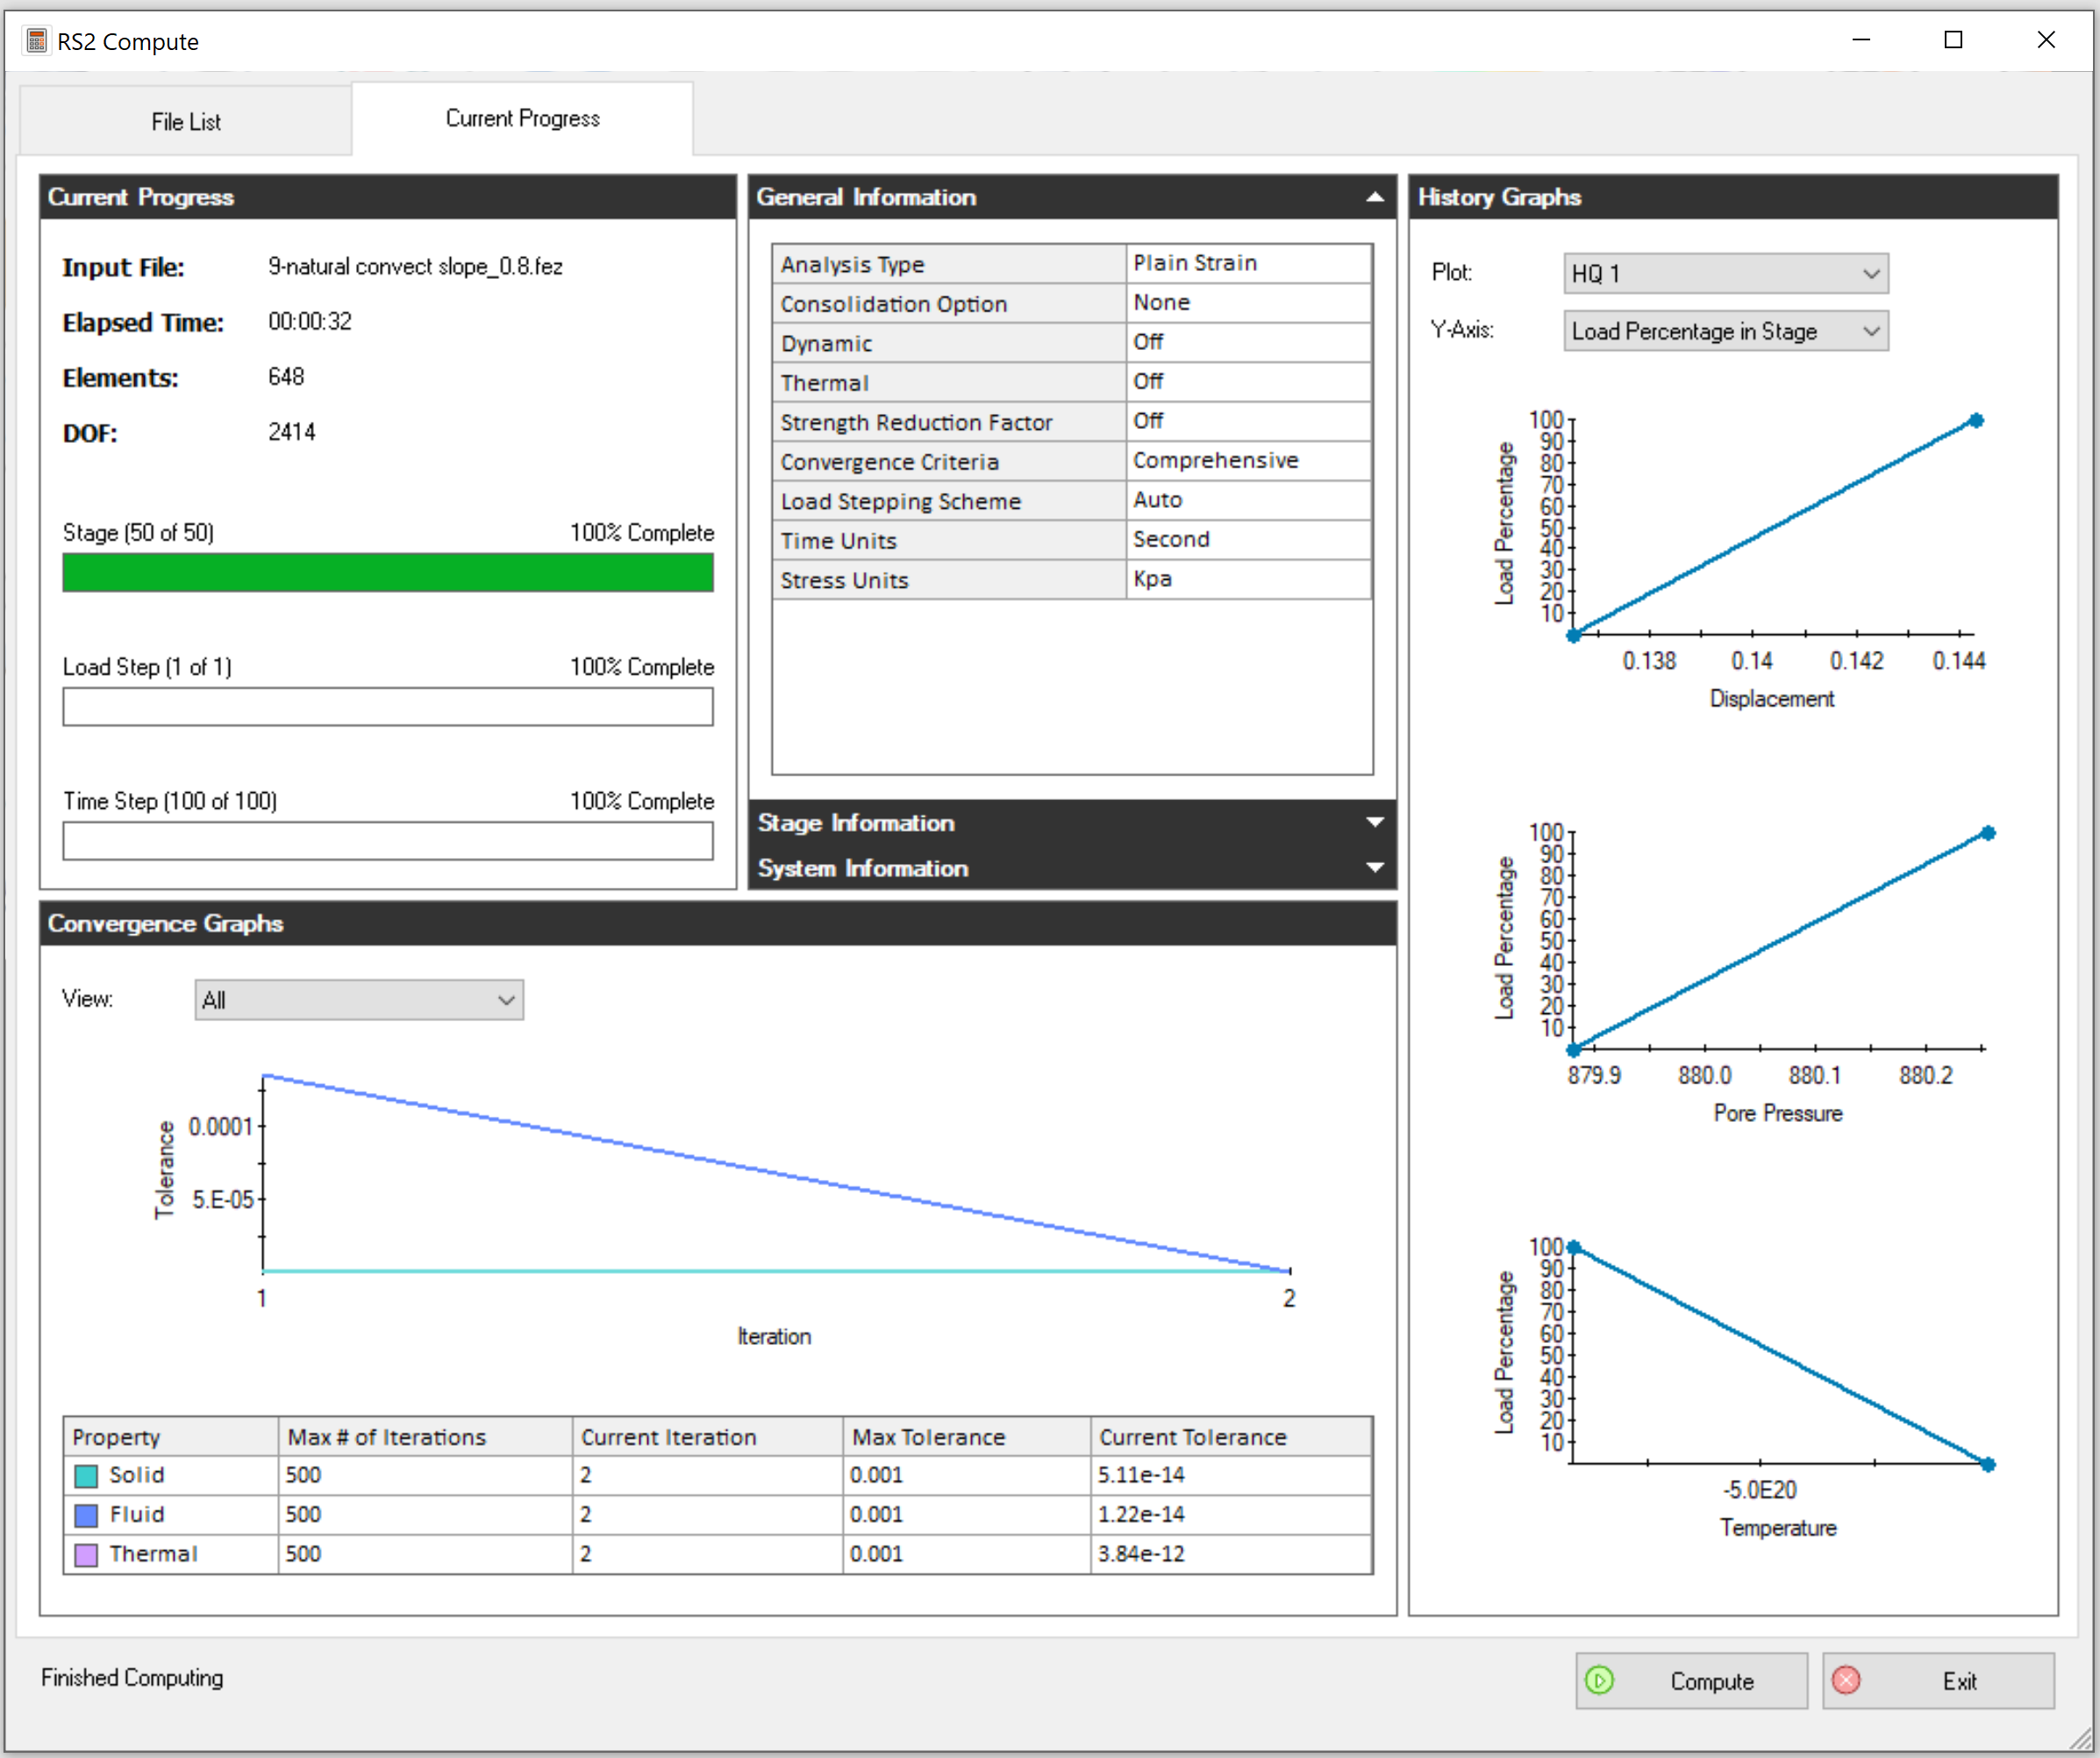
Hint: To set up proper History Graphs, users can use the Pause option anytime during computation.
View History Query Data in RS2 Interpret
After computation, the history query data can be viewed with Graph History Query Data in RS2 Interpret.
The complete data history are outputted after calculation as file outputs of: solid (*.r*), fluid (*.w*), and thermal (*.t*) for the corresponding data types. Note that for SSR, only solid results will be outputted.