Graph Bolt Data
To graph bolt data:
- Select Graph Bolt Data
 from the toolbar or the Graph menu. You will first be prompted to select the bolts to graph (any number of bolts can be graphed on the same plot).
 - You can select individual bolts with the left mouse button, or multiple bolts with a window, or all bolts by using Select All in the right-click menu.
- When you are finished selecting bolts, press Enter, or right-click and select Graph Selected from the popup menu.
- You will then see the Graph Bolt Data dialog, which allows you to select the data type to plot, as well as plotting data from multiple stages on the same plot. You can also choose whether to colour-code the lines according to the bolt type (if you are plotting different bolt types on the same graph), or according to the stage (if you are plotting data from multiple stages).
- When you have made the desired selections in this dialog, select Plot and the graph will be generated in RS2. Alternatively, data may be plotted in Excel or copied to the clipboard, by selecting the Plot in Excel or Copy Data buttons. See the Plot in Excel and Copy Data topics for details.
- If you have both the viewport and the graph windows open side-by-side, click on a data point in the graph, the corresponded node will be highlighted with a red circle in your viewport (see GIF below).
Bolt result data point highlight.
- If you have both the viewport and the graph windows open side-by-side, click on a data point in the graph, the corresponded node will be highlighted with a red circle in your viewport (see GIF below).
If a Probabilistic Analysis has been computed, the statistical bolt data can be plotted using the Graph Statistical Bolt Data option from the Statistics menu. See the Graph Statistical Bolt Data for more details.
Bolt Data Types
In the Graph Bolt Data dialog, the bolt data type can be selected from the list below.
For END ANCHORED or FULLY BONDED bolts:
- Axial Force
- Axial Stress
For PLAIN STRAND bolts or SWELLEX / SPLIT SET bolts:
- Axial Force
- Axial Stress
- Bolt Displacement
- Rock Displacement
- Shear Force
The bolt results (e.g. axial force) apply to an individual bolt (i.e. the out-of-plane bolt spacing is used to determine the force and stress per individual bolt).
Bolt Data Graphs
Note the following about the Bolt Data graphs in RS2:
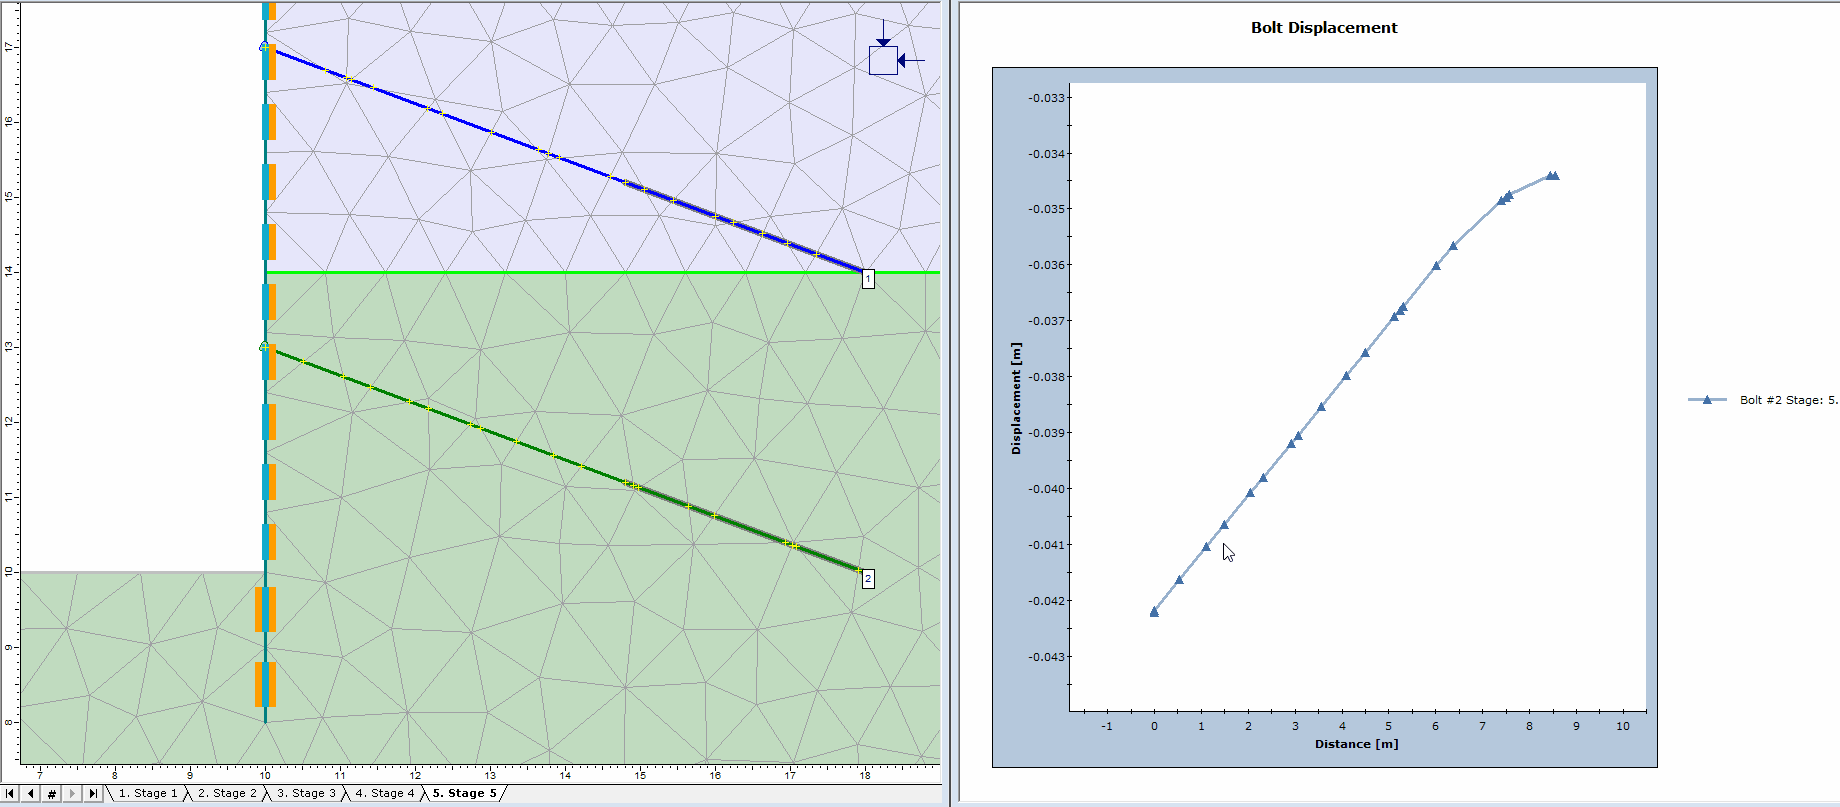
- The DISTANCE axis corresponds to the distance along each bolt.
- The ID numbers on each curve correspond to the bolt ID numbers, which are automatically displayed whenever bolt data is graphed.
- The end of each curve (i.e. the right-most point) corresponds to the location of the bolt ID number on each bolt on the model. This is important, and you should always check which end of a bolt displays the ID number, to make sure you are interpreting the graph correctly.
- After a graph has been generated in RS2, you may customize the graph appearance (axes titles and ranges etc), by right-clicking on the graph and selecting Chart Properties.
Tips
- A shortcut for graphing data for a single bolt, is to right-click ON a bolt, and select Graph Bolt Data from the popup menu. The procedure is then the same as steps 4 and 5 above.
- To turn OFF the display of the ID numbers after graphing, you can right-click on any bolt, and turn off the Bolt Numbers option in the popup menu.
- You may find the Show Values option useful in conjunction with Graph Bolt Data, to display bolt data directly on the model.