Page Setup
RS2 users have the ability to customize aspects of their printouts using the Page Setup option.
In RS2 Modeler or Interpret module select File > Page Setup from the menu.
General
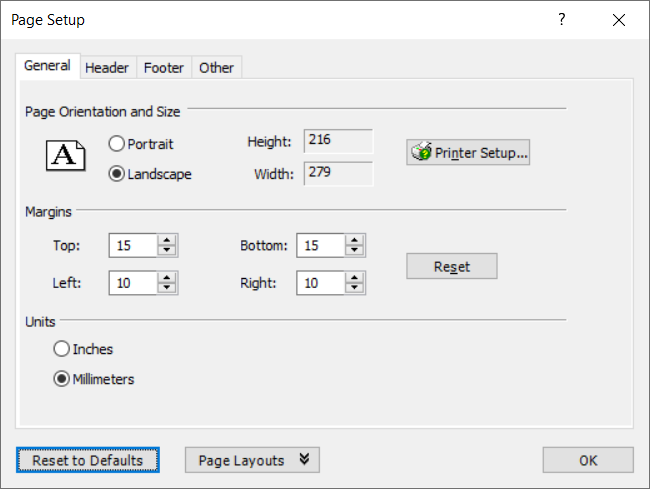
The General tab allows users to select:
- Page Orientation and Size
- Margins
- Units - Inches or Millimeters
Header
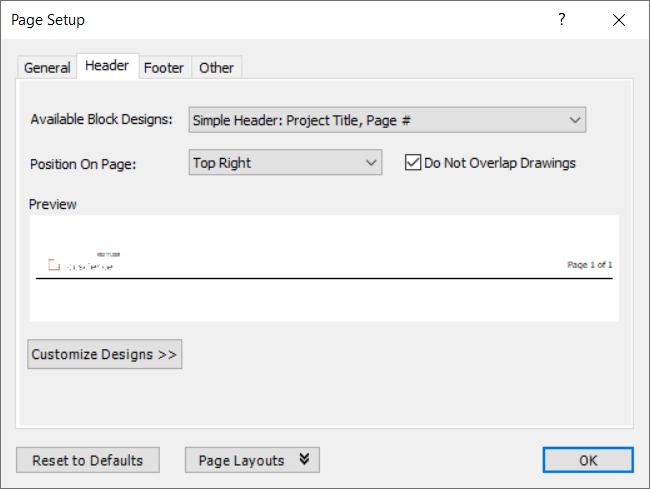
The Header tab allows users to customize the design of their header. User can select a header layout from the Available Block Designs drop down, as well as customize those block designs with their own text and logo using the Customize Design option (see below).
Footer
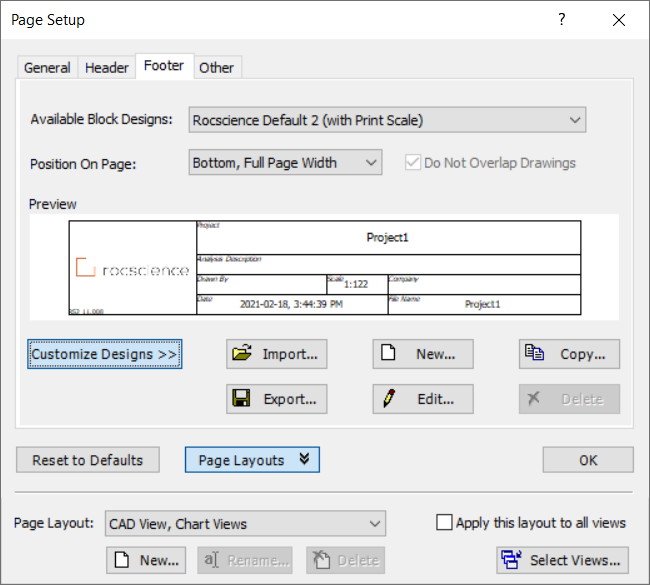
The Footer tab allows users to customize the design of their footer. User can select a footer layout from several the Available Block Designs drop down, as well as customize those block designs with their own text and logo using the Customize Design option (see below).
CUSTOMIZE DESIGNS
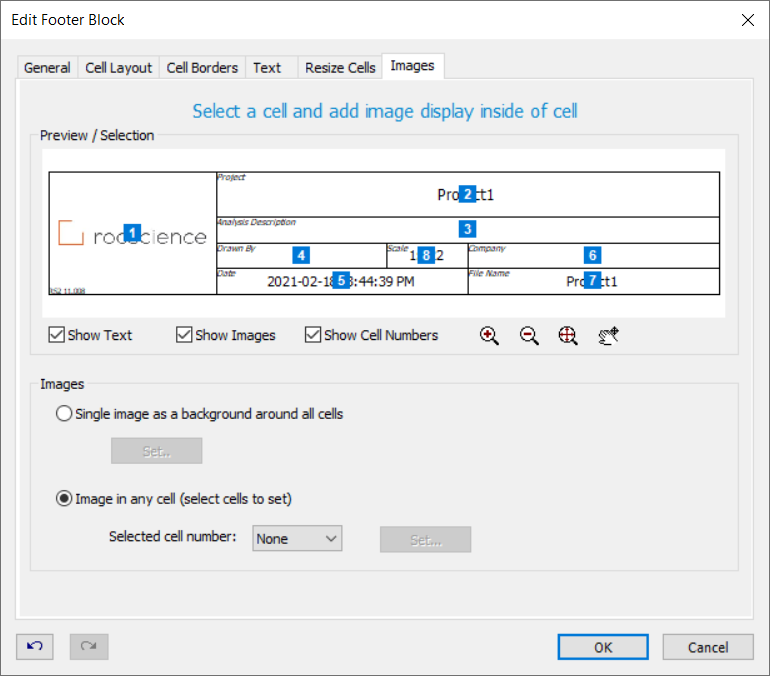
The Customize Designs option allows users to cusomize the content, design and layout of their footers/headers. After selecting a design from the Available Block Designs drop down, users can customize this further by clicking on the Edit button. This will open a new dialog (shown below).
Users can edit the number of cells, sizes of the cells, layout, and content of the cell including both text and images.
Adding in your own logo
To change the default image in a header or footer block design:
- In the Header/Footer tab select the block design you wish to user from the Available Block Designs drop down.
- Click on the Customize Designs button and then click Edit. A new dialog will open.
- In the Edit dialog, go the Images tab.
- Ensure "Image in any cell (select cells to set)" is selected.
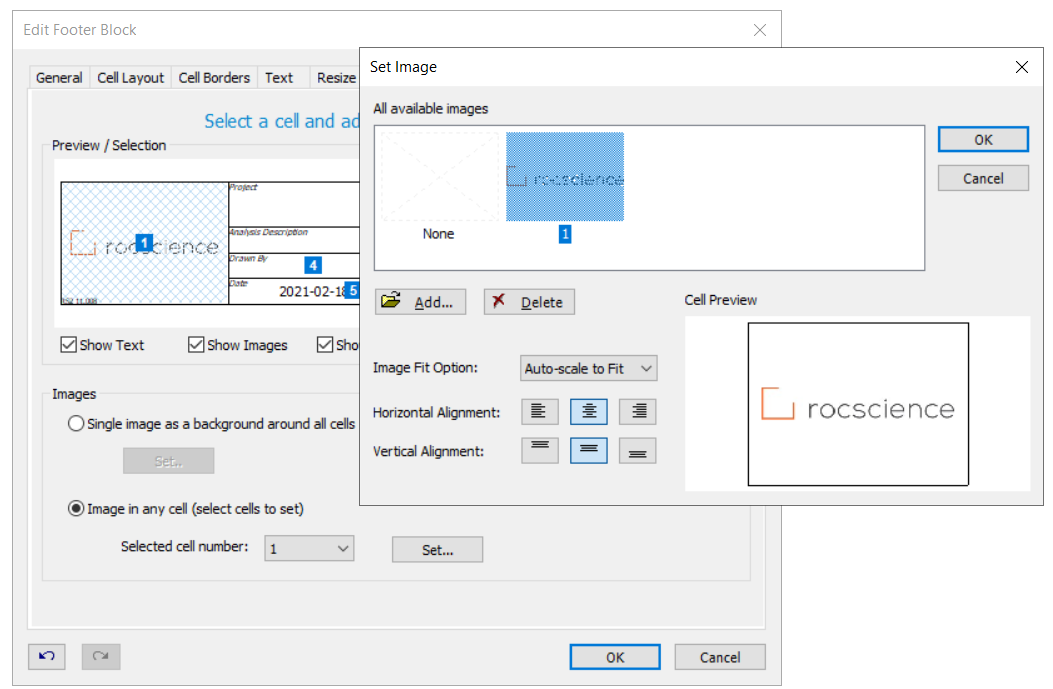
- In the Preview / Selection window, click on the cell that contains the image you wish to change and then click Set. A dialog will appear.
- In the Set Image dialog, click on the Add button and select the image file you wish to use.
- Use the other alignment and scaling options in this window to align your image as you wish.
- Once you are happy with your image, click OK to close the Set Image dialog.
- To save your custom Footer / Header, go to the General tab in the Edit dialog.
- Enter a new name for your template and click OK. This template will be added to the Available Block Designs drop down for use in future projects.