Print Options
When printing the results of your analysis, users have various options for editing and customizing the look of the printout.
Print Preview
In Slide2 Modeller or Interpret module select File > Print from the menu or click on the icon in the toolbar.
SELECTING VIEWS TO PRINT
When using the Multi Scenario Modelling feature, you can print the results of all open scenarios in one batch.
- Simply select File > Print or click on the Print
 icon.
icon. - A list will appear on the left side of the screen. Check the checkboxes to select what scenario you wish to print (or check Select All) and then click Print.

ZOOM, PAN, LOCK VIEW
Users have various options for adjusting how their model is framed in their print preview. Users have the option to:

- Zoom In
- Zoom Out
- Zoom All - Zoom to the extents of all boundaries
- Link all views to current view setting
- Pan View
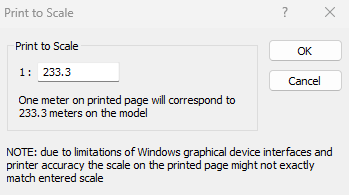
SCALE
Users can edit the scale of their model using the Print to Scale option.
VIEW LIMITS
The  View Limits option in the toolbar allows users to set the minimum and maximum coordinates for their view and adjust how the view is displayed in the printout.

Page Setup
Slide2 users have the ability to customize the way their printout is set up as well as the contents of the textbox using the Page Setup options. To open the Page Setup dialog:
- In Slide2 Modeler or Interpret module, select File > Print to open the Print Preview.
- At the top of the screen, click Page Setup.
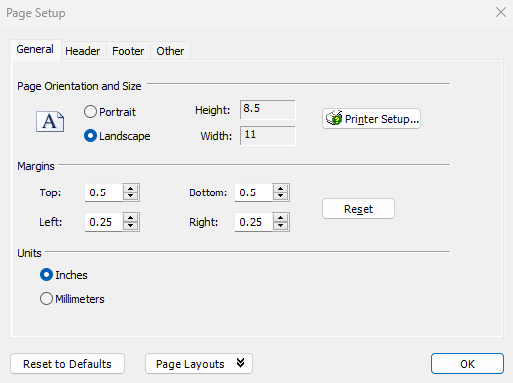
GENERAL
The General tab allows users to select:
- Page Orientation and Size
- Margins
- Units - Inches or Millimeters
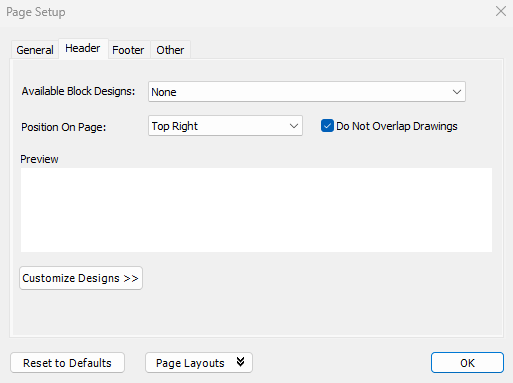
HEADER
The Header tab allows users to customize the design of their header. Users can select a header layout from the Available Block Designs drop down, as well as customize those block designs with their own text and logo using the Customize Design option (see below).
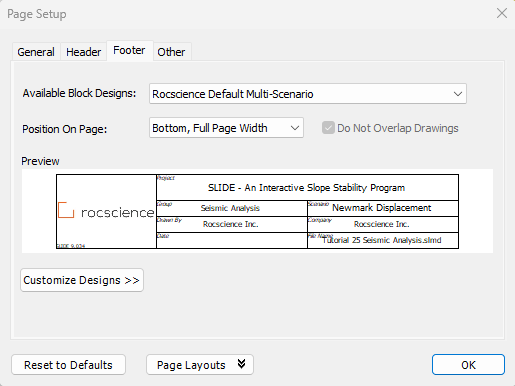
FOOTER
The Footer tab allows users to customize the design of their footer. Users can select a footer layout from several of the Available Block Designs drop-down, as well as customize those block designs with their own text and logo using the Customize Design option (see below).
CUSTOMIZE DESIGNS
The Customize Designs option allows users to customize the content, design and layout of their footers/headers. After selecting a design from the Available Block Designs drop-down, users can customize this further by clicking on the Edit button. This will open a new dialog (shown below).
Users can edit the number of cells, sizes of the cells, layout, and content of the cell including both text and images.
Adding in your own logo
To change the default image in a header or footer block design:
- In the Header/Footer tab select the block design you wish to use from the Available Block Designs dropdown.
- Click on the Customize Designs button and then click Edit. A new dialog will open.
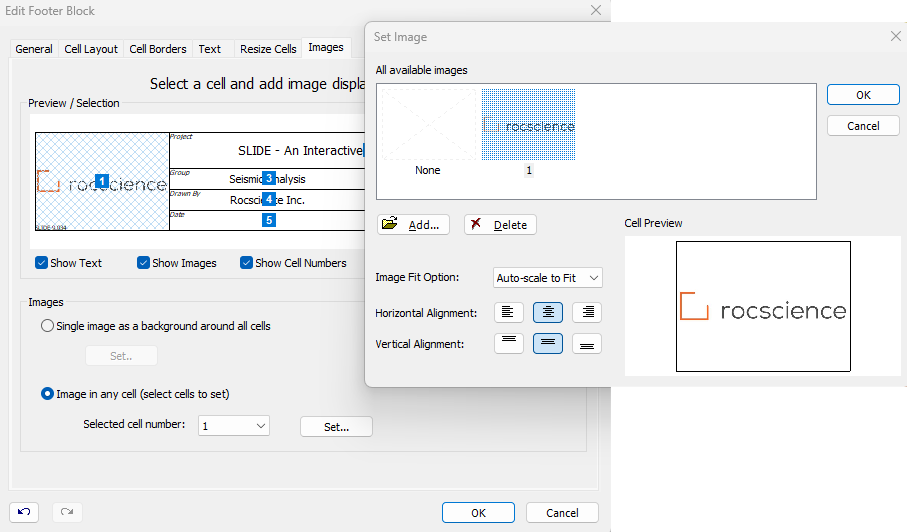
- In the Edit dialog, go to the Images tab.
- Ensure "Image in any cell (select cells to set)" is selected.
- In the Preview/Selection window, click on the cell that contains the image you wish to change and then click Set. A dialog will appear.
- In the Set Image dialog, click on the Add button and select the image file you wish to use.
- Use the other alignment and scaling options in this window to align your image as you wish.
- Once you are happy with your image, click OK to close the Set Image dialog.
- To save your custom Footer/Header, go to the General tab in the Edit dialog.
- Enter a new name for your template and click OK. This template will be added to the Available Block Designs drop-down for use in future projects.