Groups and Scenarios
When you enable the Multi Scenario modelling option, a Document Viewer pane will appear in the sidebar. The Document Viewer allows you to create and organize the various Slide2 models that you wish to analyze, by defining multiple groups and/or scenarios.
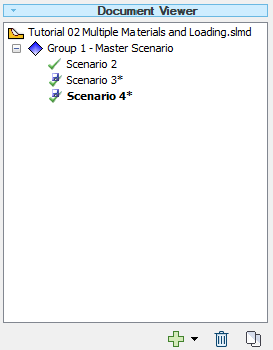
By default, when you initially enable Multi Scenario modeling, one Group containing one Master Scenario will automatically be created. New groups or scenarios can be easily created, copied and edited as required. This is all done within the umbrella of a single compressed *.zip document which can be edited, saved and computed as a single file (file extension *.slmd).
The properties of groups and scenarios are described below.
Group
A Group allows you to group together multiple models (scenarios) that have the same boundaries or other common input parameters.
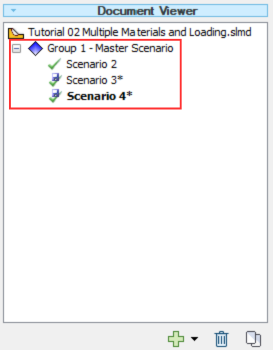
- A Group consists of a Master Scenario and any number of additional scenarios.
- The primary attribute of a Group, is that boundary geometry is constant for all Scenarios within a Group. In particular, the External and Material boundaries are the same for all scenarios in a group.
- If you edit the external or material boundaries for one scenario, the edits will automatically propagate to all scenarios in the same group.
- Multiple groups - if you want to analyze models with different boundaries, then you must create multiple groups, since geometry within a group is constant. You will need a new group for each different boundary configuration. For example, if you want to test a series of different slope angles, you will need to create a new group for each slope angle.
- Other uses for groups - multiple groups do not necessarily have to have different boundaries. You can use Groups to create groupings based on any input parameters.
Master Scenario
When you create a Group, a Master Scenario is automatically created. The properties of the Master Scenario are as follows
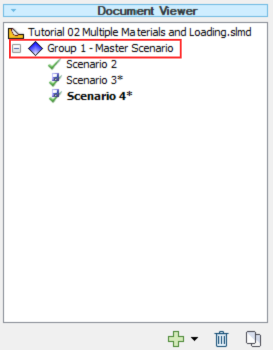
- A Group always contains at least one scenario - the Master Scenario.
- The primary purpose of a Master Scenario, is to allow you to automatically propagate changes from the Master Scenario to other Scenarios in the Group.
- If a group contains multiple scenarios, any edits done to the Master Scenario, will be automatically propagated to all other scenarios in the Group.
- A Master Scenario represents a Group. For example, if you right-click on a Group/Master Scenario, the right-click menu will allow you to perform actions on the Group, such as Duplicate, Delete, Export, Synchronize.
- A Master Scenario behaves like other Scenarios, except for the edit propagation feature. You can compute and view results for the Master Scenario just like any other scenario. However you must be careful when editing the Master Scenario. Since all edits to the Master Scenario will propagate to any additional scenarios you may have created, you should only edit the Master Scenario when you wish to propagate changes to other scenarios in the Group.
Additional Scenarios
In addition to the Master Scenario, any number of additional Scenarios can be created within a Group
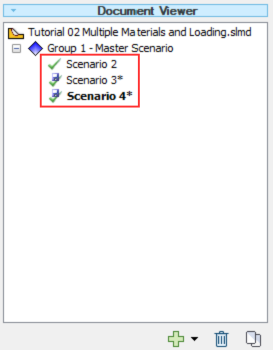
- Each Scenario (including the Master Scenario) is actually a separate Slide2 model.
- Additional Scenarios in a Group allow you to change input parameters for individual Scenarios (e.g. material assignments, groundwater, support, search methods) while maintaining constant geometry within a particular Group.
- Link Scenarios - by default, each scenario can be independently edited. If you want to propagate edits from one scenario to other scenarios in a group, then use the Link Scenarios option (see below for details).
Number of Groups/Scenarios
- There is no limit to the number of Groups or Scenarios. You can create any number of Scenarios per Group, and any number of Groups.
- A group will always have at least one scenario (Master Scenario).
Link Scenarios
By default, individual scenarios can be edited independently of each other, with the exception of the shared properties of groups/scenarios. The Link Scenarios option allows you to propagate applicable editing options from one scenario to any other scenarios in a group. Link Scenarios can be selected from the sidebar or the toolbar.
The following actions are NOT propagated even if Link Scenarios is selected.
- All mesh operations (mesh/discretize, increase density, etc.)
- Addition/deletion of groundwater boundary conditions
- Display settings (these can be set to apply to all scenarios in the display options dialog or the sidebar)
When Link Scenarios is turned on, these options are NOT synchronized between scenarios in the same group, and will have to be applied individually to each scenario.
ADD/DUPLICATE/DELETE
Groups and scenarios can be added, duplicated or deleted:
- by right-clicking on a group or scenario name in the Document Viewer and selecting an option from the popup menu
- selecting an option from the buttons
 at the bottom of the Document Viewer