Entering Coordinates
When you are adding boundaries, there are various methods of entering the x,y coordinates. You can use:
- the keyboard (prompt line)
- the mouse (graphical entry)
- a coordinate table
- import from a file
or any combination of the above. There are also many useful options available through the right-click menu or the prompt line, which aid in the entering of boundaries (e.g. undo, snap, arc), as described below.
Boundaries in Slide2 are modelled by a series of straight-line segments defined by x,y coordinates. The coordinate system uses the convention: X is horizontal and positive to the right and Y is vertical and positive upwards.
Keyboard Entry
Use the keyboard to type coordinates in the prompt line at the bottom right of the Slide2 application window. Simply type in x,y coordinate pairs, and press Enter for each pair. For example:
Enter vertex [...]: 5,5 <Enter>
Enter vertex [...]: 5,10 <Enter>
Relative Coordinates
In the prompt line, it is possible to enter coordinates as relative distances, rather than the actual coordinate values (i.e. you can define the location of a vertex by entering the relative x,y distances from the last vertex entered). To enter relative coordinates:
- Type the @ symbol in the prompt line, followed by the relative x,y distances from the last vertex, and press Enter.
- Example: if you enter @2,2 in the prompt line, a new vertex will be added which is 2 units to the right and 2 units above the last vertex.
Relative Coordinates (Distance and Angle)
You can also enter a vertex by defining the distance and direction (angle) from the last vertex entered. This is done as follows:
- Type the @ symbol in the prompt line, followed by the distance (absolute value), followed by the < symbol, followed by the angle (in degrees), and press Enter.
- Example: if you enter @2<45 in the prompt line, a new vertex will be added which is a distance of 2 units from the last vertex, in a direction of 45 degrees.
This option can be useful for defining slope or bench faces when the input is defined in terms of the length and angle of a line segment.
Graphical Entry
Coordinates can be graphically entered with the mouse. Move the cursor to the desired location and click the left mouse button to enter a vertex.
- The Snap options allow you to enter "exact" coordinates graphically, by snapping to existing vertices, boundaries, grid points or extension lines. See the Snap topic for details.
- The cursor coordinates are always displayed in the right-most box of the Status Bar.
- While using the mouse, be sure to take advantage of the options available in the right-click menu.
Right-Click Menu Display Options
You can use one of the following display options to make your graphical entry easier:
- Show Last Coordinate
- Show Distance Angle
- Show Ratio
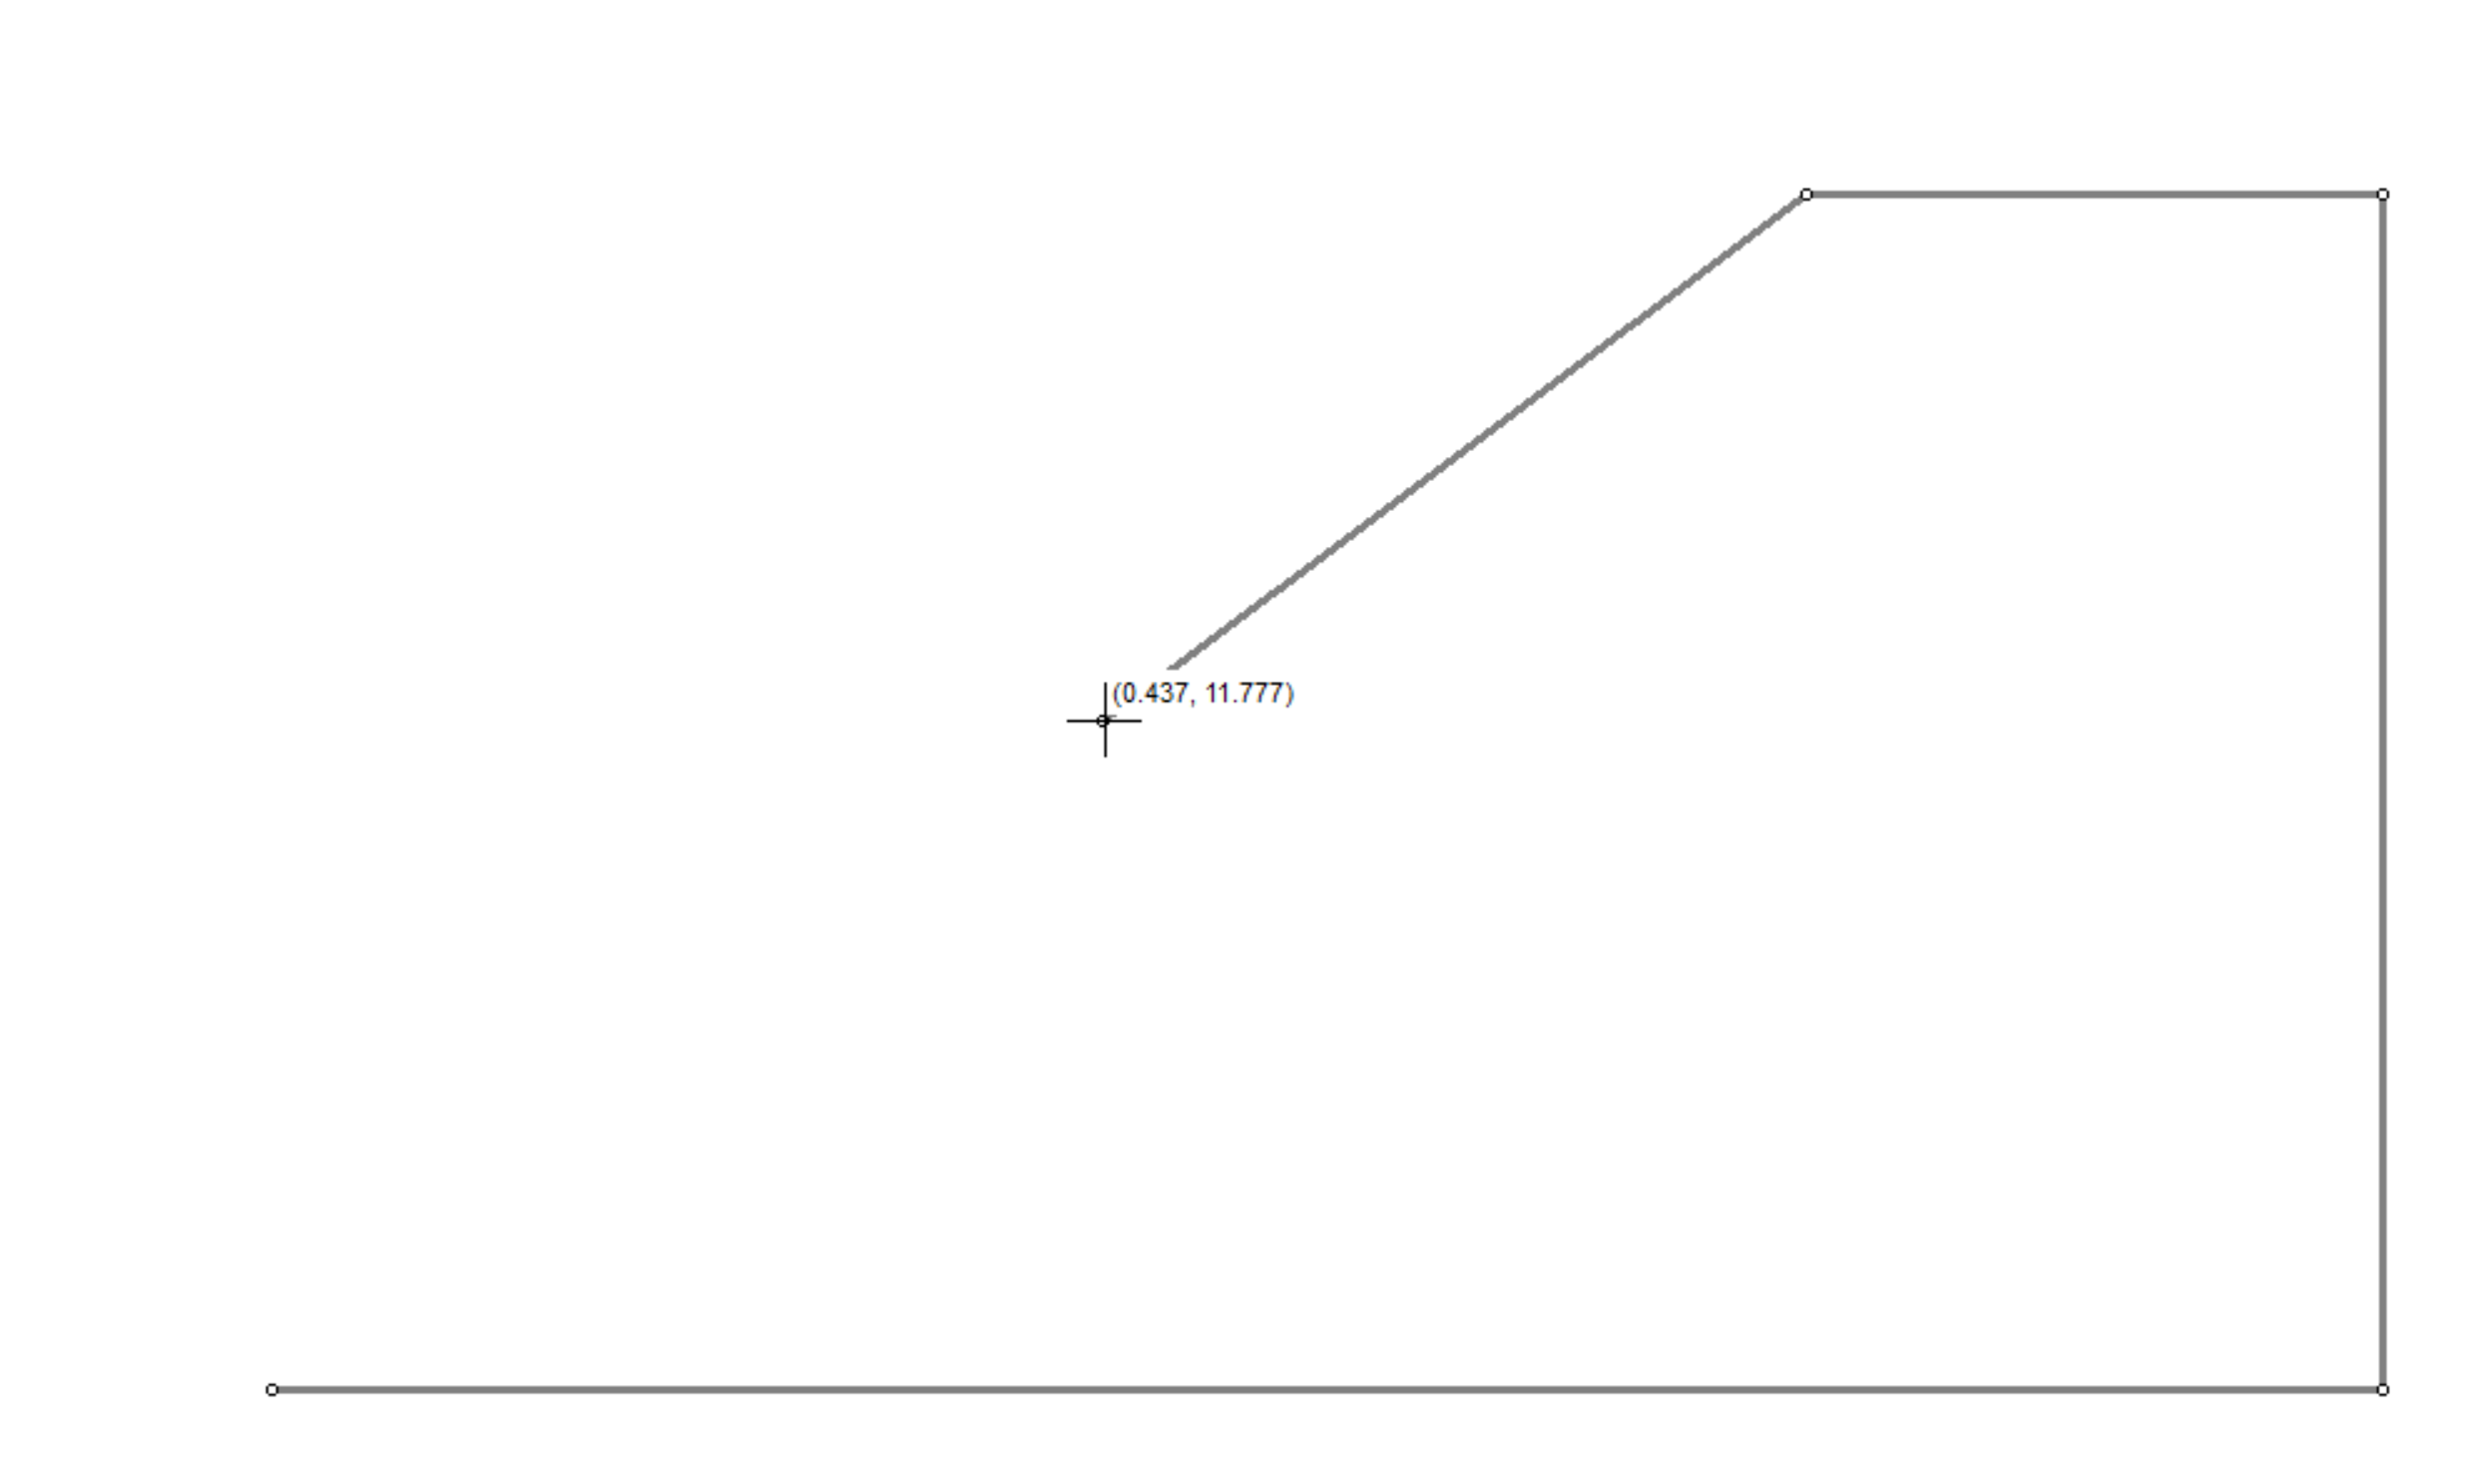
Show Last Coordinate
This will display the coordinates of the point you are currently placing:
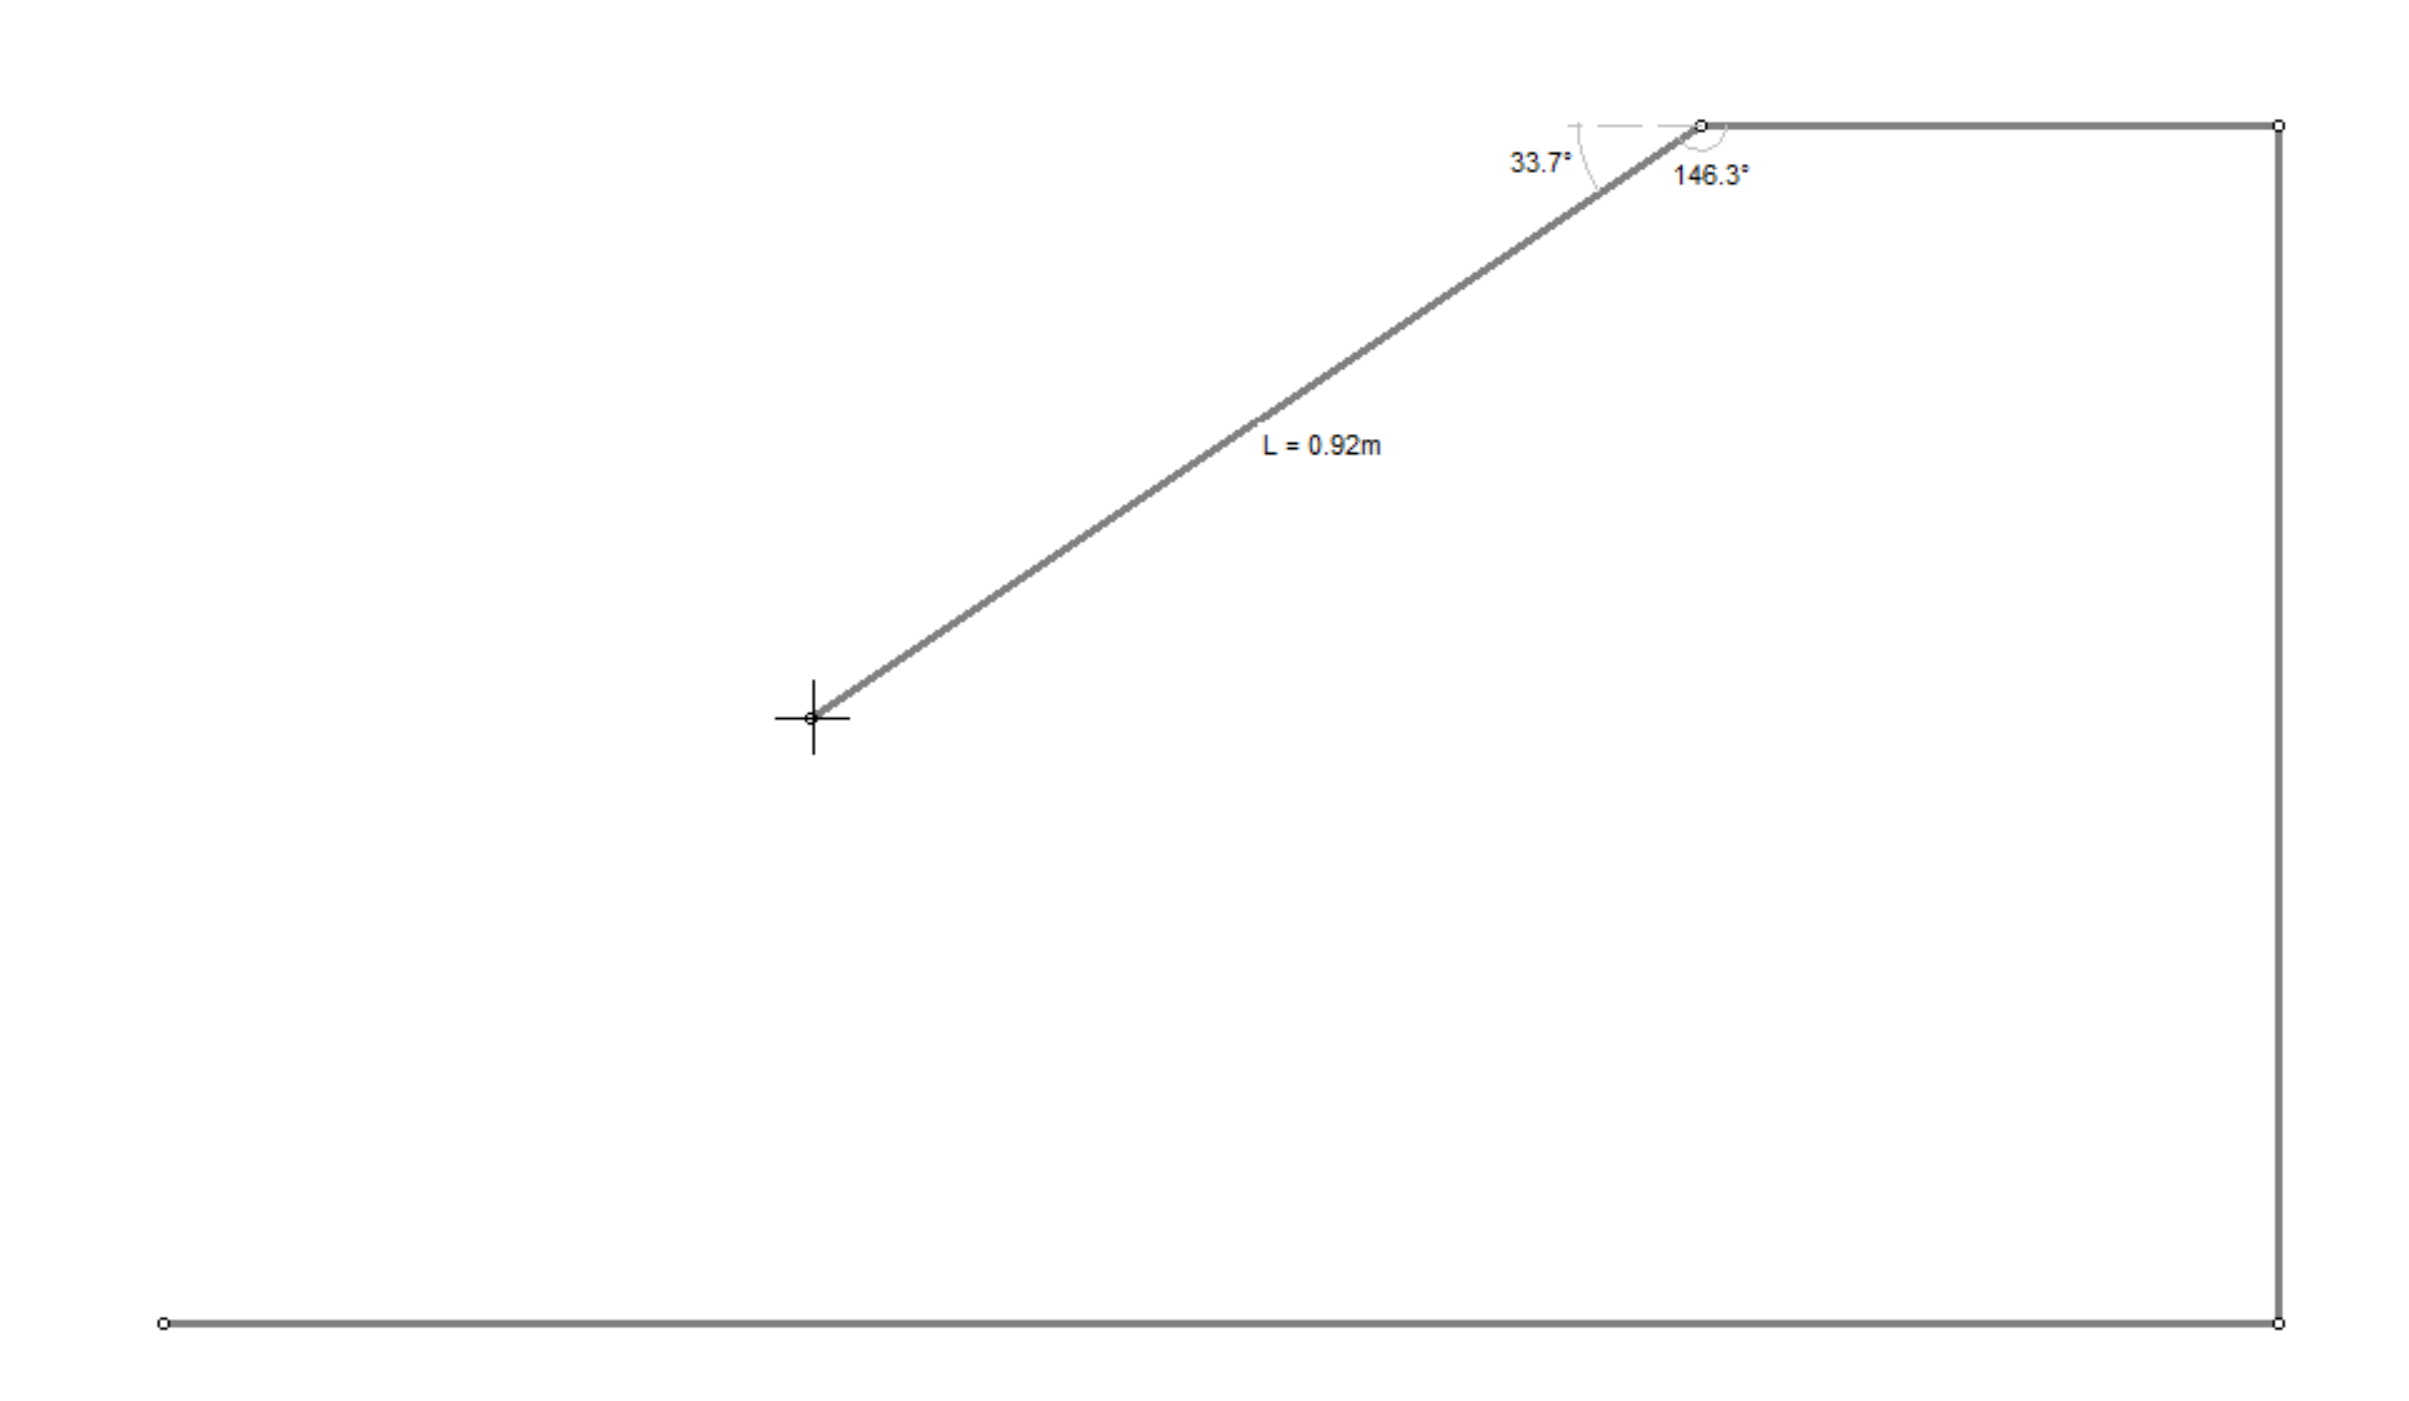
Show Distance Angle
This will display the distance and angle of the point you are currently placing:
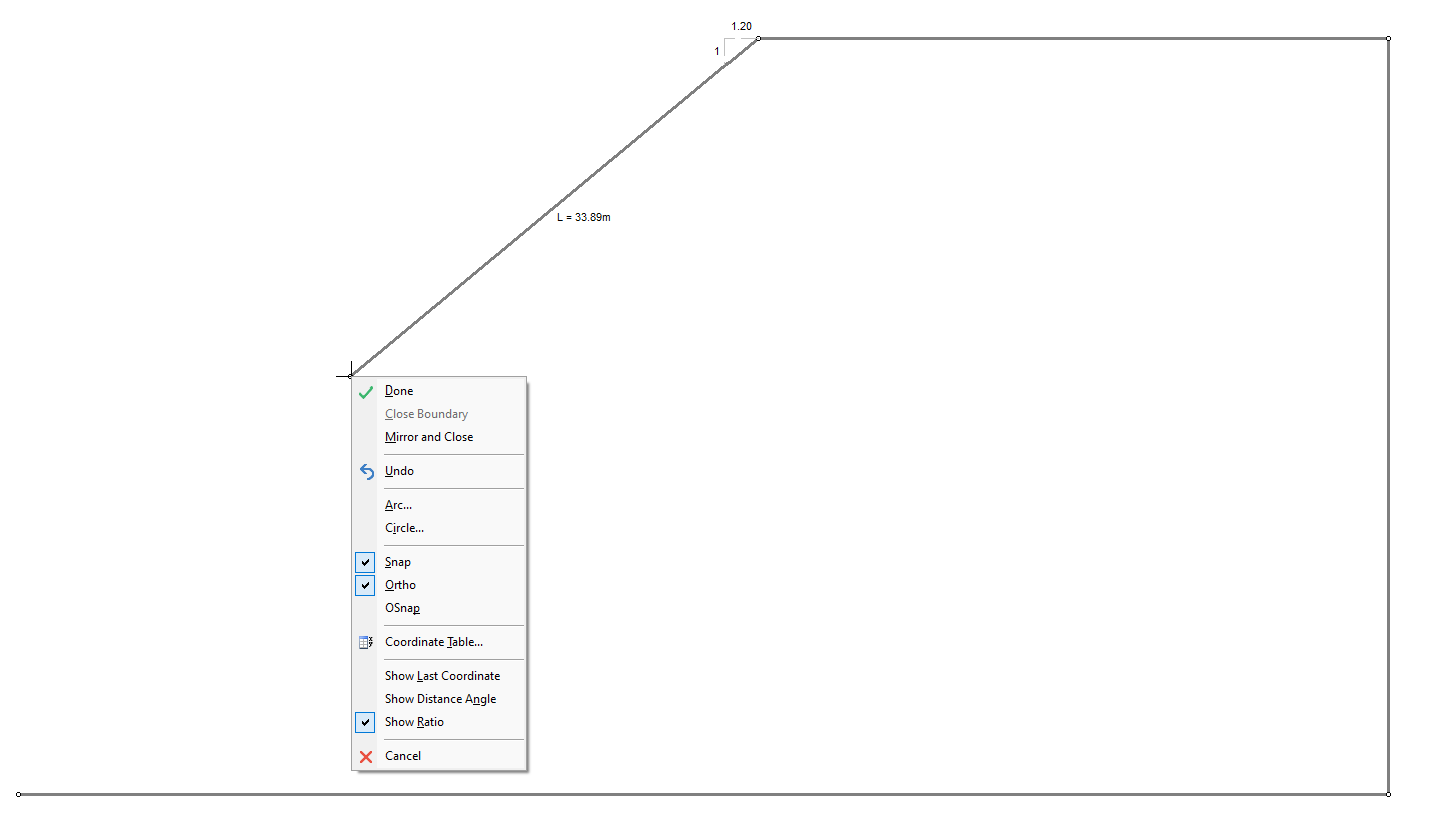
Show Ratio
This will display the distance and ratio of the point you are currently placing:
Coordinate Table
Coordinates can also be typed, pasted or imported into a Coordinate Table. To access the Coordinate Table while you are entering a boundary:
- Right-click and select Coordinate Table from the popup menu, OR
- Type t followed by Enter in the prompt line.
You will see the Coordinate Table dialog, which presents a mini-spreadsheet for entering or editing x,y coordinates. In this dialog you can enter, edit, import or export coordinates as described below.
Enter/Edit Coordinates
You can enter x,y coordinates in blank rows of the spreadsheet, or edit the existing coordinates. The order of the rows determines the order of the vertices in the polyline.
Notice the editing tools at the top of the dialog - Select All, Cut, Copy, Paste, Insert Row, Delete Row, Append Rows.
Import from File
To import x,y coordinates from a file, select the Import button in the Coordinate Table dialog. You will see an Open File dialog. You can import coordinates from a Comma, Tab or Space delimited text file. Each row of the file must contain one x,y coordinate pair, separated by a comma, tab or space.
Export to File
You can also export the current coordinates in the dialog, to a Comma-delimited text file, by selecting the Export button in the Coordinate Table dialog. You will see a Save As dialog. Enter a file name and save the file.
When you are finished with the dialog select OK. The boundary will be defined by the coordinates entered in the Coordinate Table, and you will be returned to the current add boundary option.
TIPS
- To complete the entry of the External Boundary, right-click and select Close Boundary, or type c and Enter in the prompt line, after the last vertex has been entered.
- To complete the entry of a Material, Water Table, Piezo Line or Tension Crack boundary, right-click and select Done, or press Enter with nothing in the prompt line after the last vertex has been entered.
- To abort the entry of any boundary press Escape or right-click and select Cancel.
- While entering boundaries, various options are available in the right-click menu or by typing single-letter commands in the prompt line. See the following topics for details:
Toggling the Snap mode