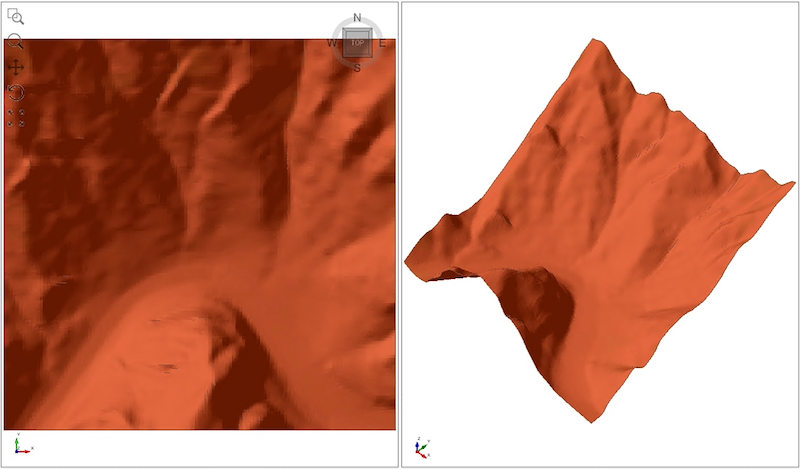
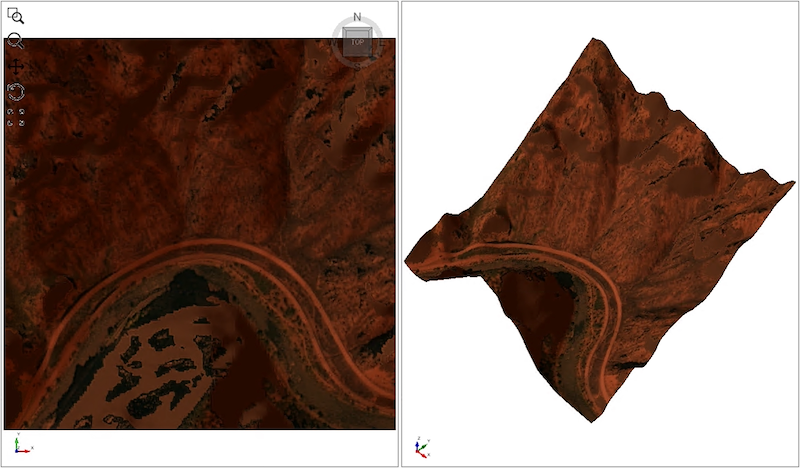
Assign Texture
In Slide 3, users can transfer textures from an image file to the surface of the model. For example, you can apply texture from a specified location to the surface of your geometry using a JPEG (*.jpg, *.jpeg) satellite image of that location.


To assign a texture to the selected surface:
- Using either the Entity Selection
 or Faces Selection
  tool, select the surface of interest you want to add texture to. This may be a single surface from the model or the entire model itself.
 - Select Geometry > Surface Triangulation Tools > Assign Texture ...

- Navigate to the folder containing the image file you would like to transfer the texture from (*.png, *.jpeg, *.jpg, or *.bmp format).
- Select Open to load the image file.
- In the Texture Image dialog, the preview of the image is displayed. Set the Bottom Left and Top Right scale points to scale and move the image and fit the geometry. You can also click Reset Scale to set the values to default.
- Select OK and the texture will be applied to the surface of the geometry.
Make sure to select the Update Preview button every time the Bottom Left and Top Right scale points' values are modified.