Standard operating procedure
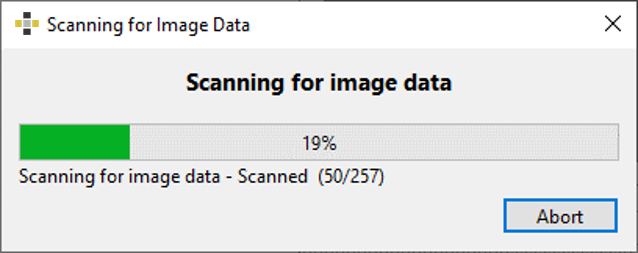
Load image data by clicking the “Load folder” or “Load Files” icon. A progress window appears during scanning and loading.
- Check if all required images for processing are selected. If not, adapt the list of images by enabling or disabling the checkbox in front of the images, respectively, or use the buttons “Use all” or “Use none” . In addition, images for processing can be selected directly in the 3D viewer opened by clicking the corresponding button “Show/Select in 3D”.
- Check if the pictures for processing have a generic (EXIF) or calibration entry assigned.
- If GNSS positional information is available, the user can check the relative camera positions and geographical position by clicking the “Show/Select in 3D” button. In addition, the dialog supports the selection of images directly in the 3D viewer by using the computer mouse .The position of the images can also be displayed in Google Maps using the “Show in Google Maps” button.
- Enter a project name and select the desired export possibilities by clicking the “Export Options” button. The export start automatically when leaving the MultiPhoto after 3D model generation.
- If GNSS positioning is desired select the co-ordinate reference system: UTM Autodetect (default) or choose a specific co-ordinate by selecting “Browse Co-ordinate System” from the pull-down menu and the procedure described in Chapter 6.5 for CRS transformation.
- Choose Coarse Reconstruction settings “Normal” (default).
For datasets with sufficient image overlap, it is not recommended to modify the preset for the Coarse reconstruction, as this will increase the reconstruction time without improving the results. The “High” setting is only recommended for datasets with low image overlap, it may still enable a successful reconstruction when image overlap is limited.
- Rename the Project File (“.smm”) and select the directory to save by clicking the “Project File Name” icon in General Settings.
- Start the reconstruction process by a click on the “Start Coarse Reconstruction” button. The progress window reveals the current status of reconstruction including a live display.
Auto-calibration is enabled by default and should remain on. It is applied automatically to uncalibrated photos. For pre-calibrated cameras, it can be turned on or off, but keeping it enabled is recommended.
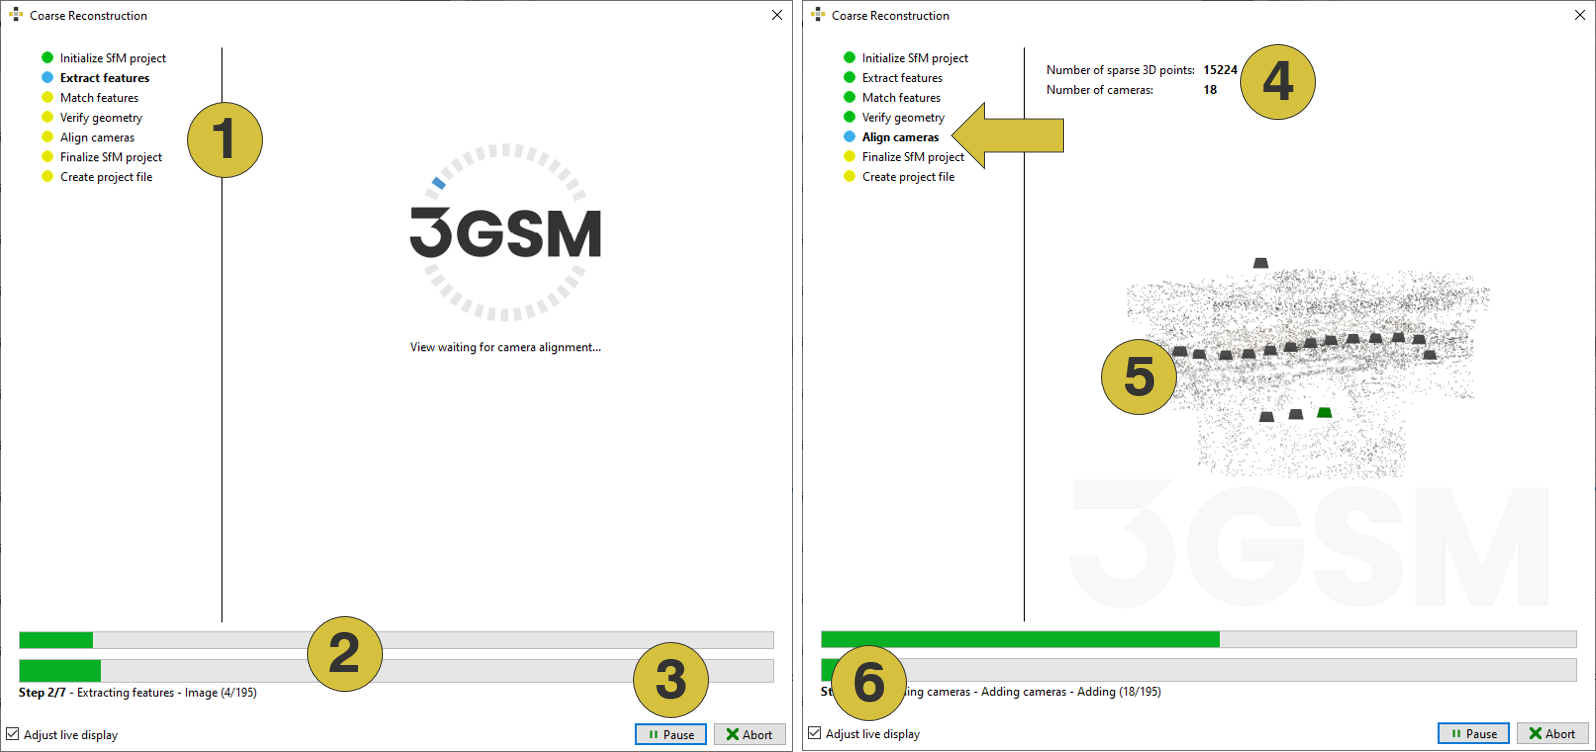
- Current status
- Progress bar
- Pause/Abort process
- Number of cameras/points reconstructed
- Live display of cameras and points
- Activates/deactivates the live display
Coarse and Dense Reconstruction
It is possible to run the 3D model reconstruction automatically. In this case, the Dense Reconstruction starts immediately after the Coarse Reconstruction, skipping the Select Region of Interest step, which allows limiting the reconstruction to a specific area.
- Follow steps 1 to 9 in the procedure Coarse Reconstruction.
- Enable the checkbox “Automatically continue reconstruction after xxx seconds”.
The Dense Reconstruction process and generation of the “.jm3x” file will start automatically after the user-defined time. Enabling the checkbox activates the Dense Reconstruction Settings. - Choose the reconstruction mode i.e. “Fast”, “Normal” or “High” (for details see Chapter 6.2).
- Optionally, limit the number of 3D points by enabling the checkbox “Limit Dense Points”.
- If necessary, rename and select the directory of the output file (“.jm3x”) by clicking the “Output File Name” icon.
- Start the reconstruction process by clicking the “Start Coarse Reconstruction” button. The appearing progress window reveals the current status of reconstruction including a live display.
The automatic mode can be interrupted by user interaction, such as moving the mouse or pressing a key after the Coarse reconstruction.