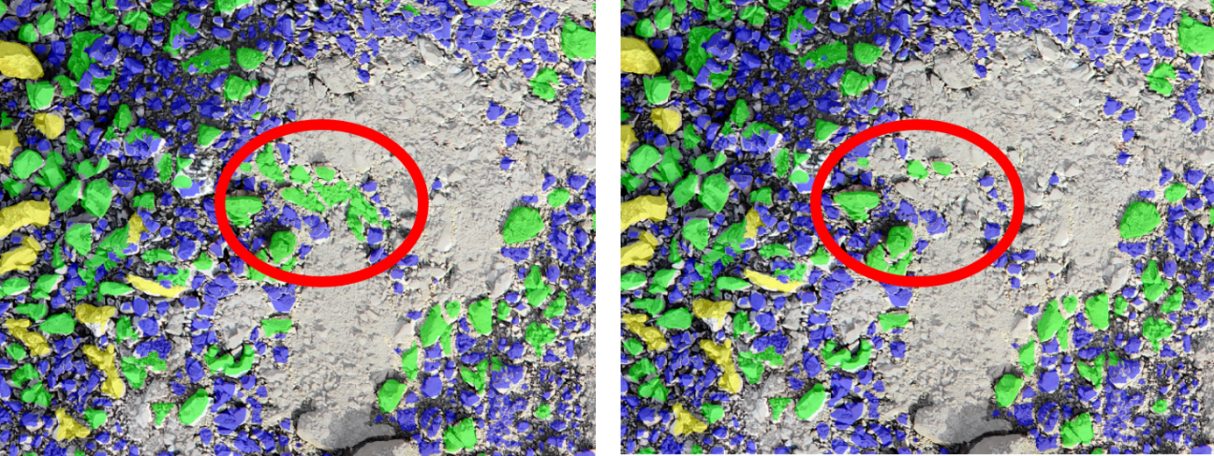
Editing of Fragments
The Fragmenter allows editing fragments. Individual fragments are edited by using the features of the “Edit Mode” provided in the toolbar (see Features | Toolbar topic). Enter the “Edit Mode”  by clicking the corresponding icon in the toolbar.
The “Edit Mode” provides the following tools:
- Splitting of a fragment
- Merging of fragments
- Editing the boundary of a fragment
- Deleting fragments
- Adding fragments
- Changing the label of a fragment
Splitting of fragments
There are two different splitting features provided:
“Split Fragment”
 splits a fragments into two particles. Activate in the corresponding icon in the toolbar and click on two different positions on the fragment (see below). “Split Fragment” considers the properties of the texture in the fragment’s texture patch. The split will be applied along the most prominent texture features of the fragment’s patch between the two clicked points. If a particular split line shall be preferred, it is recommended to click close to this split line on either side.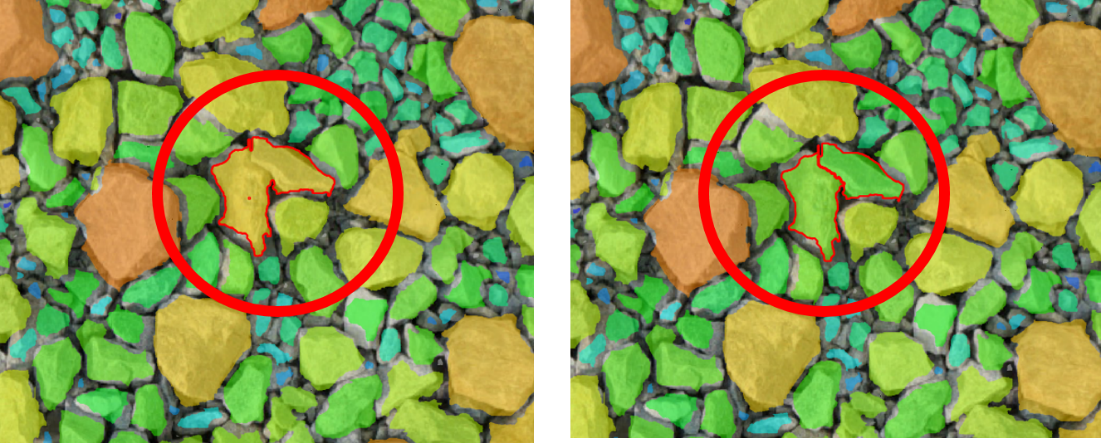
Splitting a fragment into two fragments - “Split Fragment Automatically”
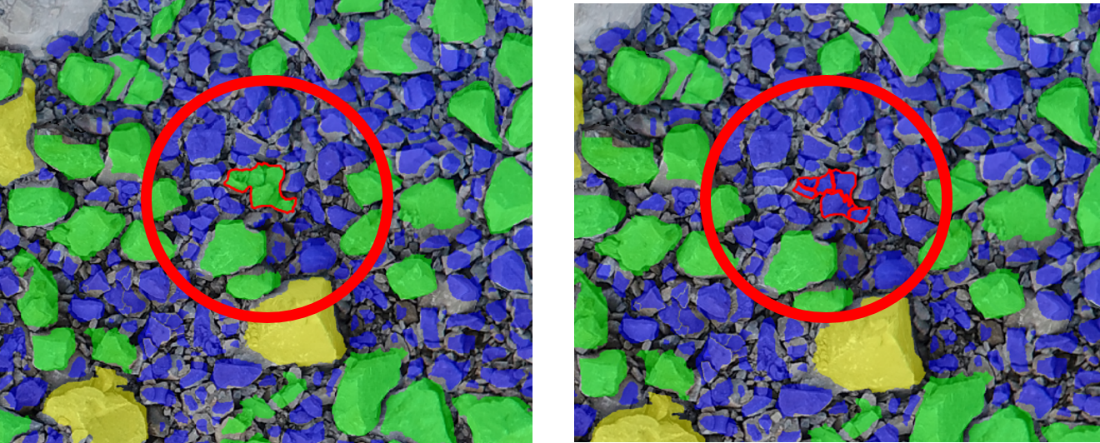
 automatically splits a fragment into several fragments. Activate the corresponding icon in the toolbar and click somewhere within the fragment to split. “Split Fragment Automatically” considers the properties of the texture in the fragment’s texture patch and is applied subsequently to achieve splitting into smaller fragments.
Merging of fragments
There are two different merging features provided:
“Merge Fragments”
 merges two fragments into one. Activate the corresponding icon in the toolbar and click on the two fragments to merge.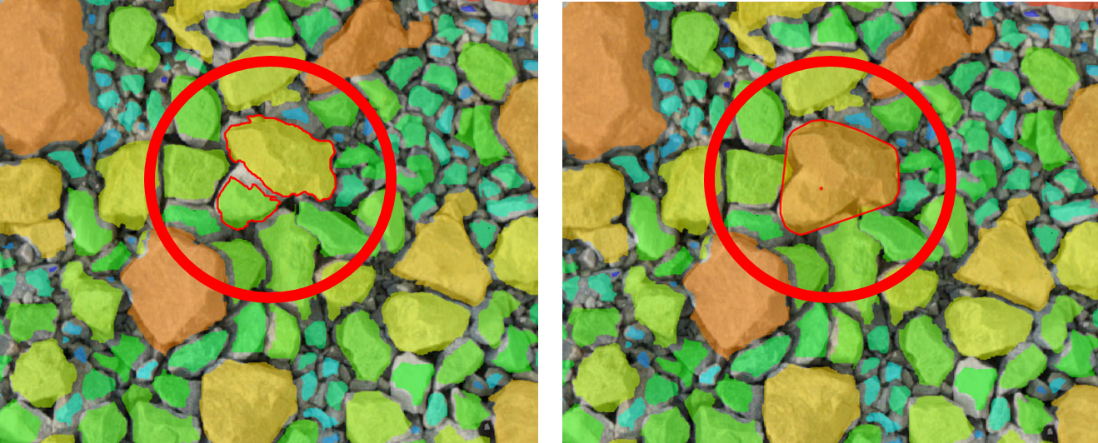
Merging of two individual fragments - “Merge Fragments Automatically”
 merges several fragments into one. Activate the corresponding icon in the toolbar and select the fragments to merge by a polygon using the computer mouse. Confirm the selection by clicking the middle mouse button or the “Enter” key.
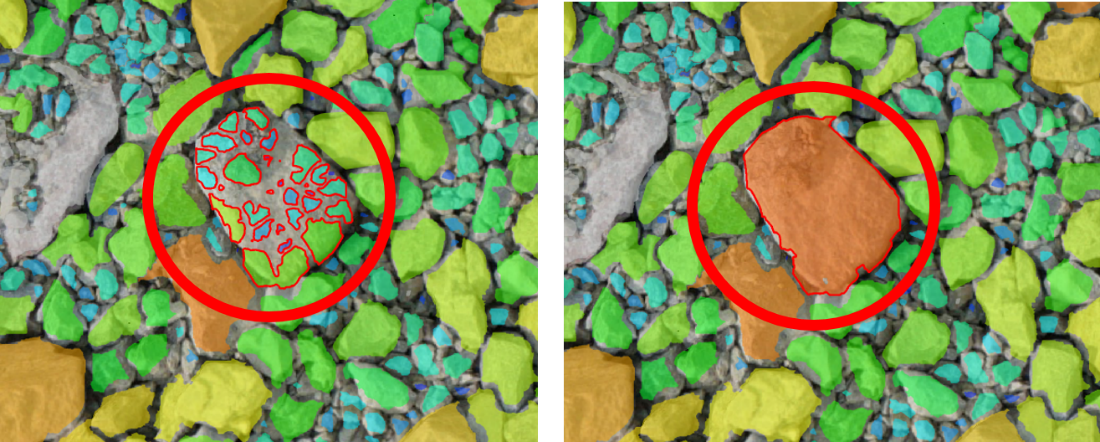
Delete fragments
- Activate the icon “Delete Fragment”
 in the toolbar.
 - Single fragments are deleted by clicking with the left mouse button into the fragment.
- Multiple fragments are selected by enclosing the fragments by dragging the cursor while keeping the left mouse button pressed. After releasing the mouse button selected fragments are highlighted.
- Confirm the selection by clicking the middle mouse button or the “Enter” key.
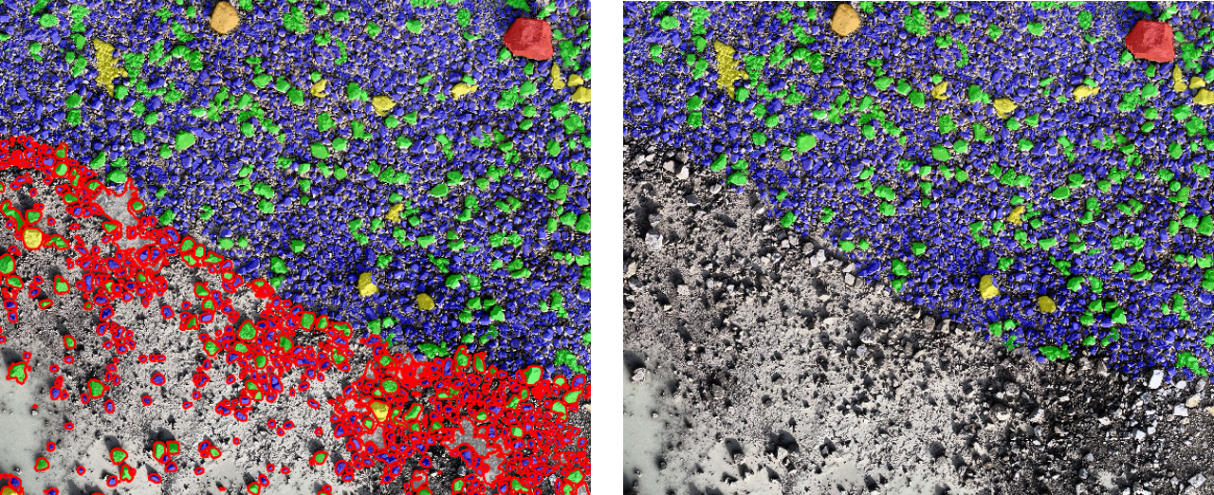
Editing of fragments
- Activate the icon “Edit Fragment”
 in the toolbar and select the fragments to edit with the computer mouse. Moveable points of the boundary appear.
 - Drag the points and adapt the shape of the particle with the left mouse button held and release the button at the desired position.
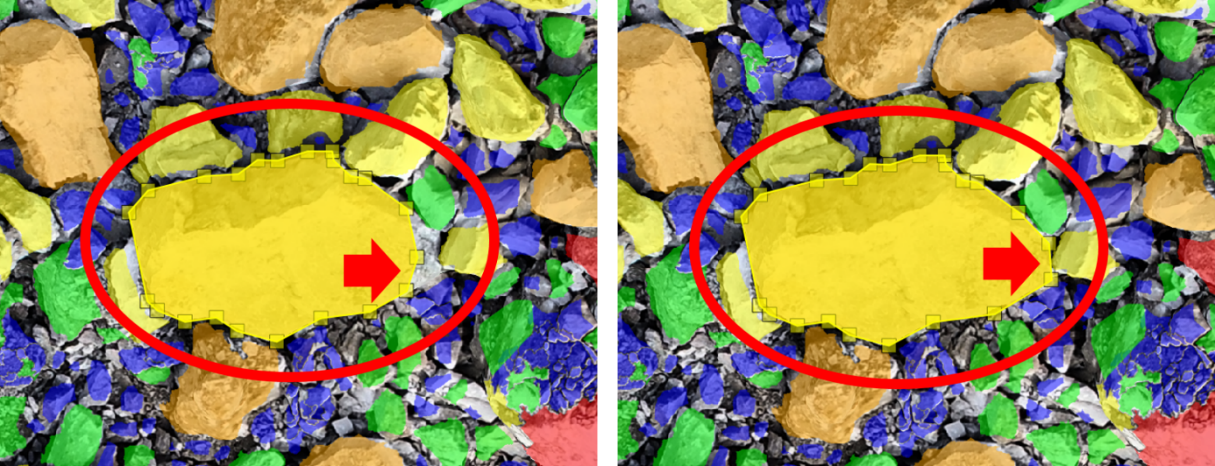
Add fragments
- Activate the icon “Add Fragment”
 in the toolbar.
 - Define the boundary of the fragment by clicking the left mouse button. A polygonal line grows instantaneously.
- Confirm the polygon by clicking the middle mouse button or the “Enter” key.
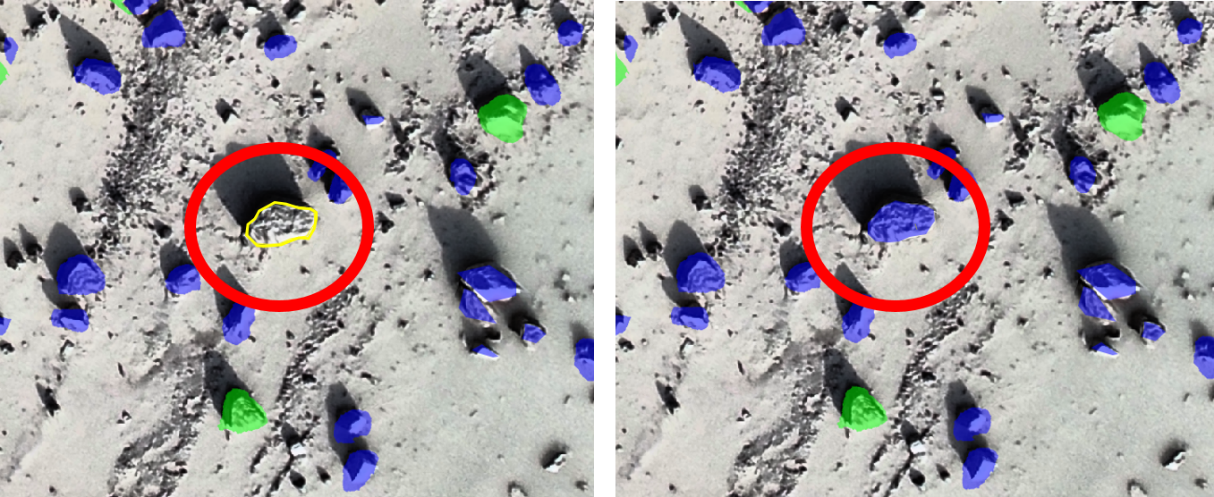
Assignment of fragments
- Activate the “Assign new label”
 icon in the toolbar. Select the desired type of fragment, i.e. Particle, Border, Fines or Voids, from the pull-down menu.
- The selected label is assigned to a single fragment by clicking the fragment with the left mouse button.
- The selected label is assigned to several fragments by enclosing the fragments with a polygon by dragging the cursor while keeping the left mouse button pressed. After releasing the mouse button selected fragments are highlighted. Confirm the selection by clicking the middle mouse button or the “Enter” key to assign the new label to the selected fragments.