Trimming a 3D Model
Standard operating procedure
- Load 3D model (“.jm3x” file) by using “File | Open 3D model” from the menu bar
- Click the:
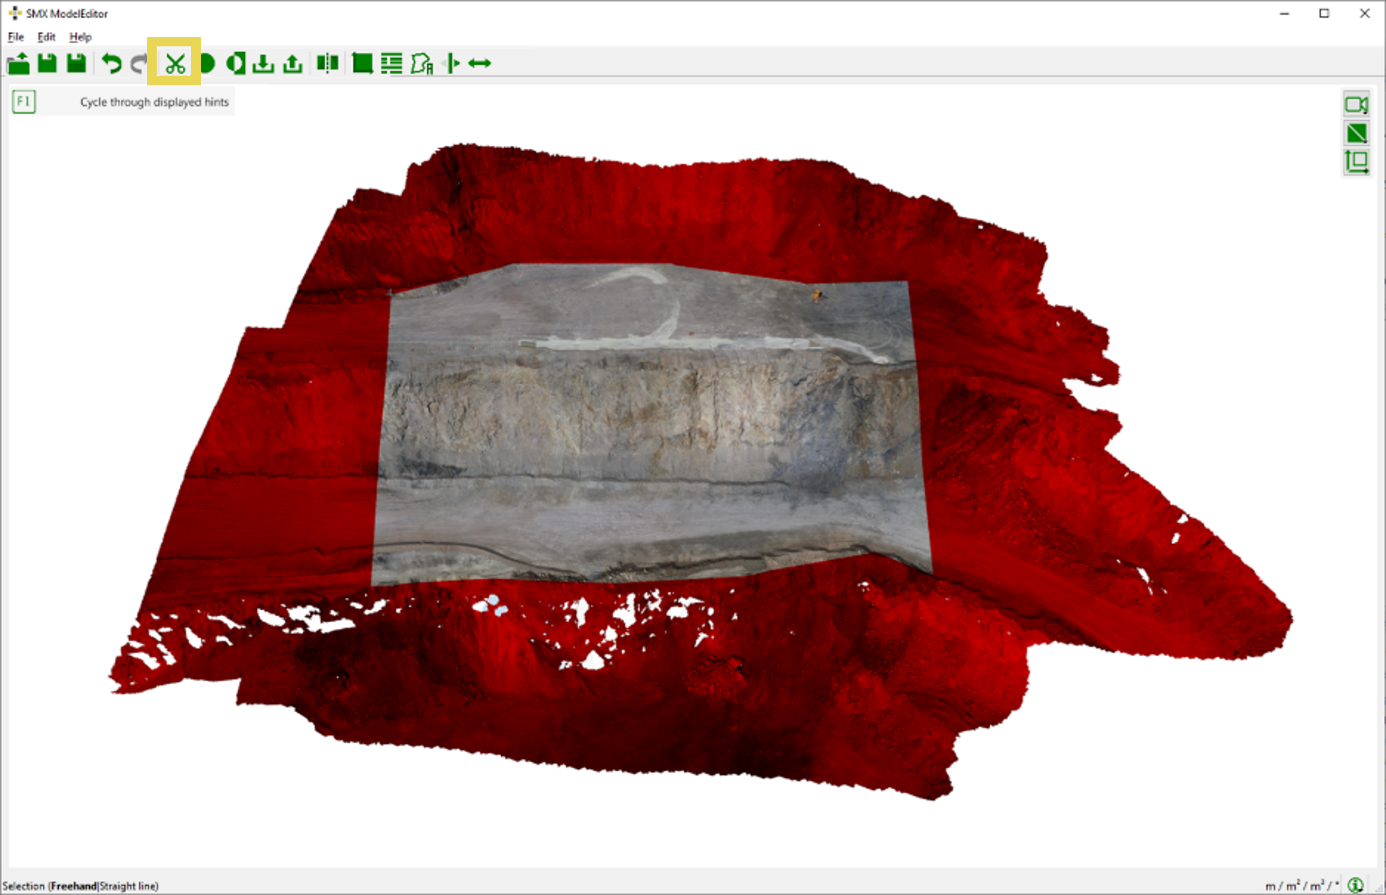
- “Trim Model with Polygon”
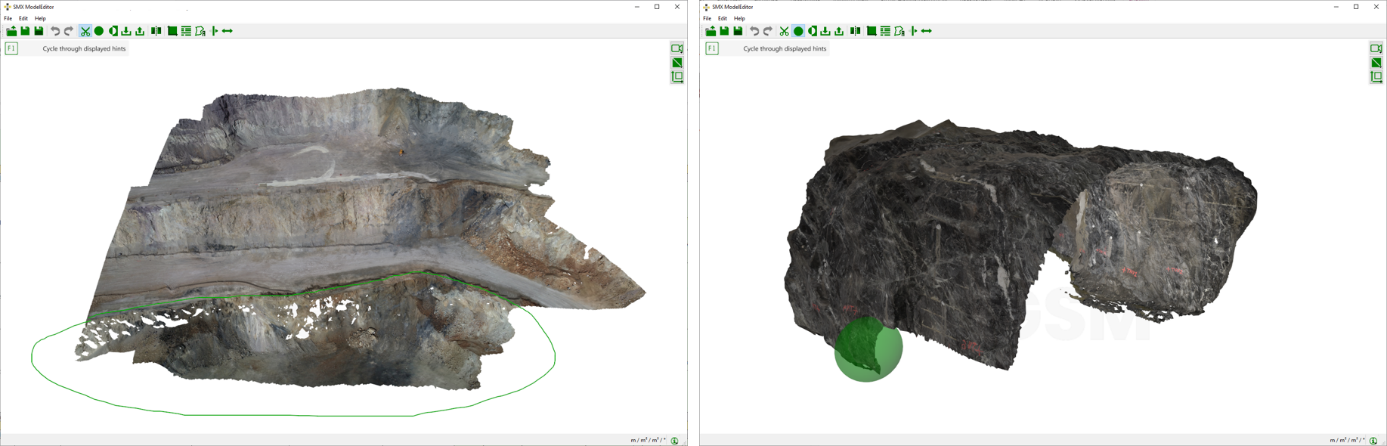
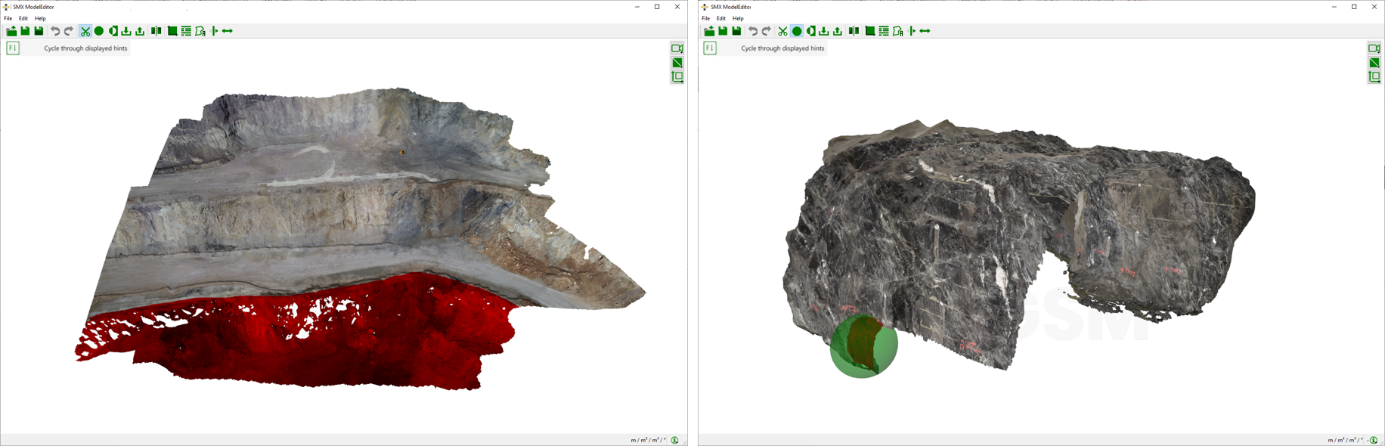
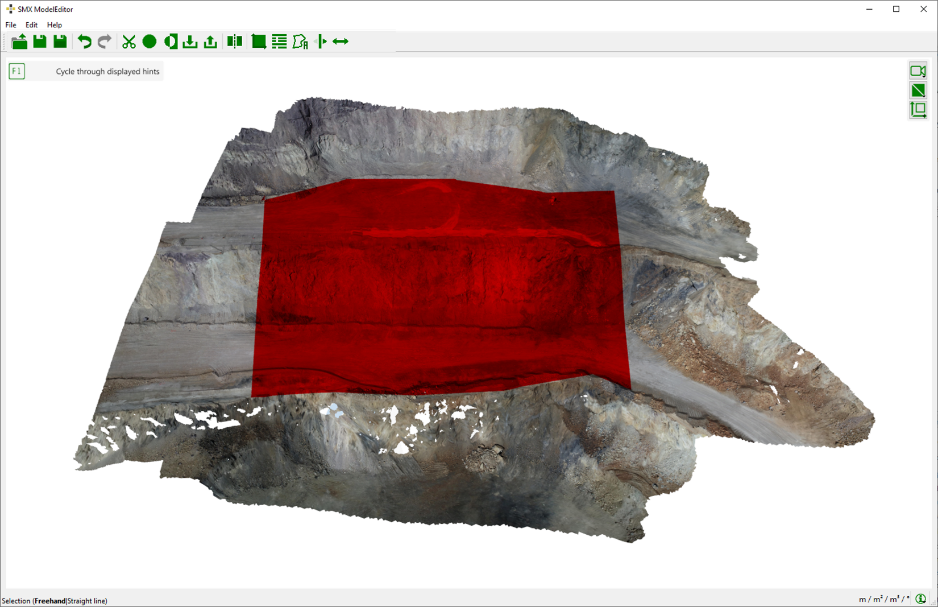
 button and enclose the region to delete by dragging the cursor across the 3D point cloud while keeping the left mouse button pressed. Release the mouse button and the selected region is highlighted in red.
OR - “Trim Model with Sphere”
 button and mark the region to delete by a sphere. Adapt the size by holding “Shift” and moving the mouse wheel. Release the mouse button and the selected region is highlighted in red.
- “Trim Model with Polygon”
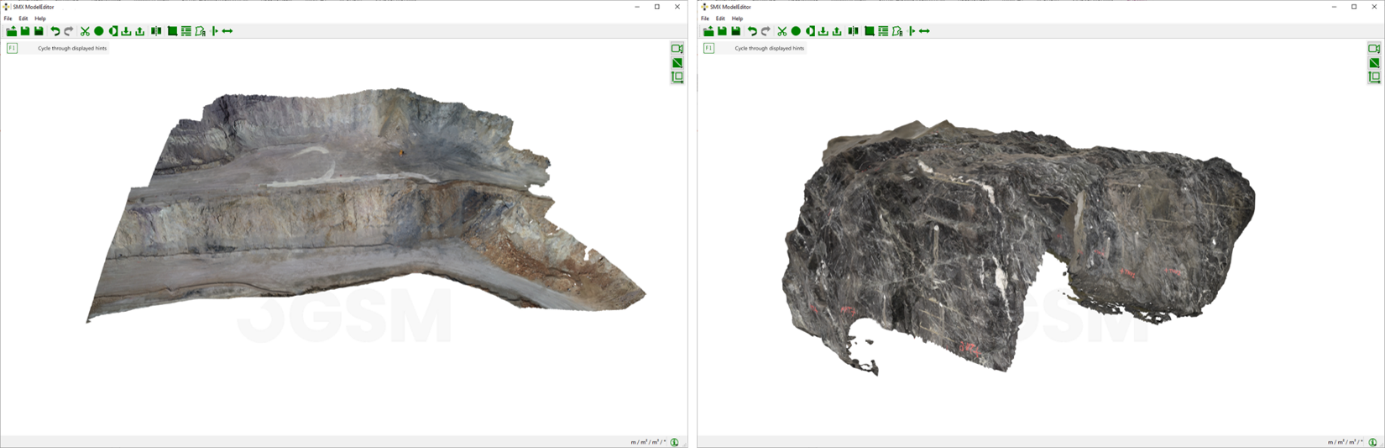
- Delete the desired region by pressing the “Enter” key. Save the 3D model by clicking “File | Save”
 or alternatively “File | Save as”
  in the menu bar or use the corresponding icons in the toolbar.
Hints:
- Press “Shift” while keeping the left mouse button pressed to draw a straight line.
- Invert the selected area by clicking on the “Invert Selection”
 icon in the tool bar or by using the shortcut key “I”. Previously unselected points are now highlighted and will be deleted by pressing the “Enter” key.
 - To delete multiple areas at once press “Ctrl” between individual selections
- Clear a selection by clicking the “Escape” button
- Adjust the orientation of the upward normal vector of the 3D model by a click on the “Flip Mesh Orientation”
 icon in the menu bar. The bright side of the 3D models means that the observer faces the upward normal vector shaded side means the upward normal vector points away from the observer.