Overview
The Cross-Section Designer tool is used for creating geologic soil profiles (fence diagrams) based on the borehole data. With this feature, user can connect matching strata across the site and generate cross-sections, export the design to various file formats such as DXF, KMZ, PNG and more.
To access this page:
Go to the left-hand navigation menu and select Data Entry & Design > Cross Sections.
This opens the Cross Sections page (it make take a minute to load the page). Click on the Open Cross-Section Designer button to load the program.
Display Modes
The Cross Section Designer page operates in 3 different Display Modes:
- Plan Mode: is used for adding / editing cross-sections on plan (i.e. map).
- Profile Mode: is used for designing a cross-section, connecting strata, applying hatch patterns to layers, drawing water table, etc. To switch to Profile Mode, first select a cross-section on Plan Mode, and click on Switch to Profile View button from its property grid.
- 3D Mode: is used for viewing the entire project in 3D, along with the terrain model, etc.
User Interface
The following describes the main parts of the user interface in Cross Section Designer:
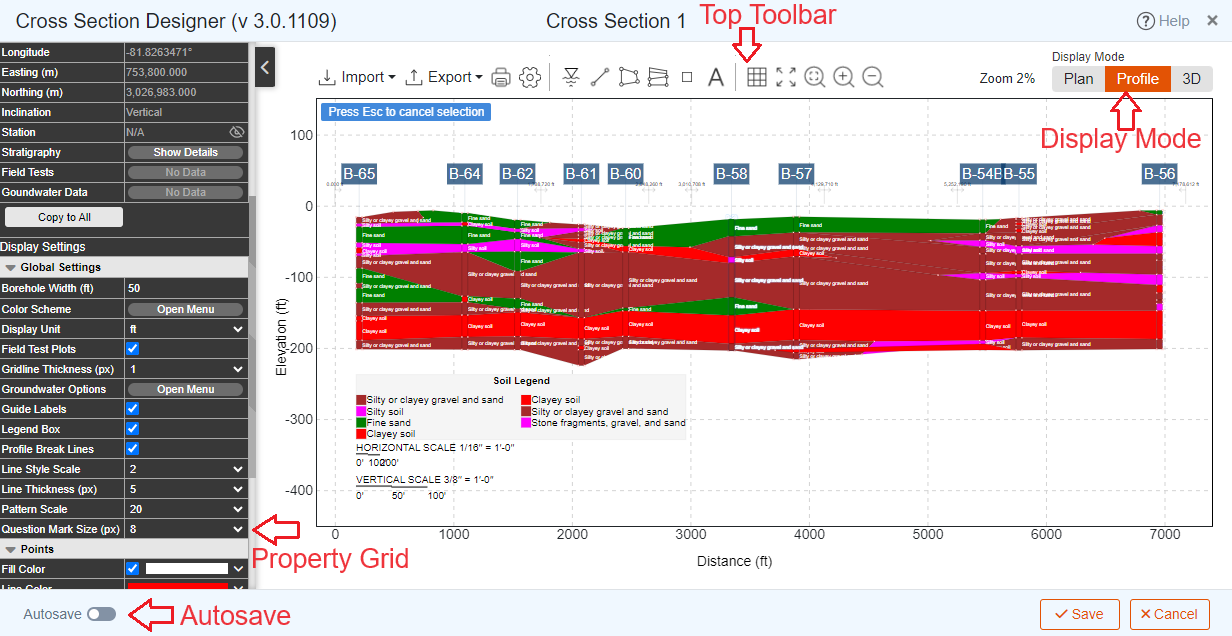
- Top Toolbar: provides access to various functions such as import, export, print, zoom, etc.
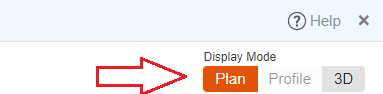
- Display Mode: is located at the top-right corner of screen and is used to switch between Display Modes.
- Property Grid: is located on the left side of the screen. Each 'object' in Cross-Section Designer has its own properties (i.e. text, color, font size, opacity etc.).
- To view the properties of an object, click on the object to 'select' it. Examples of objects include boreholes, cross-sections, soil or rock layers (polygons), groundwater lines, texts, etc.
- The lower portion of the property grid is reserved for general settings that determine the look and behavior of the program (e.g. line thicknesses).
- Auto-save: if selected, automatically saves the design every 2 minutes.