Multiple Weak Layers
1.0 Introduction
Weak layer surfaces can be used to clip slip surfaces that are generated at their locations. Sometimes, multiple weak layers can exist in the subsurface and the factor of safety associated with each weak layer or combinations thereof needs to be determined. The underlying material behind the weak layer can also be considered in the analysis if it is weaker than the weak layer itself.
In this tutorial, we will demonstrate how to use the “Weak Layer Handling” feature to perform a comprehensive analysis using multiple weak layers within a slope. The feature is demonstrated on both a single user-defined surface as well as a global search.
1.1 Open the Starting File
Open the tutorial file in File > Recent > Tutorials > Weak Surface and open the file Multiple Weak Surface - starting file.
2.0 Define Materials
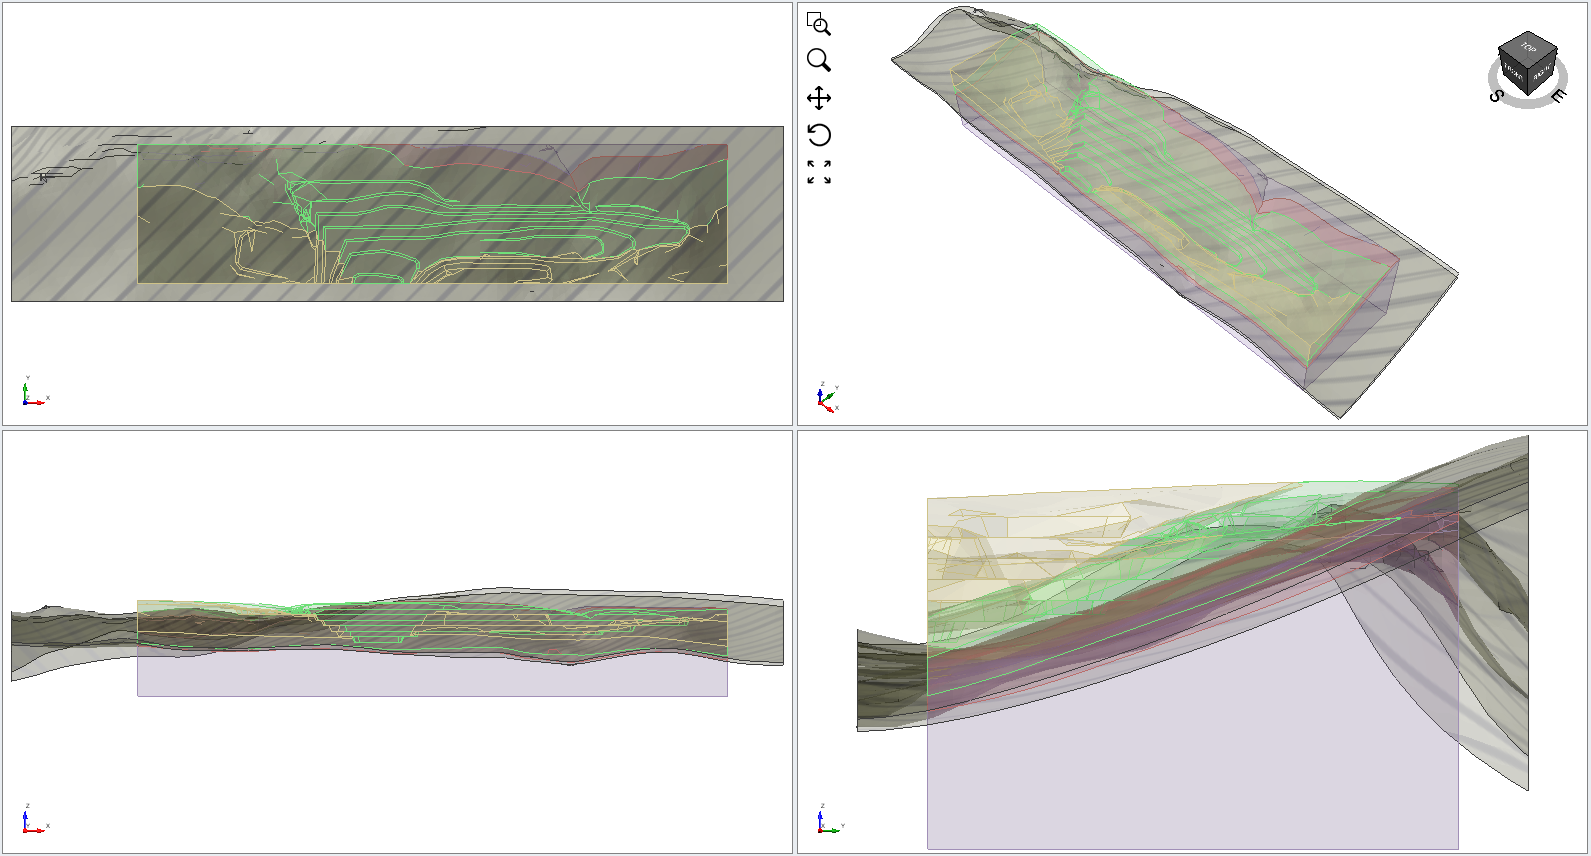
The starting file model consists of four different material layers, which have been predefined. There are also two surfaces which will be assigned as weak layers during this tutorial.
3.0 Specify Weak Layers
- Select the Geometry workflow tab.
- Go to Materials > Weak Layers > Add Weak Layer Surface… > Add Weak Layer Surface…
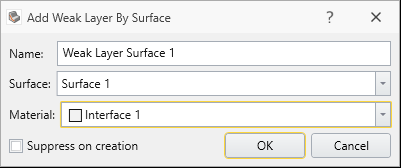
- Choose Material: Interface 1 and Surface: Surface 1:The “Suppress on creation” checkbox can be toggled to exclude the weak layer from the analysis without needing to delete the entity. Weak layers can also be suppressed via the Properties tree and via Slip Surface Options > Manage… (beside the Weak Layer Handling section)
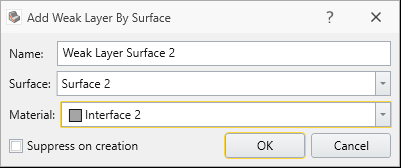
- After selecting OK, repeat the same steps to add the second weak layer with Material: Interface 2 and Surface: Surface 2:
- To see the defined material properties:
- Select Annotate > Overlay Tables > Show Material Table

In addition to the four materials used in the slope geometry, there are also two weak materials (Interface 1 and 2) with low cohesion and friction angles, which will be assigned to the weak surfaces. - Click OK.
4.0 Slip Surfaces
We will first analyze the single, pre-defined Elliptical slip surface in the model.
- Select Surfaces > Slip Surface Options

- Use the following settings:
- Surface Type = Spline, and
- Weak Layer Handling = Heuristic
- Choose a Method = Particle Swarm Search
- Surface Altering Optimization = ON

- Select OK.
5.0 Results
- Save the file and Compute

- To see the results, go to the Results tab

- Select the Column Viewer
 to view the materials intersected by the slip surface. You can click on the cells in the grid to view the information for each soil column. In the screenshot below, Column 1214 is selected, and the Material Info tab is open, showing that the portion of the slip surface in the grey material has intersected the bottommost weak layer, Interface 2.
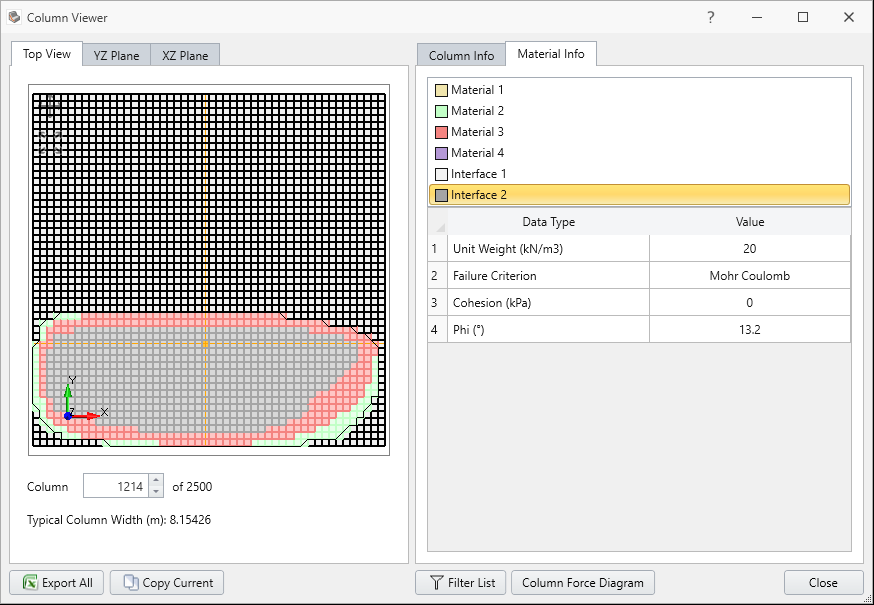
- Now close the column viewer and select Show All Surfaces
 from the toolbar.
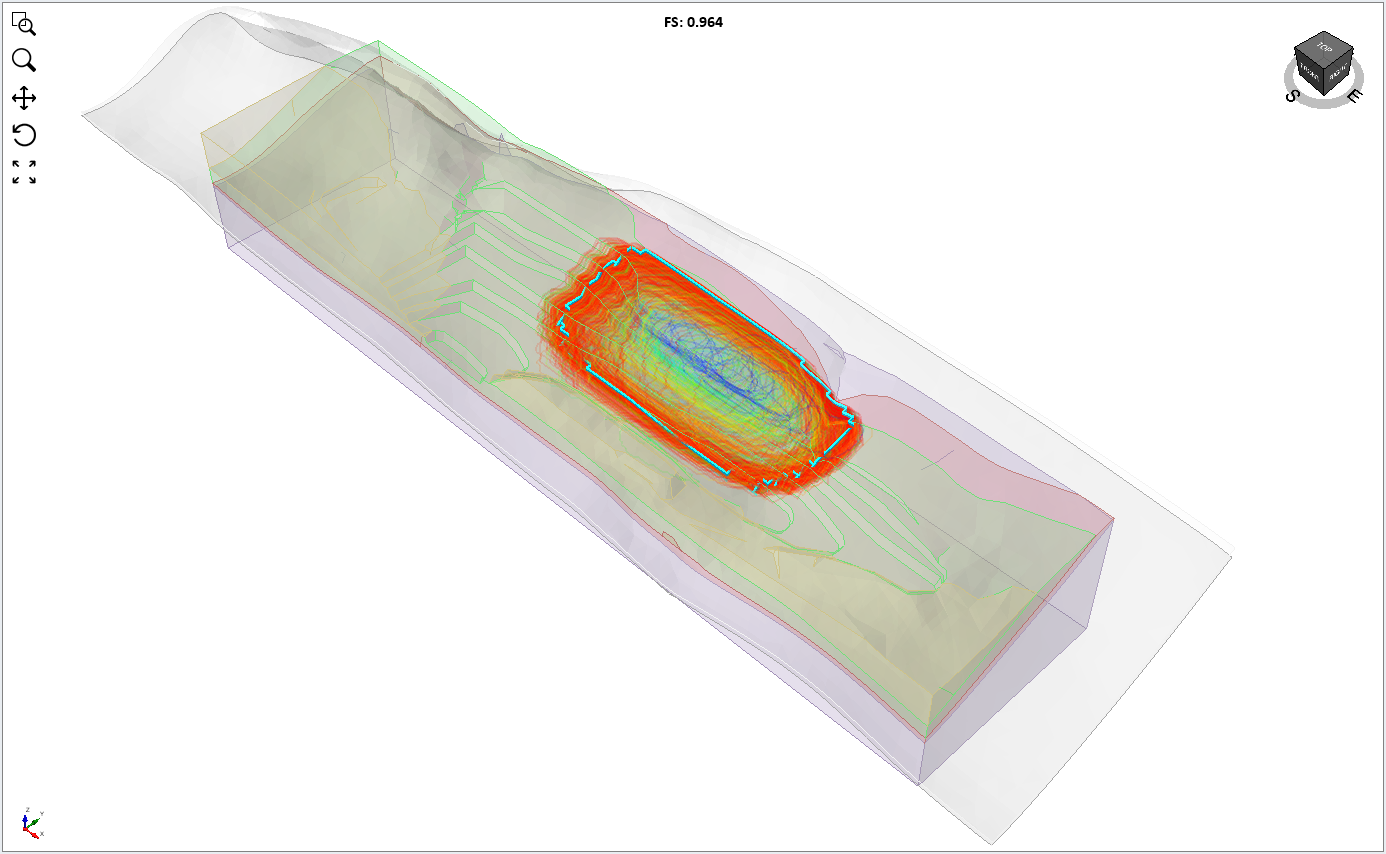
- For easier viewing of the individual surface results, check the Show only selected outline checkbox and click on the rows of the table to view each one.
Cycle through the surface results to view the different slip surfaces generated during the analysis. Here we can see that some of the spline surfaces were clipped to either of the weak layers, and others were not clipped at all. In this way, all the possible combinations of the weak layers are considered during the search.
6.0 Optional Exercise: Weak Layer Handling Options
The heuristic weak layer handling method considers the combinations of weak layers by treating each weak layer as an additional optimization parameter during the Particle Swarm Optimization.
• A more rigorous option (Automatic case generation) is available, but is much slower.
• You can also choose the Always snap to highest option if you only wish to snap to the uppermost weak layer at any given point on the slip surface.
For more information about the different options, visit the Weak Layer Overview.
6.1 Automatic Case Generation
Now we will try out the more rigorous Automatic case generation method. This method analyzes all the possible combination of weak layers for every slip surface generated during the computations.
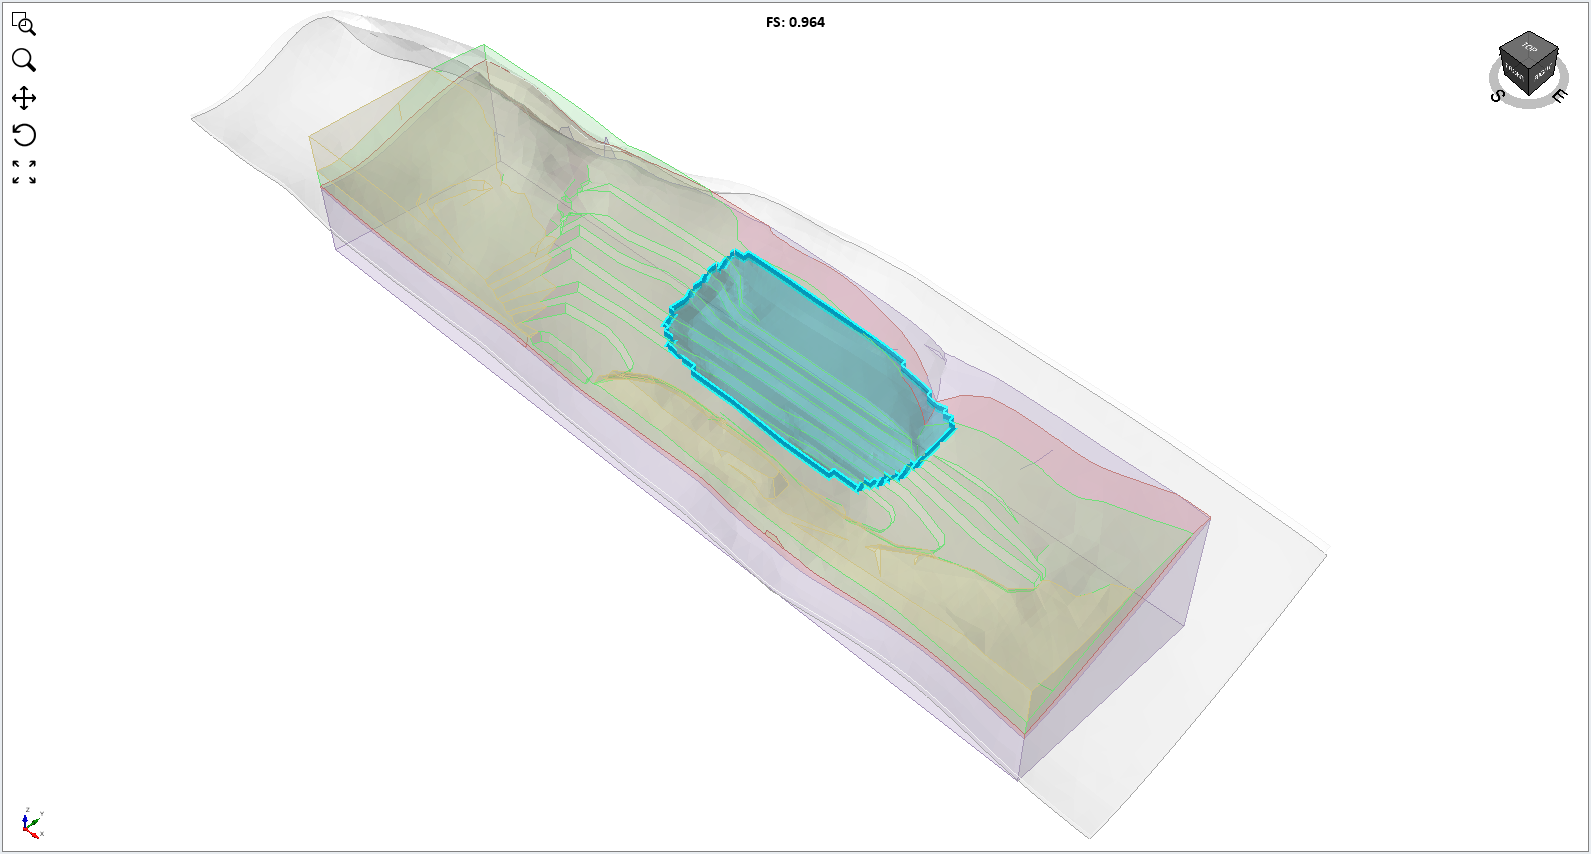
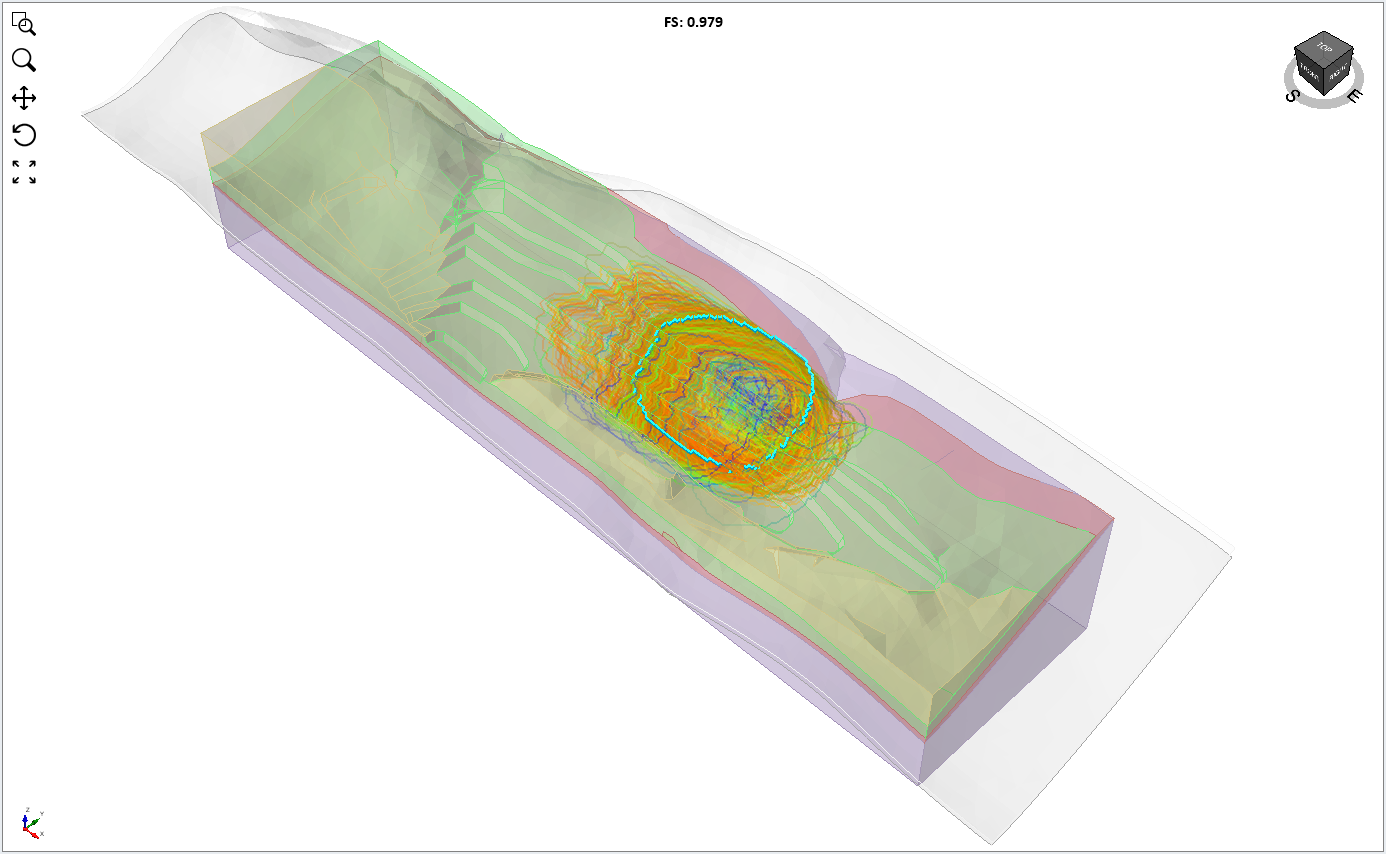
Note that as the number of weak layers increases in the model, this method can become very slow. expected, the global minimum slip surface looks to be clipped at the bottom by a weak layer.
- Select Surfaces > Slip Surface Options
- Weak Layer Handling: Automatic case generation
- Select OK and compute the model. It may take noticeably longer than the previous computation to complete.
- View the results of the computation.
As expected, the global minimum slip surface looks to be clipped at the bottom by a weak layer.
- Click Show All Surfaces to view the surfaces analyzed during the computation.
- If you cycle through the individual results, you will notice that more slip surfaces were analyzed during these computations than in the previous time. This is because every slip surface is processed by clipping it to all available combinations of weak layers.
6.2 Always Snap to Highest
Now we will try out the Always snap to highest method. This method always clips the slip surfaces generated during the computations to the highest weak layer available. This option can be used if you are confident that the uppermost weak layer(s) govern the failure.
- Select Surfaces > Slip Surface Options
- Weak Layer Handling: Always snap to highest
- Select OK and compute the model.
- View the results of the computation.
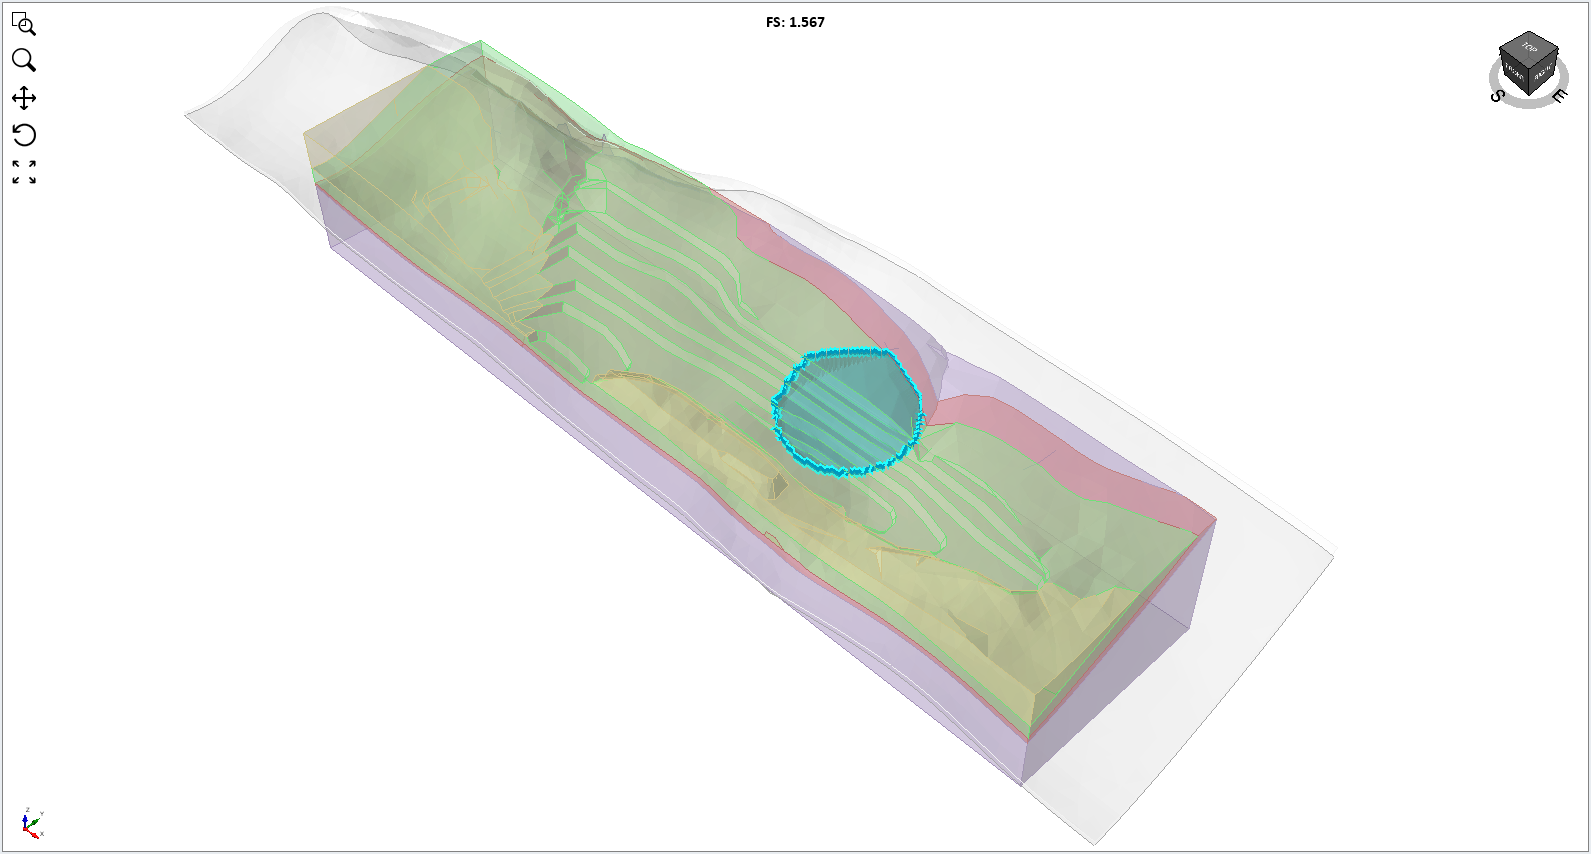
Warning: Since the upper weak layer completely hides the lower weak layer, the lower weak layer is effectively ignored in the analysis due to this setting even though we have shown in the previous computation that it affects the critical slip surface. As such, the failure mode involving the lower weak layer is not considered during this analysis.
7.0 Extra Discussion
Please see Weak Layer Overview for a detailed discussion of the limitations for the weak layers feature in Slide3. These limitations concern models that have discontinuous and/or vertical weak layers.