Add Load
1.0 Introduction
This tutorial will demonstrate how a distributed load can be added to a specific surface area of the model. In Slide3 2017, users were required to imprint geometry to add a load to a specific area; Slide3 2019 no longer requires that loads be imprinted on geometry using a polyline. Loads are now defined using two different menu options: 1) Add Loads, and 2) Add Loads to Selected (first select face, edge, vertices, or entity). This tutorial will provide step-by-step instructions for adding a load using the new and improved Add Loads option.
2.0 Add Load

- Select File > Recent > Tutorials and read in the file Add Loads – starting file from the installation folder.
- Select Loading > Add Loads

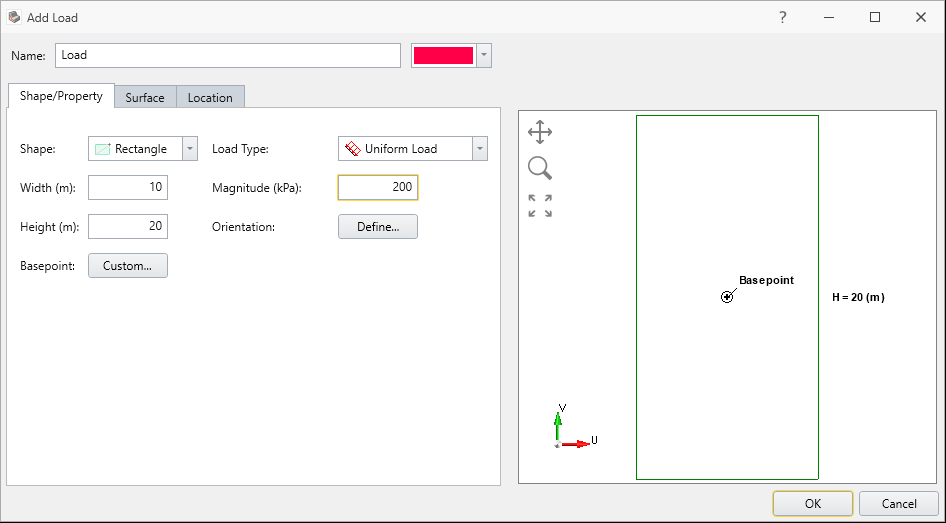
- Begin by defining the load Shape and Properties under the Shape/Property tab. Enter the following parameters:
- Shape = Rectangle
- Width (m) = 10
- Height (m) = 20
- Load Type = Uniform Load
- Magnitude = 200
- Leave the Basepoint as the default
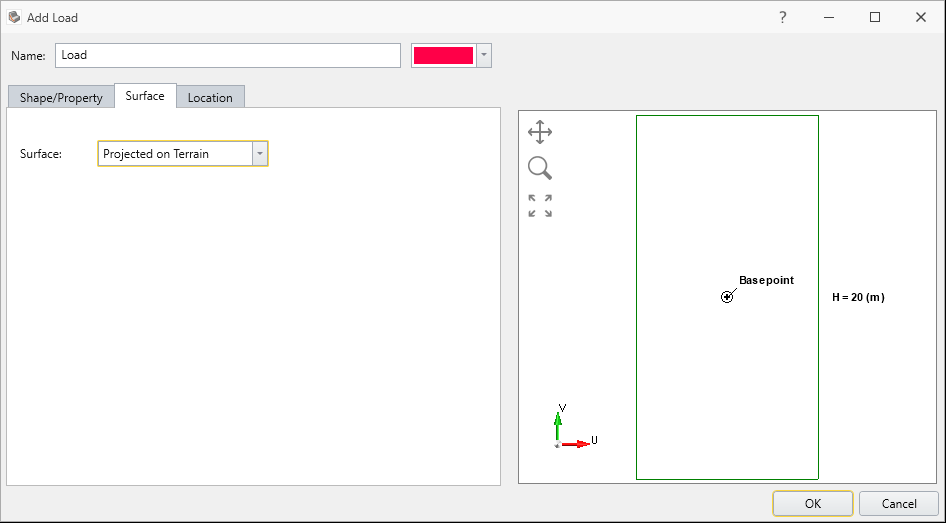
- Select the Surface tab, and before selecting OK, select Projected on Terrain as the surface that the load will be applied to.
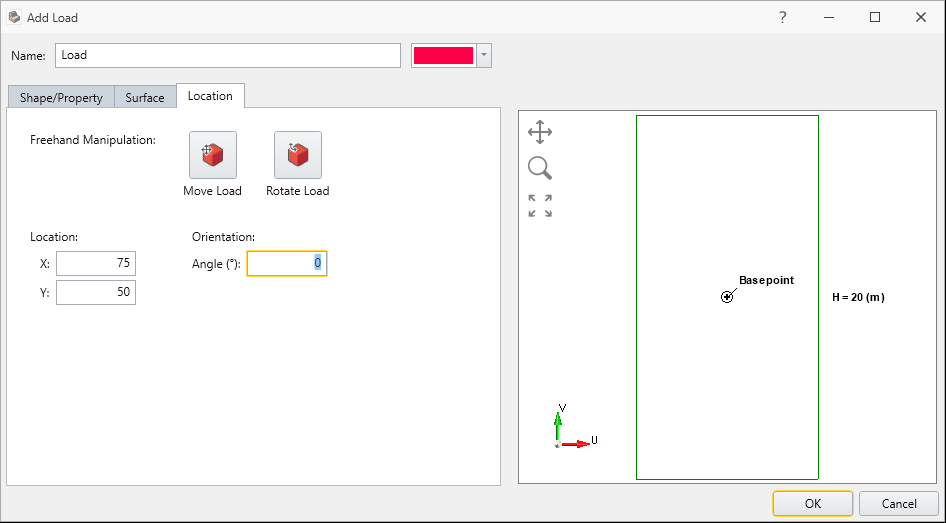
- Finally, select the Location tab.
- Enter (75, 50) for the (X, Y) coordinates. This will place the load on the model, with the basepoint (defined in the Shape/Property tab) at the coordinates entered. The load will now appear on the model.
- Select OK to finalize the placement of the load.
Notice that the load can be placed on the model using either freehand manipulation or by entering X, Y coordinates.
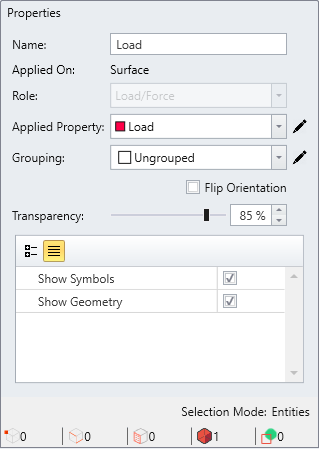
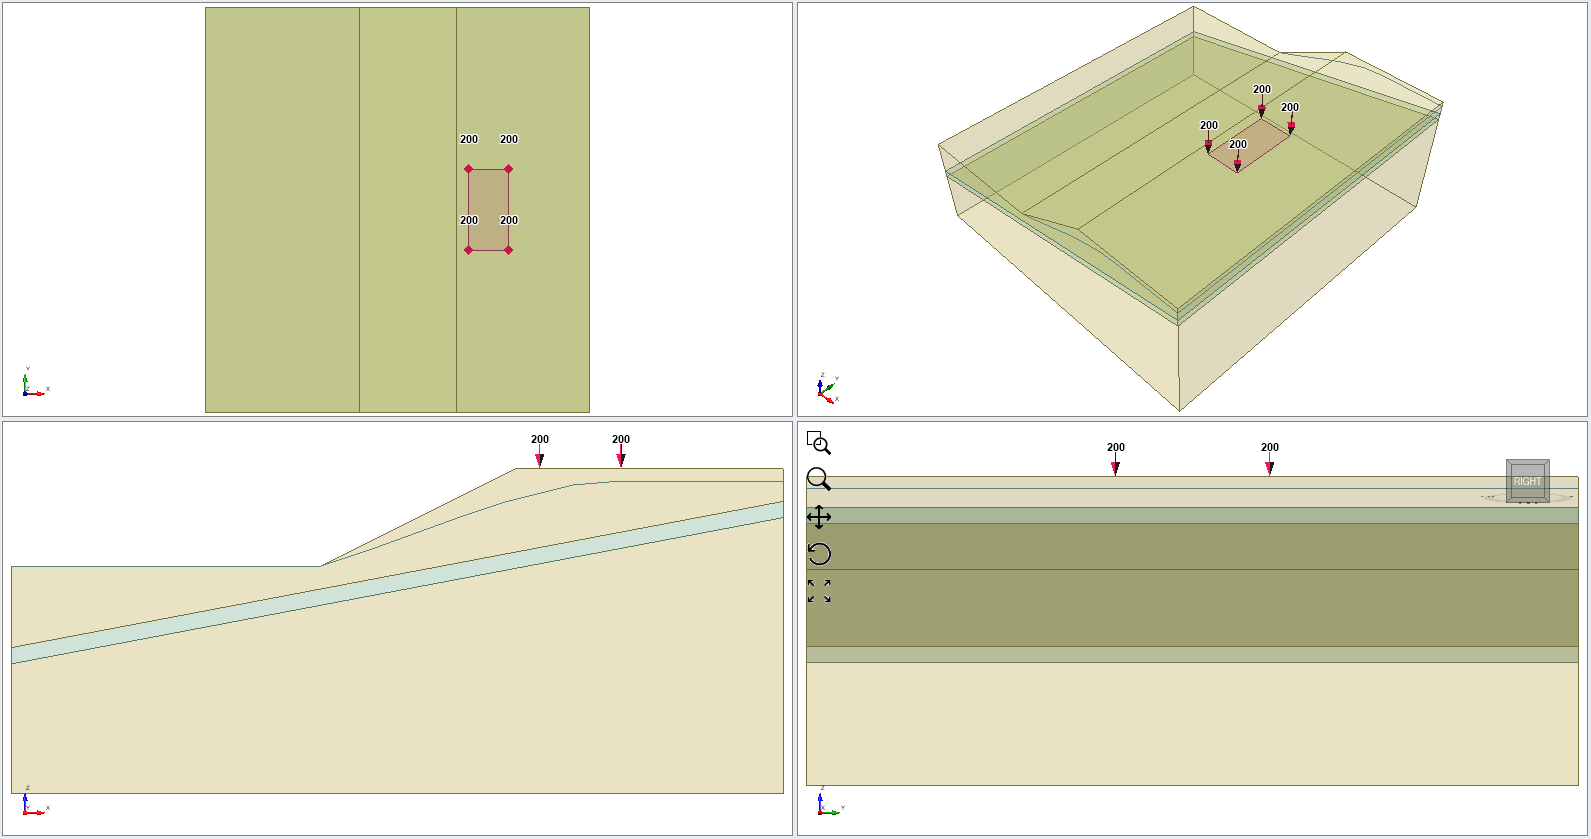
The final model with the load added should now appear.
3.0 Results
- Save the file and Compute

- Select Interpret > Show Contours or select Show Contours
 from the toolbar.
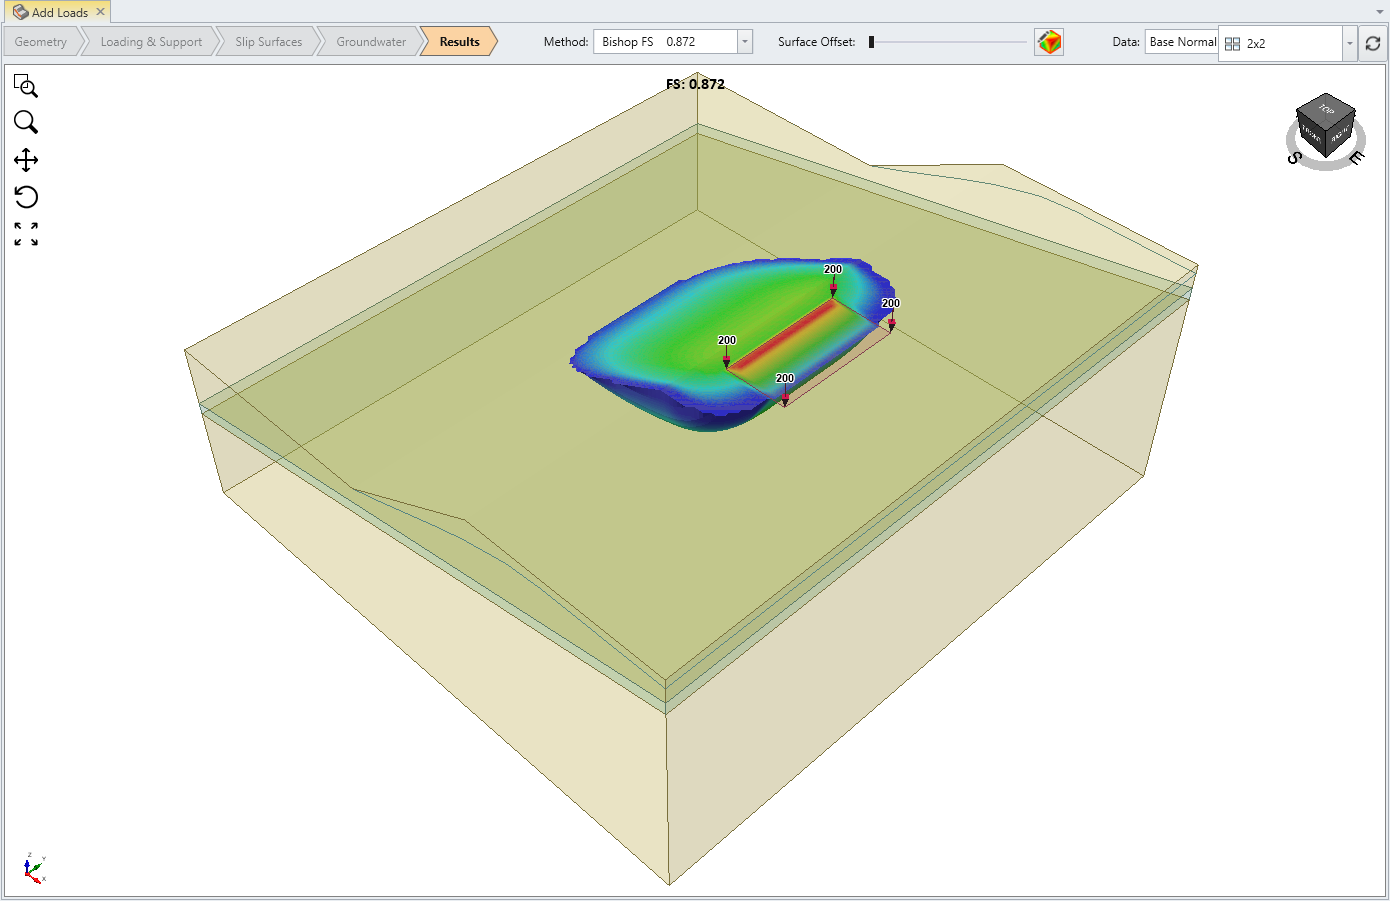
You should see the following results. The Bishop safety factor is about 0.9. You can clearly see the effect of the load on the normal stress contours for the global minimum slip surface.
4.0 Search Options
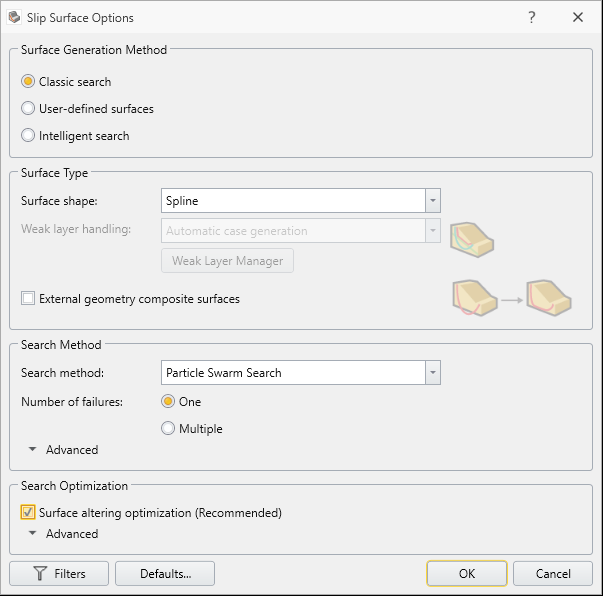
We will use following settings in the Slip Surface dialog:
- Select Surfaces > Slip Surface Options

- Select:
- Surface Generation Method = Search Method
- Surface Type = Spline
- External Geometry Composite Surfaces = OFF
- Search Method = Particle Swarm Search
- Surface Altering Optimization = ON
5.0 Results
- Save the file and Compute

- To see the results, go to the Results tab

With Surface Altering Optimization you obtain a much lower safety factor. Compared to the spherical surface search, the Bishop safety factor is now about 0.7.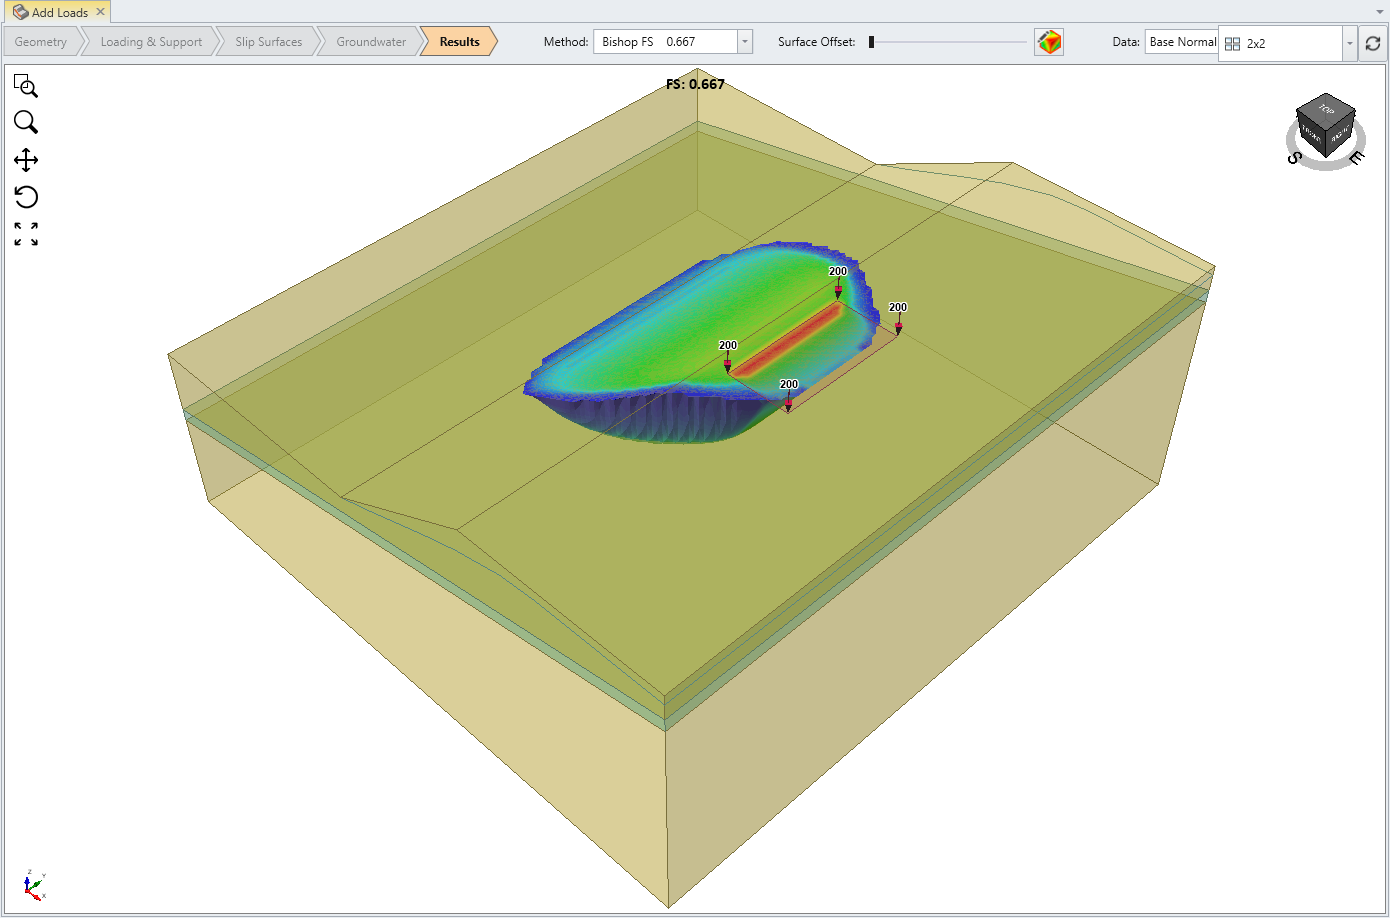
This concludes the Add Loads tutorial.