Import Monitoring Data
1.0 Introduction
This tutorial will demonstrate how to view IDS Radar Data on RS3. The tutorial will provide an example where the imported IDS Radar Data can be used to validate the slope stability of RS3 using the results obtained from RS3 with IDS radar data. The results are also compared with Slide3 as well. All tutorial files installed with RS3 can be accessed by selecting File > Recent > Tutorials folder from the RS3 main menu. The starting file can be found in IDS - starting file.rs3v3 and the finished product of this tutorial can be found in the IDS.rs3v3 file.
2.0 Open RS3 Model
- From the RS3 main menu, select File > Recent > Tutorials.
- Open the file IDS - starting file.rs3v3.
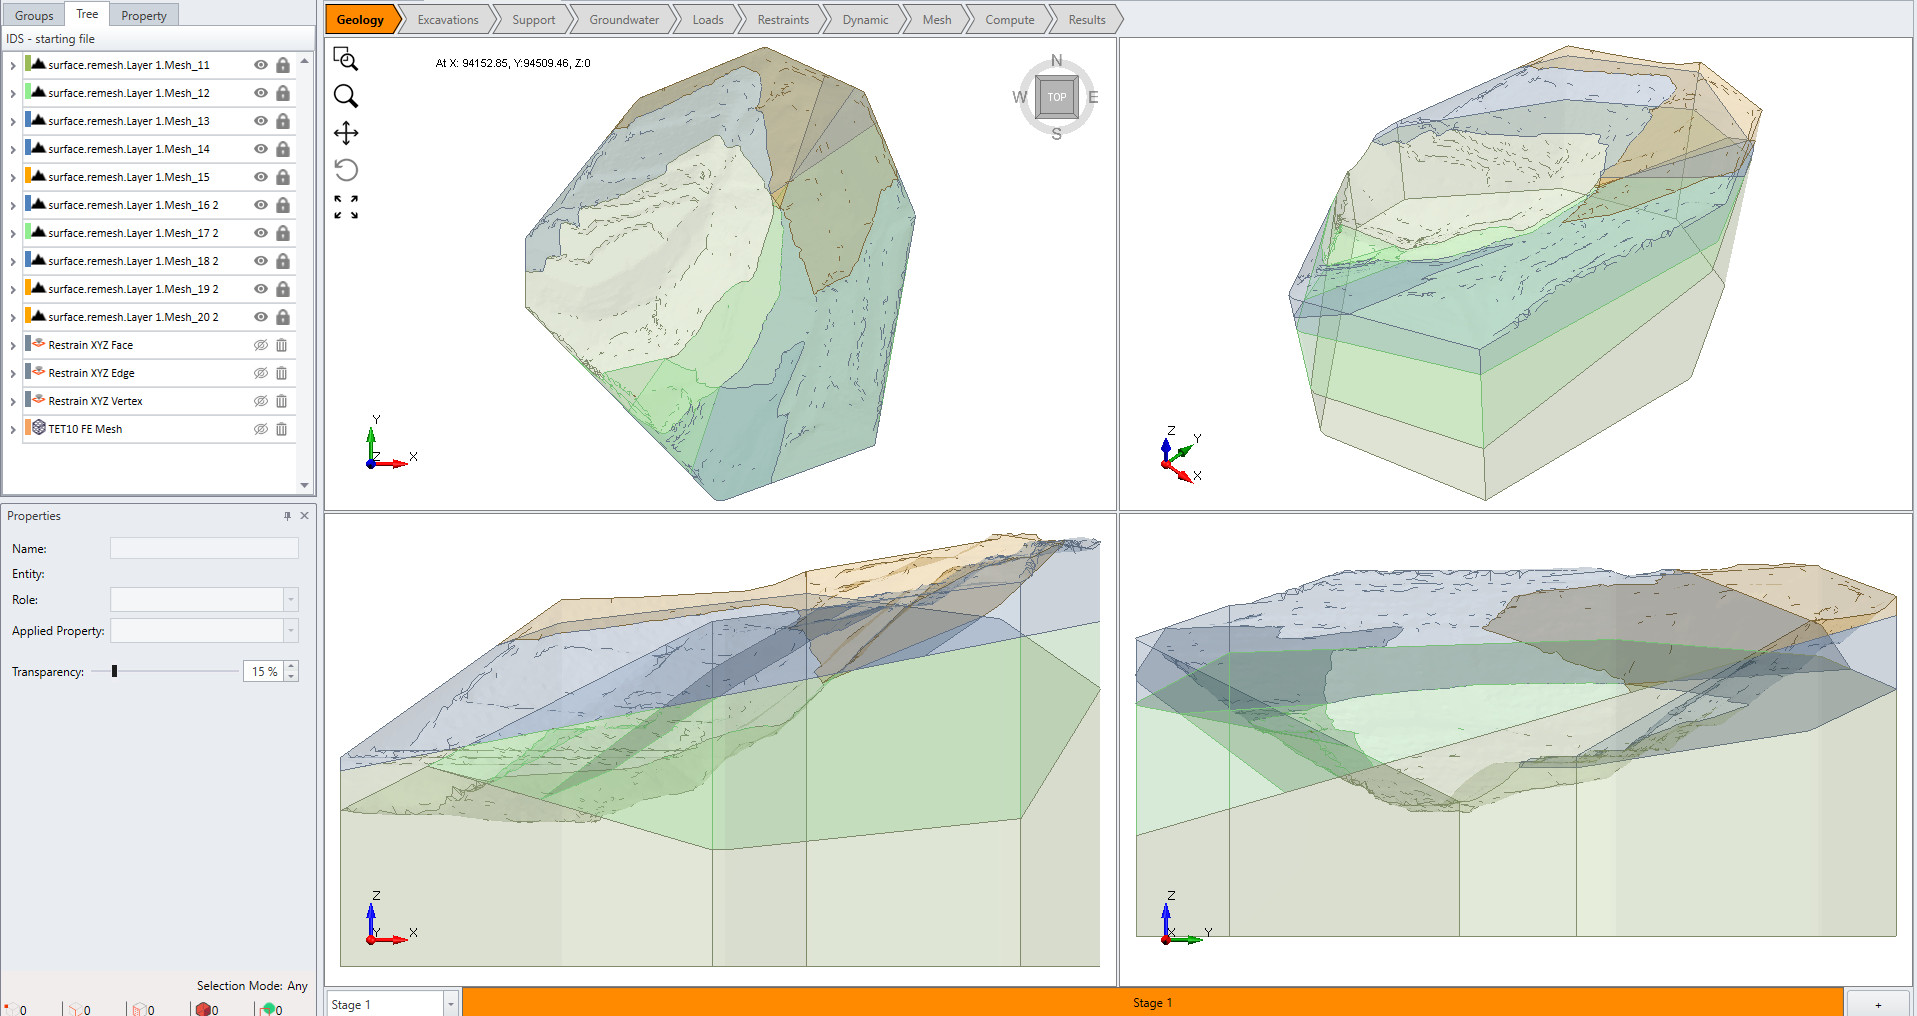
The geometry along with material properties, mesh, and constraints are provided in the starting file model.
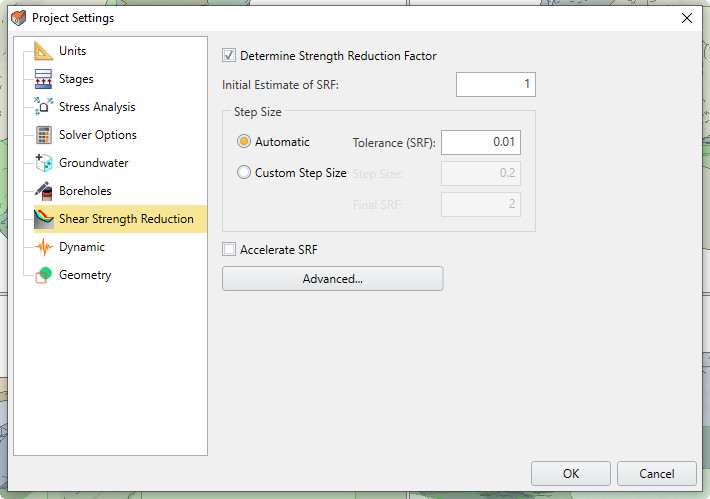
- Select: Analysis > Project Settings

- The model will analyze slope stability through Shear Strength Reduction (SSR) analysis method. Under the Shear Strength Reduction, make sure 'Determine Strength Reduction Factor' is activated and values for the SRF are entered as:
- Initial Estimate of SRF = 1
- Step Size = Automatic
- Tolerance (SRF) = 0.01
3.0 Computing Results
Two options are available for this tutorial:
- Compute the model (Not recommended)
- Download the model with computed results (Highly recommended)
3.1 Compute the Model
- Next, we move to Compute workflow tab

- From this tab, we can compute the results of our model. First, save your model: File > Save As.
- Use the Save As dialog to save the file, and next, you need to save the compute file: File > Save Compute File. You are now ready to compute the results.
- Select: Compute > Compute

3.2 Download the model with computed results
The results can be downloaded through the link shown below to save time (highly recommended):
- Click the link to download the results: /downloads/RS3/IDS_RS3_Slide3.zip
- Extract the folder.
- Go to the folder IDS_RS3_Slide3 > RS3 and open the model IDS.rs3v3.
4.0 Interpreting Results
- Select the Results workflow tab
 to view the failure surface on the model
 - Select: Interpret > Refresh All Results

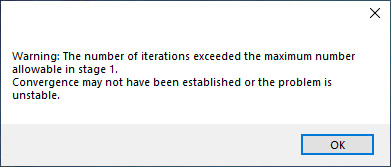
- The error message may pop up warning you with a convergence issue. This is fine as SSR analysis has been performed with convergence until failure occurs. Select OK.
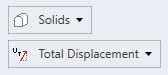
- Under the two drop-down menus on legend, change the result to Total Displacement.
- Right beside the Results workflow tab, you should see the Critical SRF (Strength Reduction Factor) of 1.06. Scroll down on the drop-down menu and select 1.07. You will notice that the text colour is red after 1.06, which indicates slope failure after that specific SRF. The model should look as shown below:
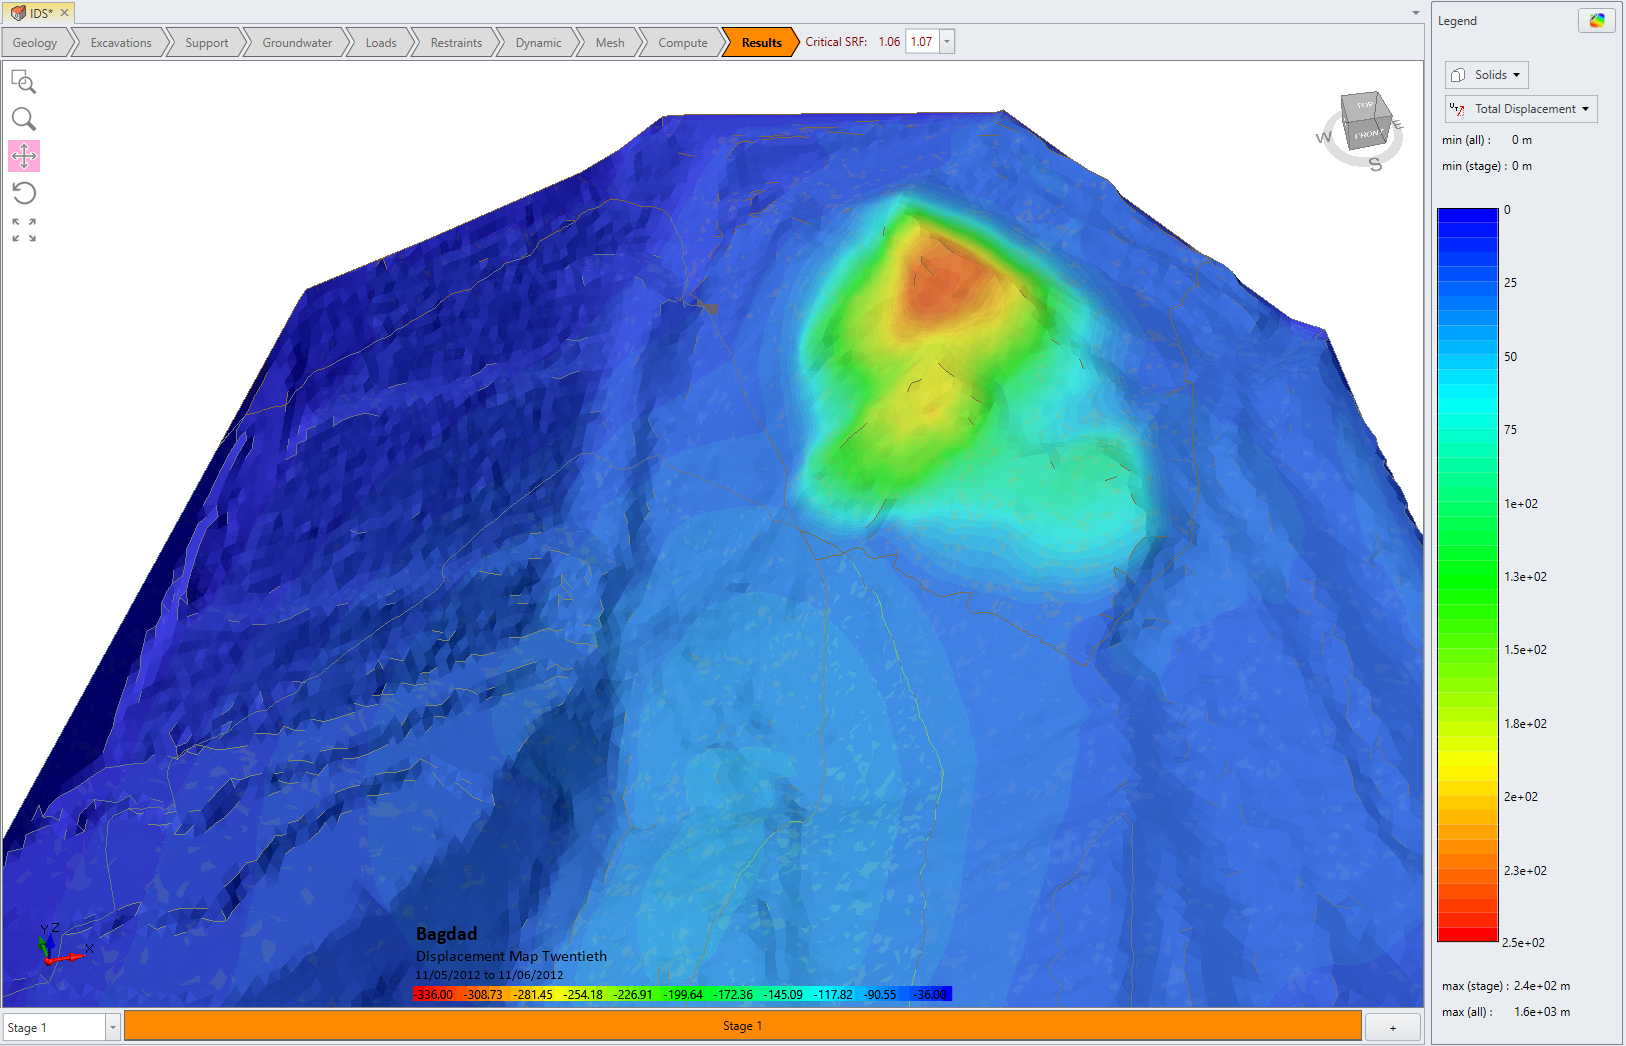
If your model doesn't look like the image above, check to see if your Exterior Contour is toggled on in the Visibility pane.
5.0 Import IDS Radar Data
- Select: Interpret > Import Sensor Data > Import IDS Radar Data.
- Open Bagdad_Displacement Map Twentieth_from_12_Nov_05-05_34_to_12_Nov_06-05_35 from the same tutorial folder.
- Select Data then Next.
- This window will show you the import data that will be parsed in RS3. Select Finish.
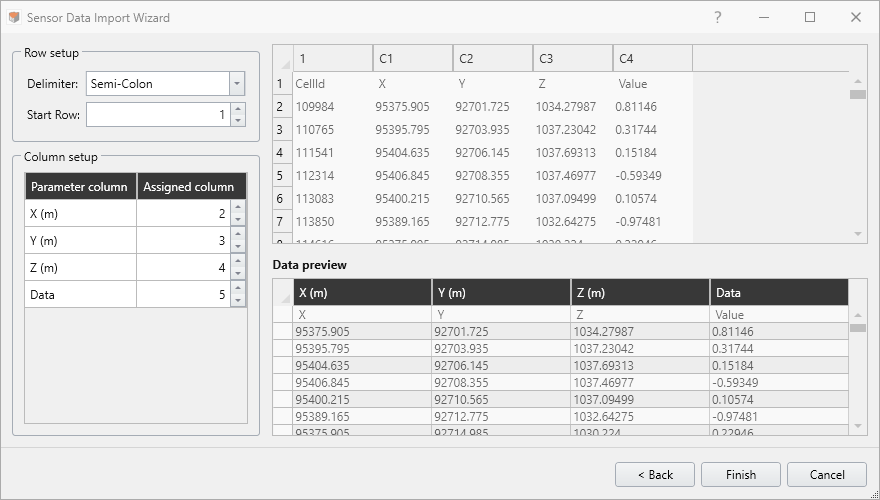
- After selecting OK, the reconstructed surface is shown as below:
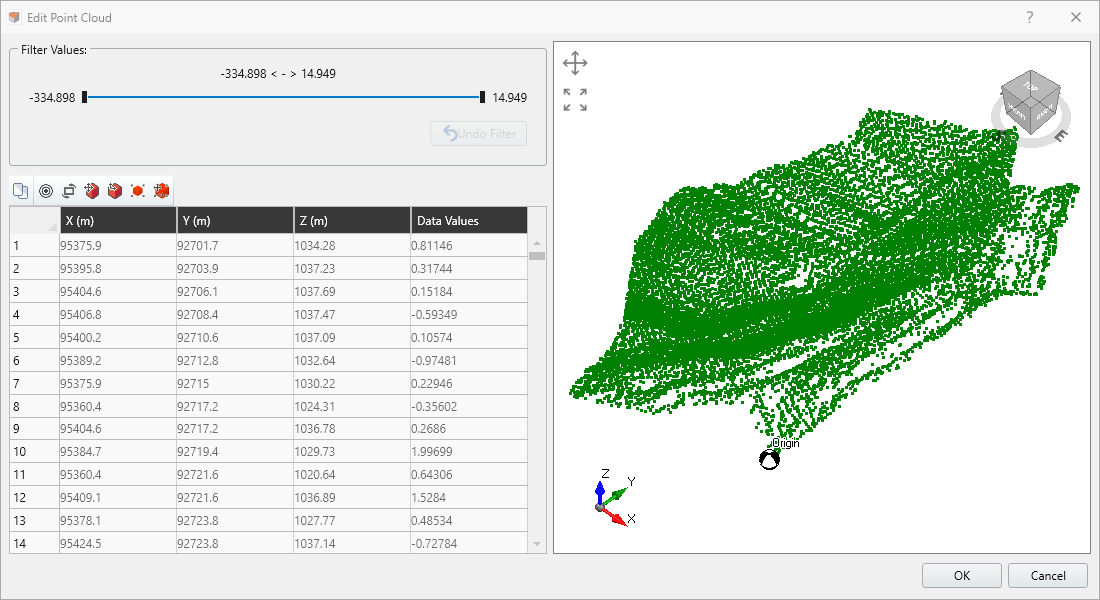
- This is the monitored data of the whole surface of the model with data acquisition position (coordinates in x, y, and z in meters) and radar map values shown in the table. Select OK and you should see the following as shown below. Notice that the imported surface matches the surface of the model. Press OK to import the data set.
Notice that despite importing the whole data set, we are only truly interested in the small hot region of the contours. In this case, this is the region with the most negative displacement. We can apply a filter to remove the points with the small displacements from the set.
- Select: Interpret > Import IDS Radar Data and repeat the same steps as before. Select OK for the warning about removing the old set. In the filter value group in the top right, drag the right slider until the surface is reduced to only points with significant displacement (approximately -93.5035).
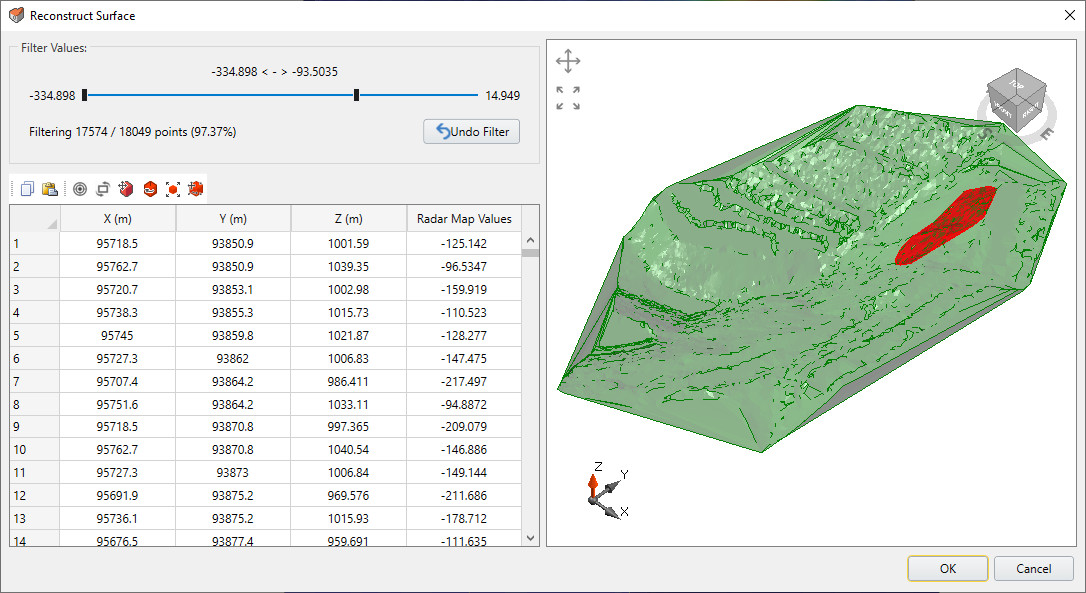
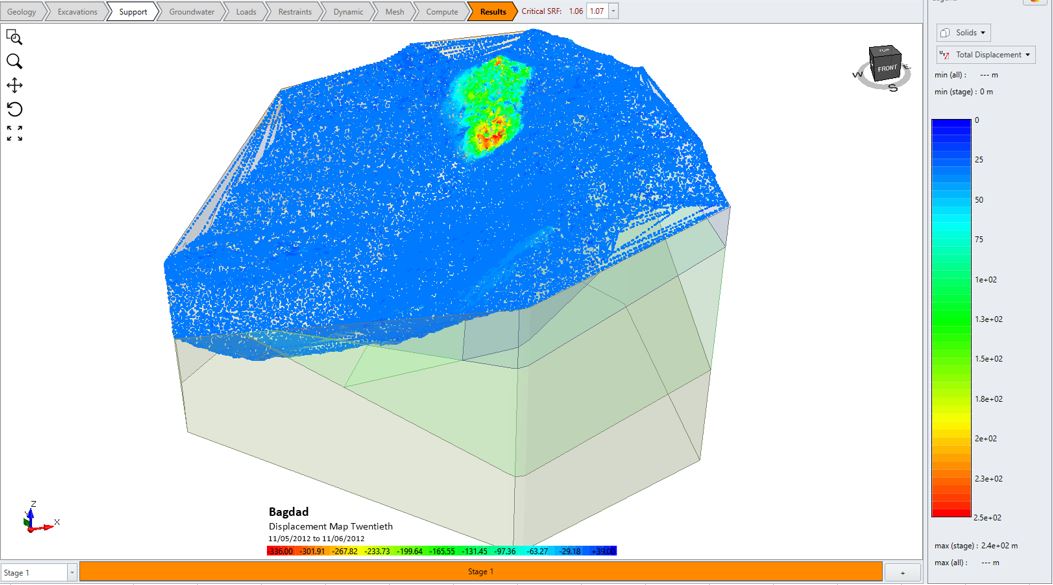
- Select OK and the surface will be imported.
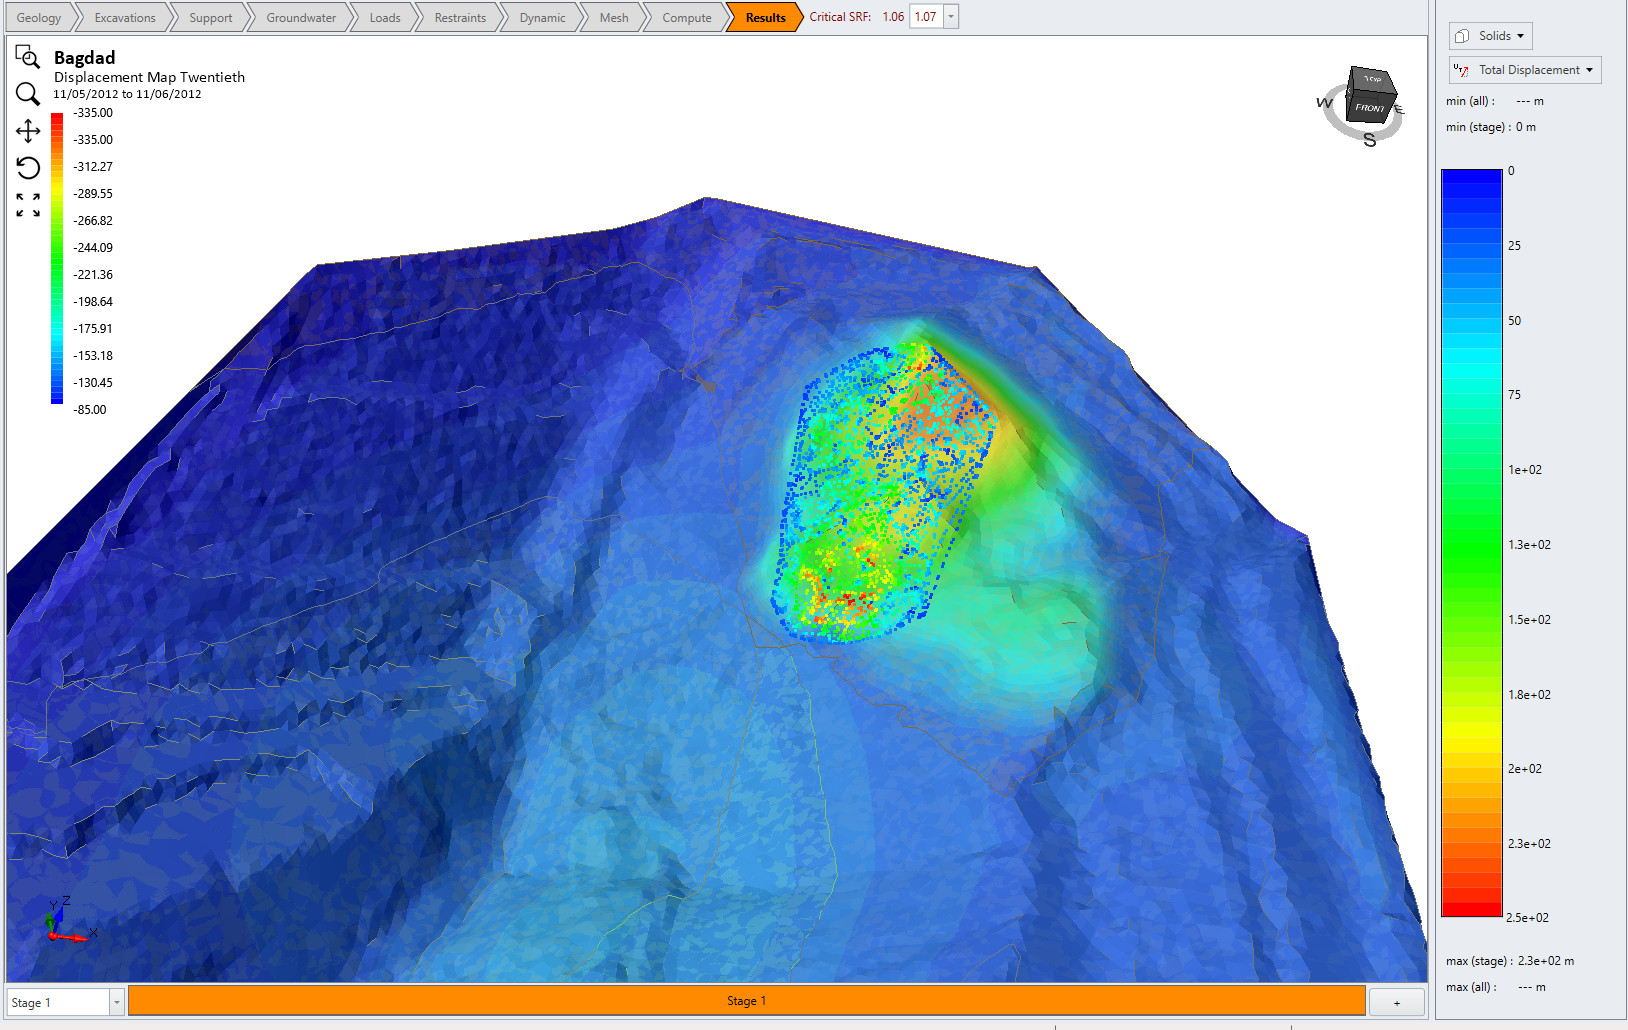
It is clear from the contour plot that there is a significant overlap between the greatest displacements measured and the failure surface predicted by RS3.
You can also open the Slide3 model results from the downloaded links.
- Using Slide3, open the results in the folder IDS_RS3_Slide3 > Slide3 > IDS .
Slide3 results also show the overlap between the failure slope predicted by Slide3 and IDS radar as shown below.
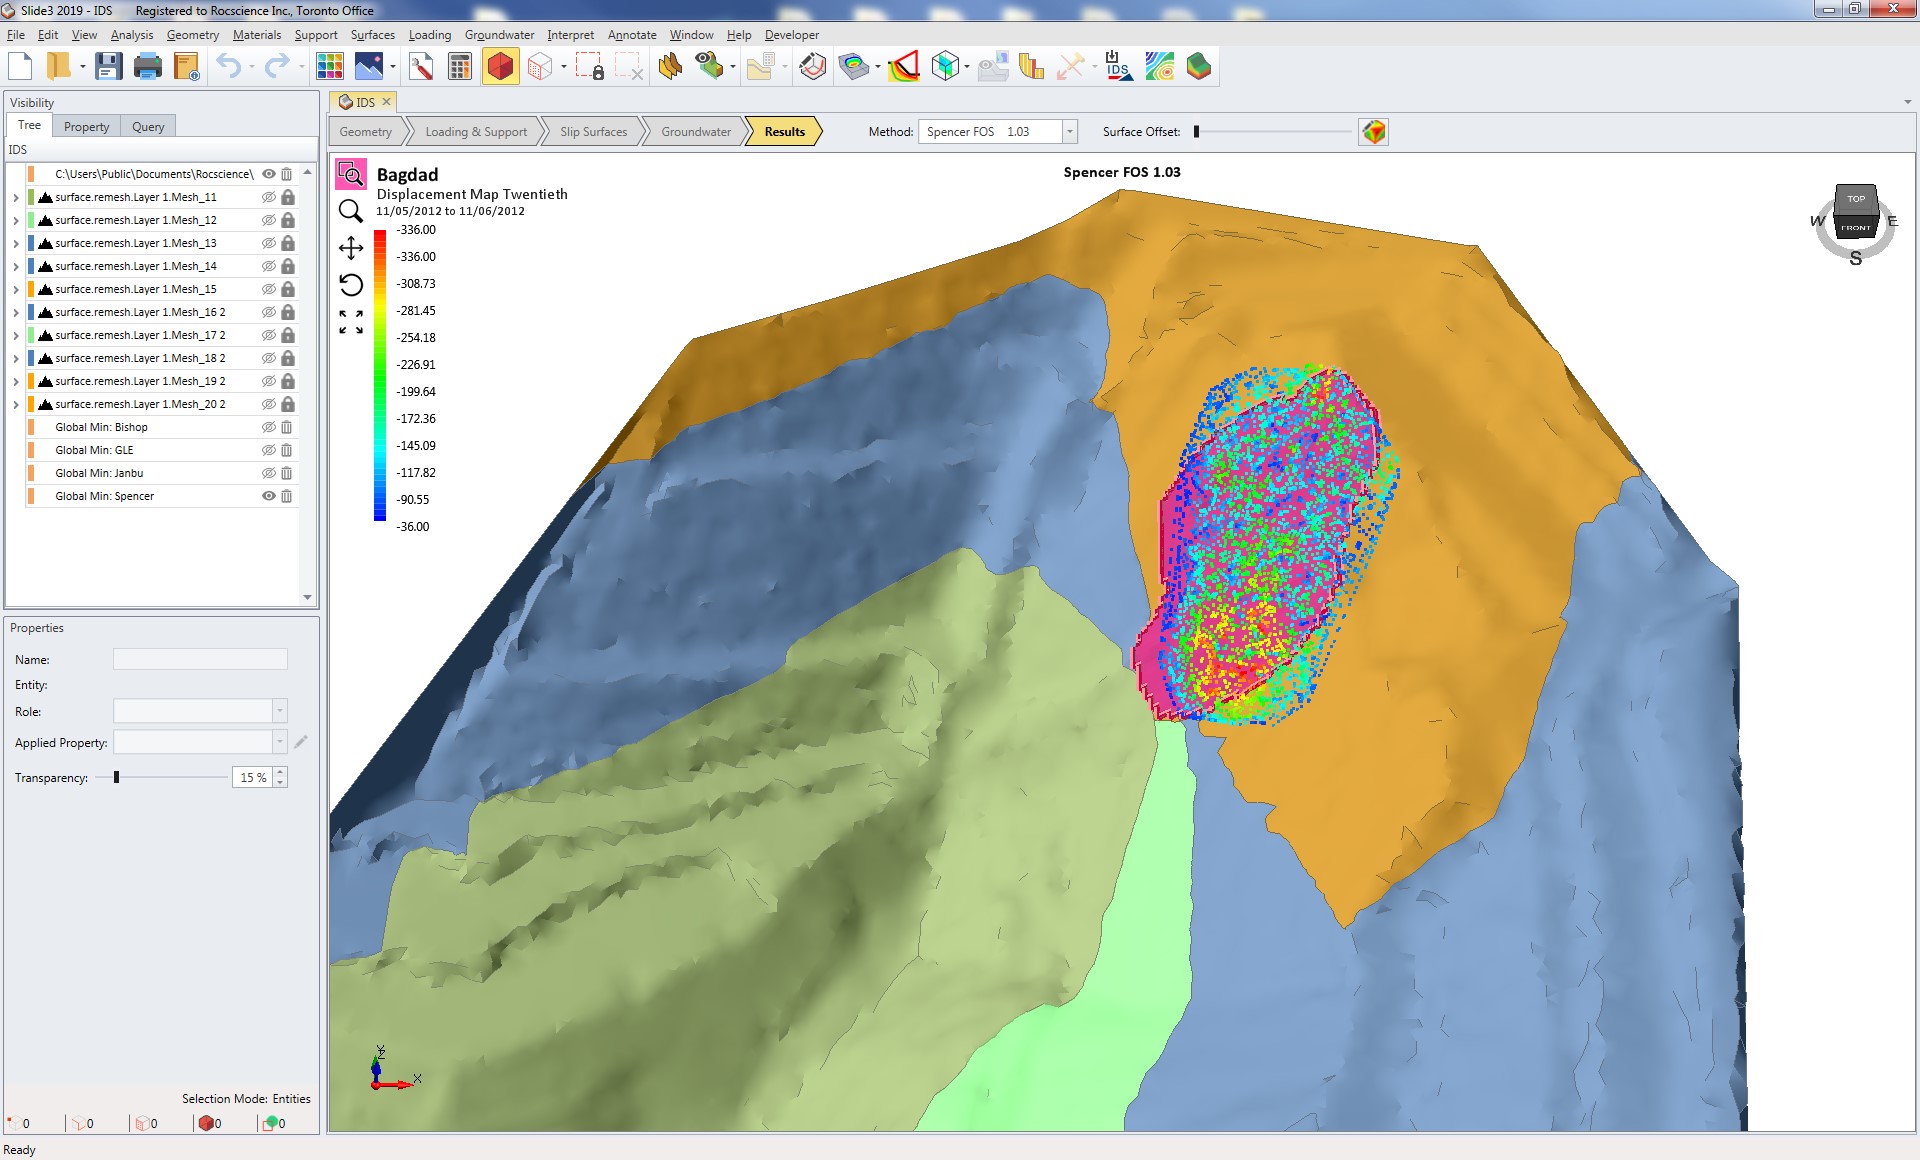
With Slide3 we get a FOS = 1.03 (Factor of Safety) using Spencer analysis method which is very close to RS3 with Safety Factor of 1.07. Note the similarity in the measured data versus computed results from Slide3 and RS3.
This concludes Import Monitoring Data to RS3 tutorial.