14 - Interaction Diagrams
1.0 Introduction
This tutorial depicts the construction of Interaction Diagrams for two pile sections. One is a square section (0.3m x 0.3m) and the other is a circular section with a 0.35m diameter. For comparison, they are chosen to have an almost similar area and an (almost) similarly applied reinforcement ratio. The square will be given 4 corner bars of 25mm diameter, and the circular section will be given 6 bars of 20 mm diameter. The concrete strength is chosen as 30 MPa and the yield strength of the steel is 420MPa with a modulus of 200 GPa. The cover to reinforcement is 50mm. The results are compared at a 45o for direction of the point of load application, i.e., expected Mx’ and My’ are equal. At the same time, we compare the Mx’-My’ relation at a load of 1000kN (just about the maximum moment capacity).
Topics Covered in this Tutorial:
- Defining Pile Section Properties
- Concrete Designer
- Plotting Interaction Diagrams
Finished Product:
The finished product of this tutorial can be found in the Tutorial 14 – Interaction Diagrams.rspile2 data file. All tutorial files installed with RSPile can be accessed by selecting File > Recent Folders > Tutorials Folder from the RSPile main menu.
2.0 Pile Sections
2.1 Project Settings
- Select Home > Project Settings

- In the General tab set the Units to SI (Metric) and the Program Mode Selection to Pile analysis.
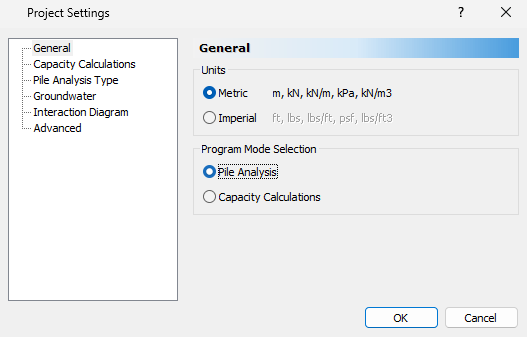
- Go to the Pile Analysis Type tab and select Individual Pile Analysis = Laterally Loaded.

- Go to the Interaction Diagram tab. For this tutorial we will use the default settings.
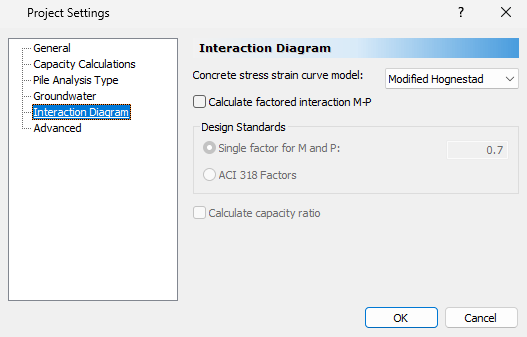
- Click OK to close the Project Settings.
2.2 Pile Section Properties
Next, we will start building the pile sections.
- Select Piles > Pile Sections
 to open the Define Pile Section Properties dialog.
 - Name Pile Section 1 as Square 0.3m. Set the Section Type to Reinforced Concrete and the concrete strength (Compressive Strength) to 30000 kPa.
- For the Cross Section choose a Rectangular
section and enter a Section Width and Section Depth of 0.3m.
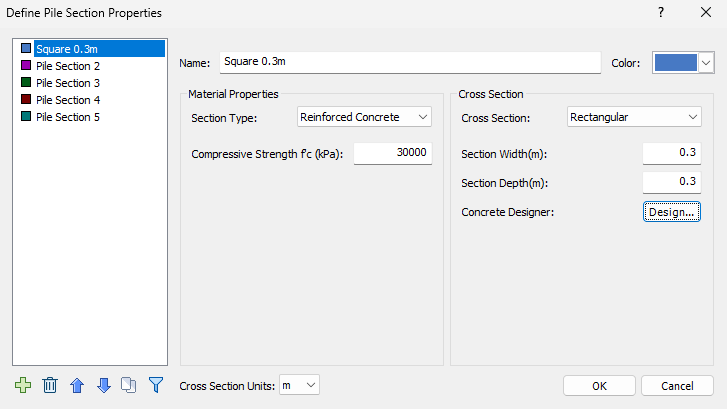
- Click the Design button to launch the Concrete Designer.
- In the Reinforcement tab, click the Add
 button to add a Reinforcement pattern. Set the Rebar Size to Europe >
BS 4449 25 mm and Pattern Type to Rectangle. Enter a pattern of 2 by 2 bars with a Min Cover Depth of 50mm. Enter the fy (Yield Stress) as 420000 kPa and the Elastic Modulus as 2E8.
button to add a Reinforcement pattern. Set the Rebar Size to Europe >
BS 4449 25 mm and Pattern Type to Rectangle. Enter a pattern of 2 by 2 bars with a Min Cover Depth of 50mm. Enter the fy (Yield Stress) as 420000 kPa and the Elastic Modulus as 2E8.
- Click OK to close the dialog.
- Next, select Pile Section 2 and change the name to Circular 0.35m. Set the Section Type to Reinforced Concrete and the Compressive Strength to 30000 kPa. For the Cross Section choose Circular and input a Diameter of 0.35m.
Note that you may give the dimension in mm if you change the units at the bottom of the dialogue box.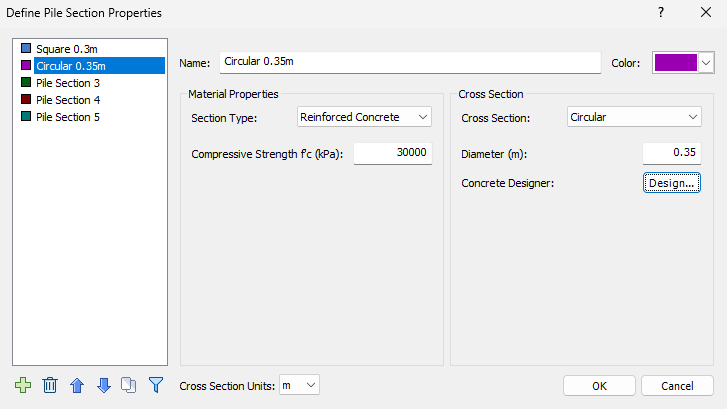
- Click the Design button to launch the Concrete Designer.
- In the Reinforcement tab, click the Add button to add a Reinforcement pattern. This time we will add a circular pattern.
- Set the Rebar Size to Europe > CEB 20 mm and the Pattern Type
to Radial. Set the Number of Bars to 6 and the Cover Depth to 50mm. Like with the rectangular patter, enter the fy (Yield Stress) as 420000 kPa and the Elastic Modulus as 2E8.
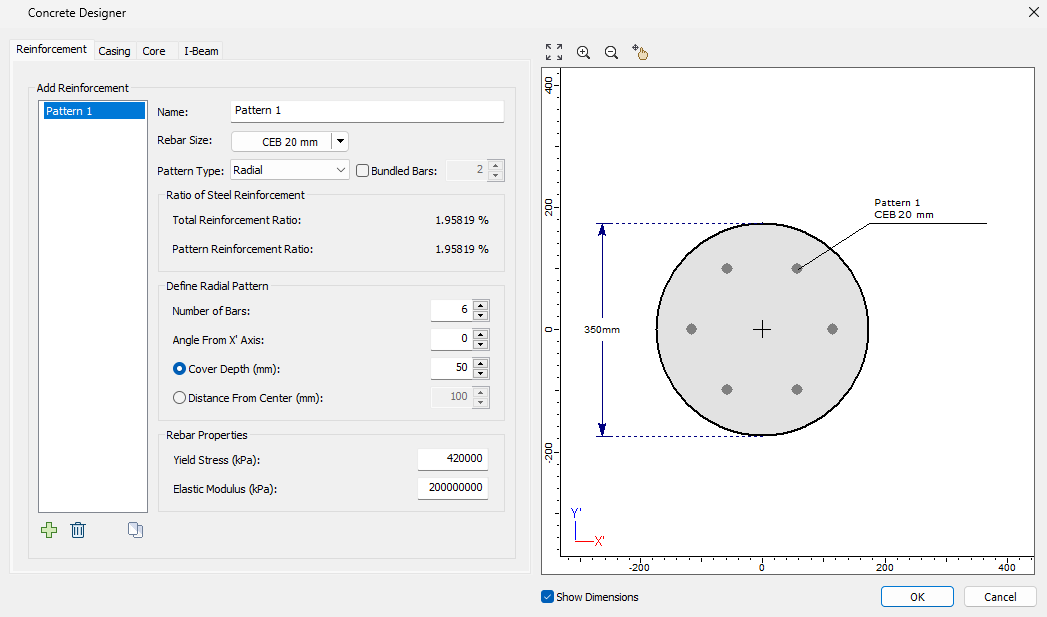
- Click OK to close the dialog.
At this stage you can start graphing the interaction diagrams as they are section based and not related to pile types.
3.0 Plotting Interaction Diagrams
- Select Results > Plot Interaction Diagrams
 in the menu. The Interaction Diagram view will appear.
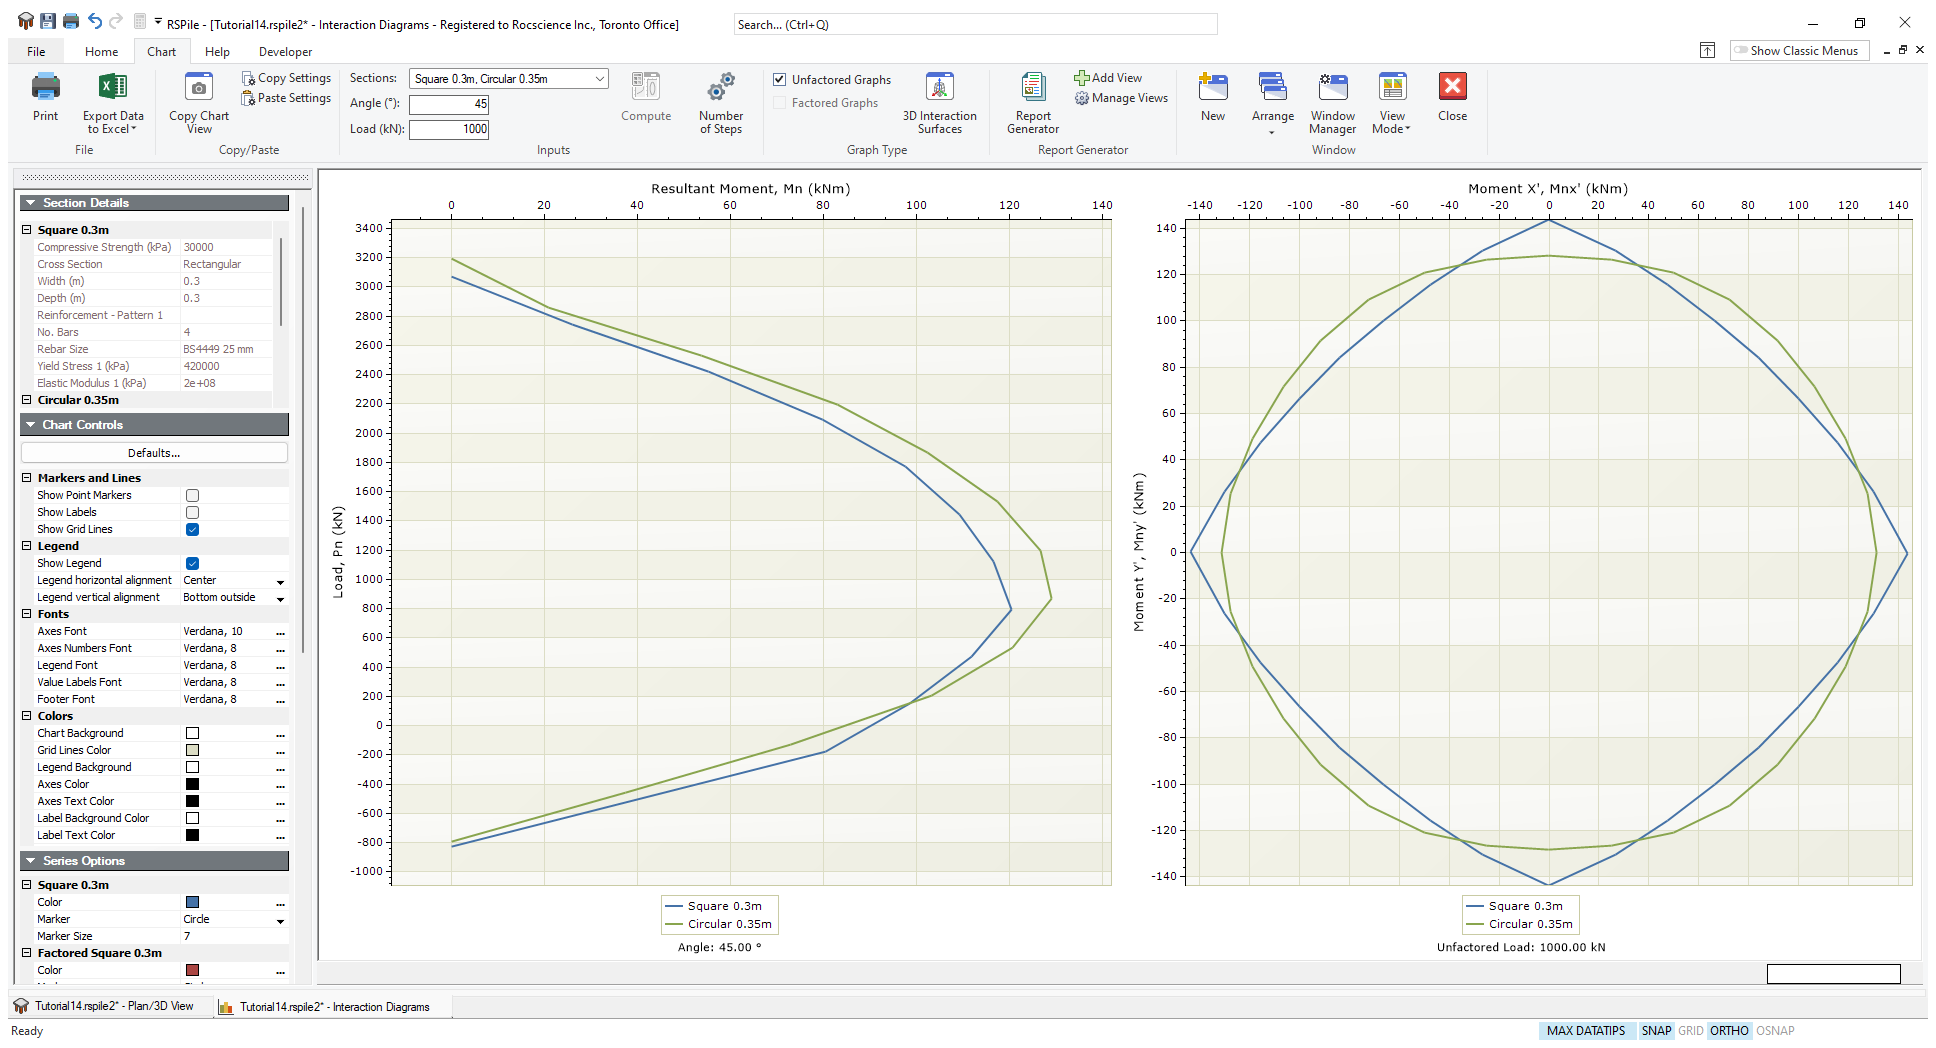
 - In the Chart tab, use the Sections drop down to select the the two sections (Square 0.3m and Circular 0.35m) to plot the interaction diagrams for.
- Add your Angle if it is different than zero. In this case, we will change it to 45 degrees and add a Load
of 1000 kN.
- Click Compute
 to open the Interaction Diagram window and see the results.
- If you need to change the angle or the load, or if you want to deselect a section, you can do so using the Input options in the Charts tab.

- To be sure you don’t lose your previous graphs, export them to Excel before you change the input parameters using the Export to Excel
 option.
NOTE: After making any changes to the inputs, you will need to click Compute in order to recompute your results.
You may see from the results how close the two sections behaved because of the approximately close area and close reinforcement ratio.
4.0 Analyzing Pile Sections in Existing Piles
If you are dealing with sections for piles that have already been added to the model, you can still utilize the Interaction Diagram feature.
Just open the Interaction Diagrams view and continue with the sections you need. In fact, you may have different sections in the same pile, and you may have similar sections in different piles at the same time. RSPile is very flexible for dealing with it.