Getting Started with RSSeismic Python Scripting
In this tutorial, we will walk you through the setup process and provide an overview of how to run your first Python script for RSSeismic.
Prerequisites
Before you begin, ensure you have the RSSeismic program installed. You must have at minimum Version 3.000 in order to use this feature.
Python Environment
There are two methods to run a script, which differ in the Python environment used:
- Running on RocScript Editor
- Comes pre-installed with RSSeismic and includes the RSSeismic Python API library
- For all-level users
- Running on your own Python environment
- Requires downloading the RSSeismic Python API library
- For users with experiences in programming
Each method is detailed below.
Method 1: Using RocScript
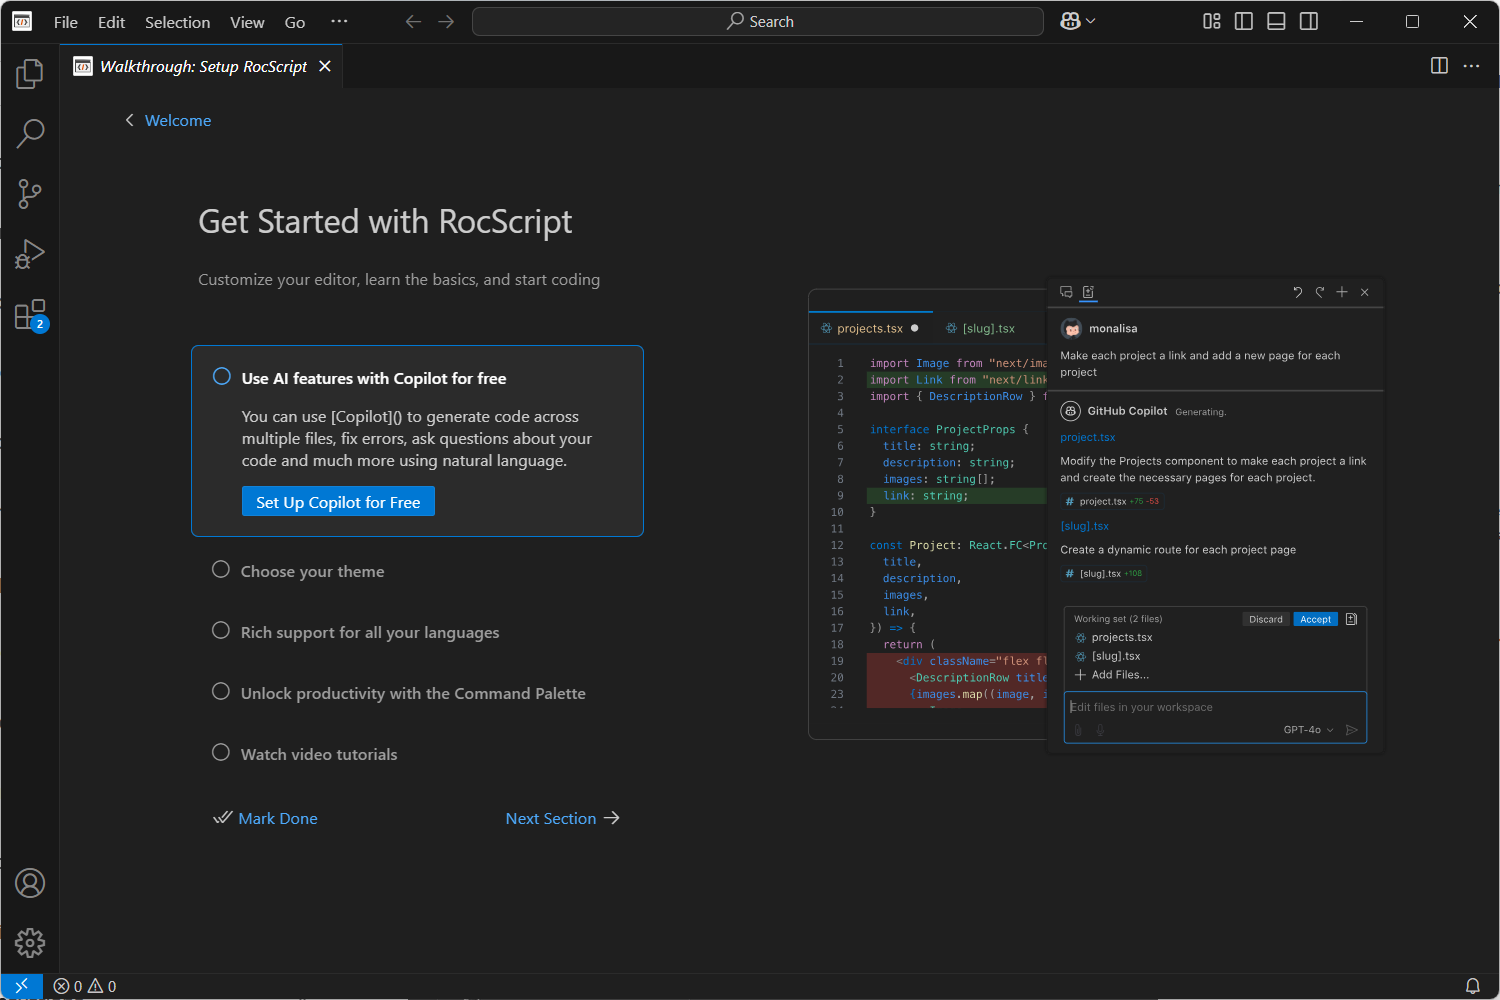
1.1 Opening the editor
- In RSSeismic, select Scripting > Launch RocScript
 from the menu. The RocScript Editor will open.
1.2 Open a File
To open a file from the RocScript Editor:
- Select File > Open Folder from the menu.
- Open the tutorial folder from the directory: C:\Users\Public\Documents\Rocscience\RSSeismic Examples\Tutorials\Scripting\Tutorial_1
- Select File > Open File from the menu.
- Select the Scripting Tunnel Tutorial (Part 1).py python file from the tutorial folder directory: C:\Users\Public\Documents\Rocscience\RSSeismic Examples\Tutorials\Scripting\Tutorial_1\Scripting-Tutorial_1.py
1.3 (Optional): Install Libraries
- In the RSSeismic program, select Scripting > Manage Python Environment
 from the menu.
 The RocScript WinPython Command Prompt will open:
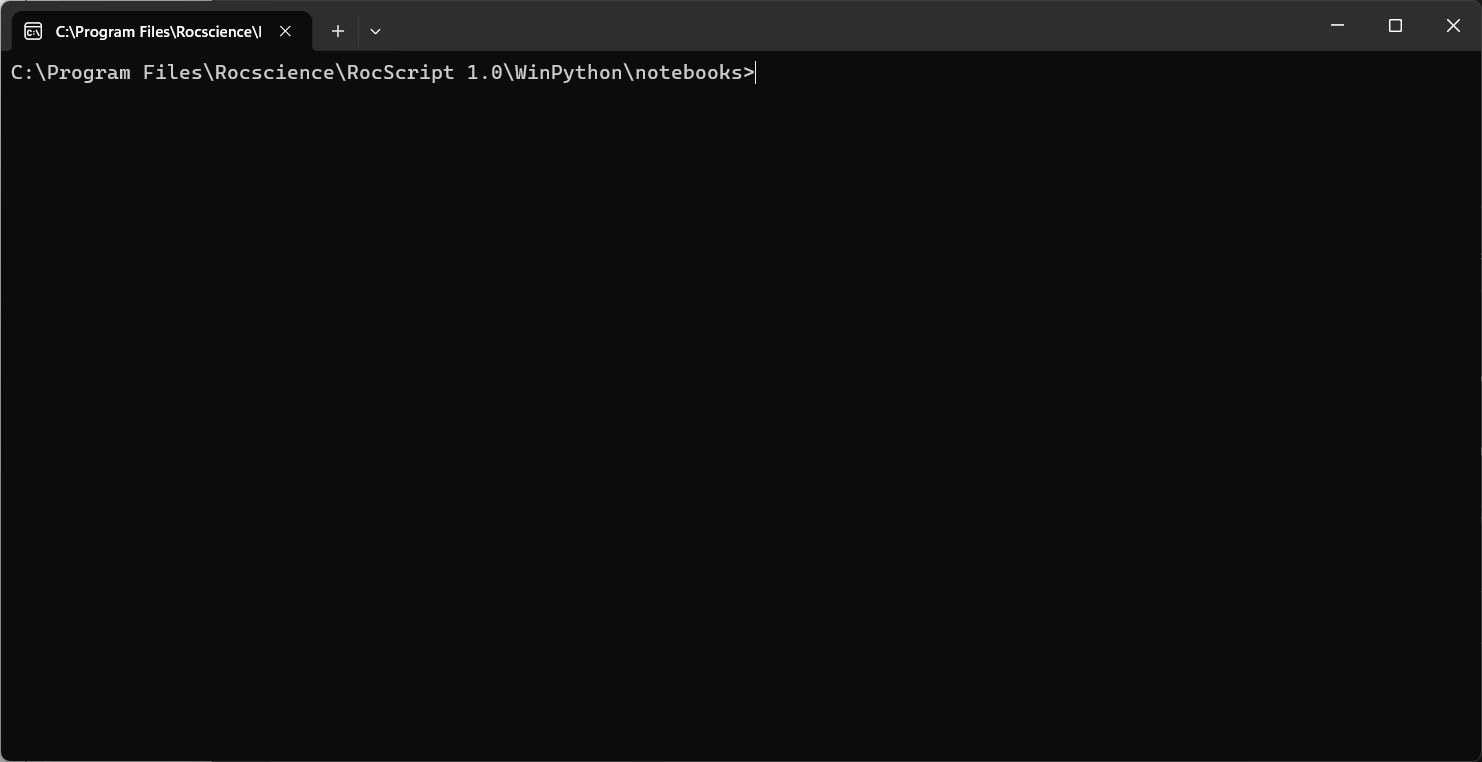
- Check the installed libraries with the command:
pip listPre-installed libraries include the RSSeismic Python API Library and other common libraries.
- If you wish to install more libraries, use the below command to do so:
pip install [library name]1.4 Run the File
To run the file:
- Click on the play button at the top right of the window:
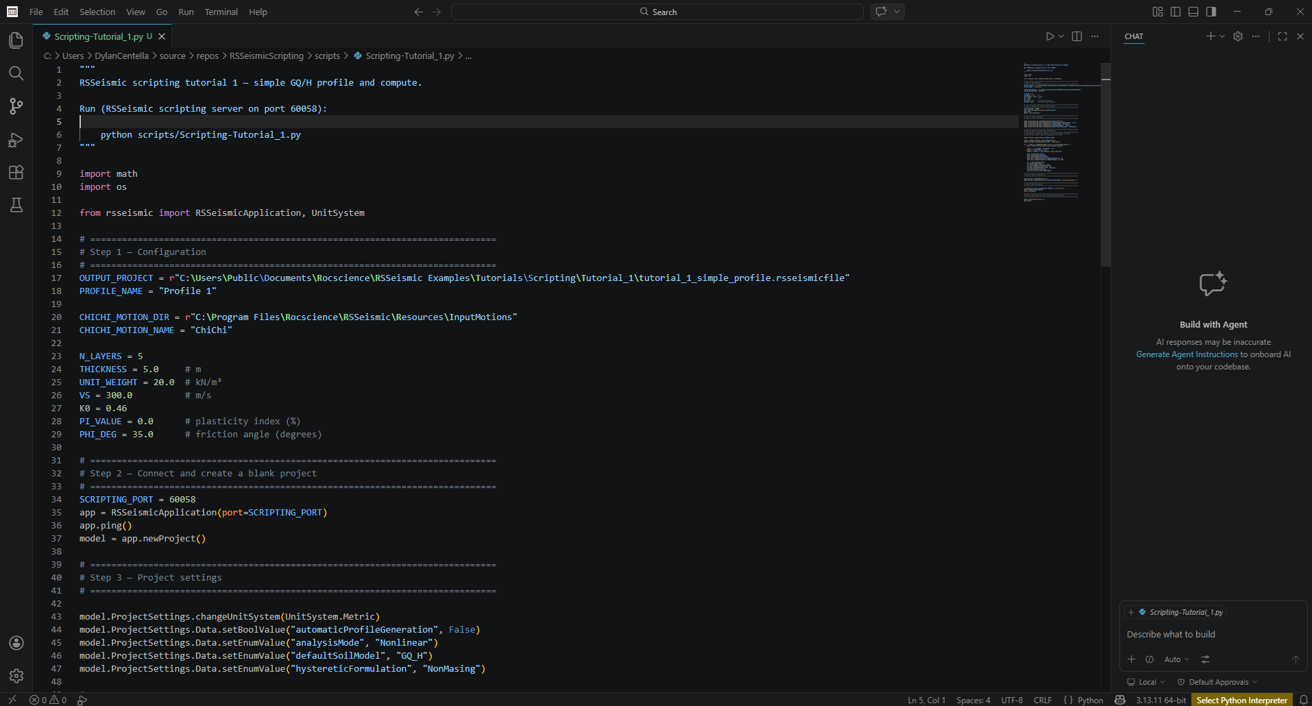
The Scripting-Tutorial_1.py is the final python script from the Scripting Tutorial 1. Using functions from the RSSeismic Python API, it launches RSSeismic and a scripting server at port 60058. The script creates a project file, configures it, creates a soil profile and assign properties, define dynamic curves, selects an input motion and run the analysis.
Method 2: Using your Own Environment
The python environment is made up of two parts which need to be installed:
- The Python interpreter (Section 2.1 below)
- The Code Editor (Section 2.2 below)
2.1 Install Python
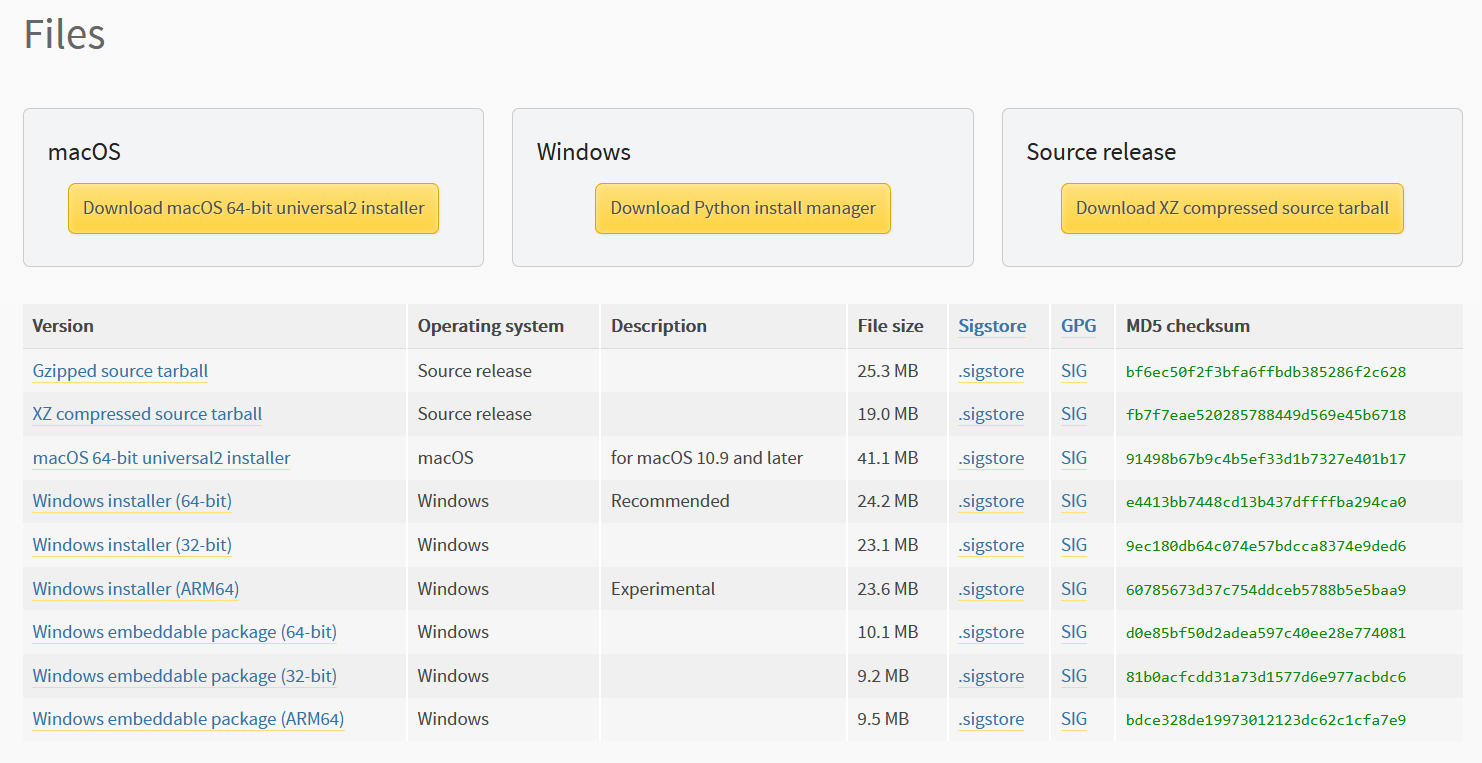
Navigate to the 3.11.4 release page, scroll down and select Windows installer (64-bit).
- Run the installer. Keep the defaults and select Install Now. Installation should complete successfully.
Note that any version of python above 3.9 should work, but 3.11.4 was the most thoroughly tested.
2.2 Install a Python Code Editor
Any code editor can be used, but we recommend you use Visual Studio Code.
To download and install Visual Studio Code:
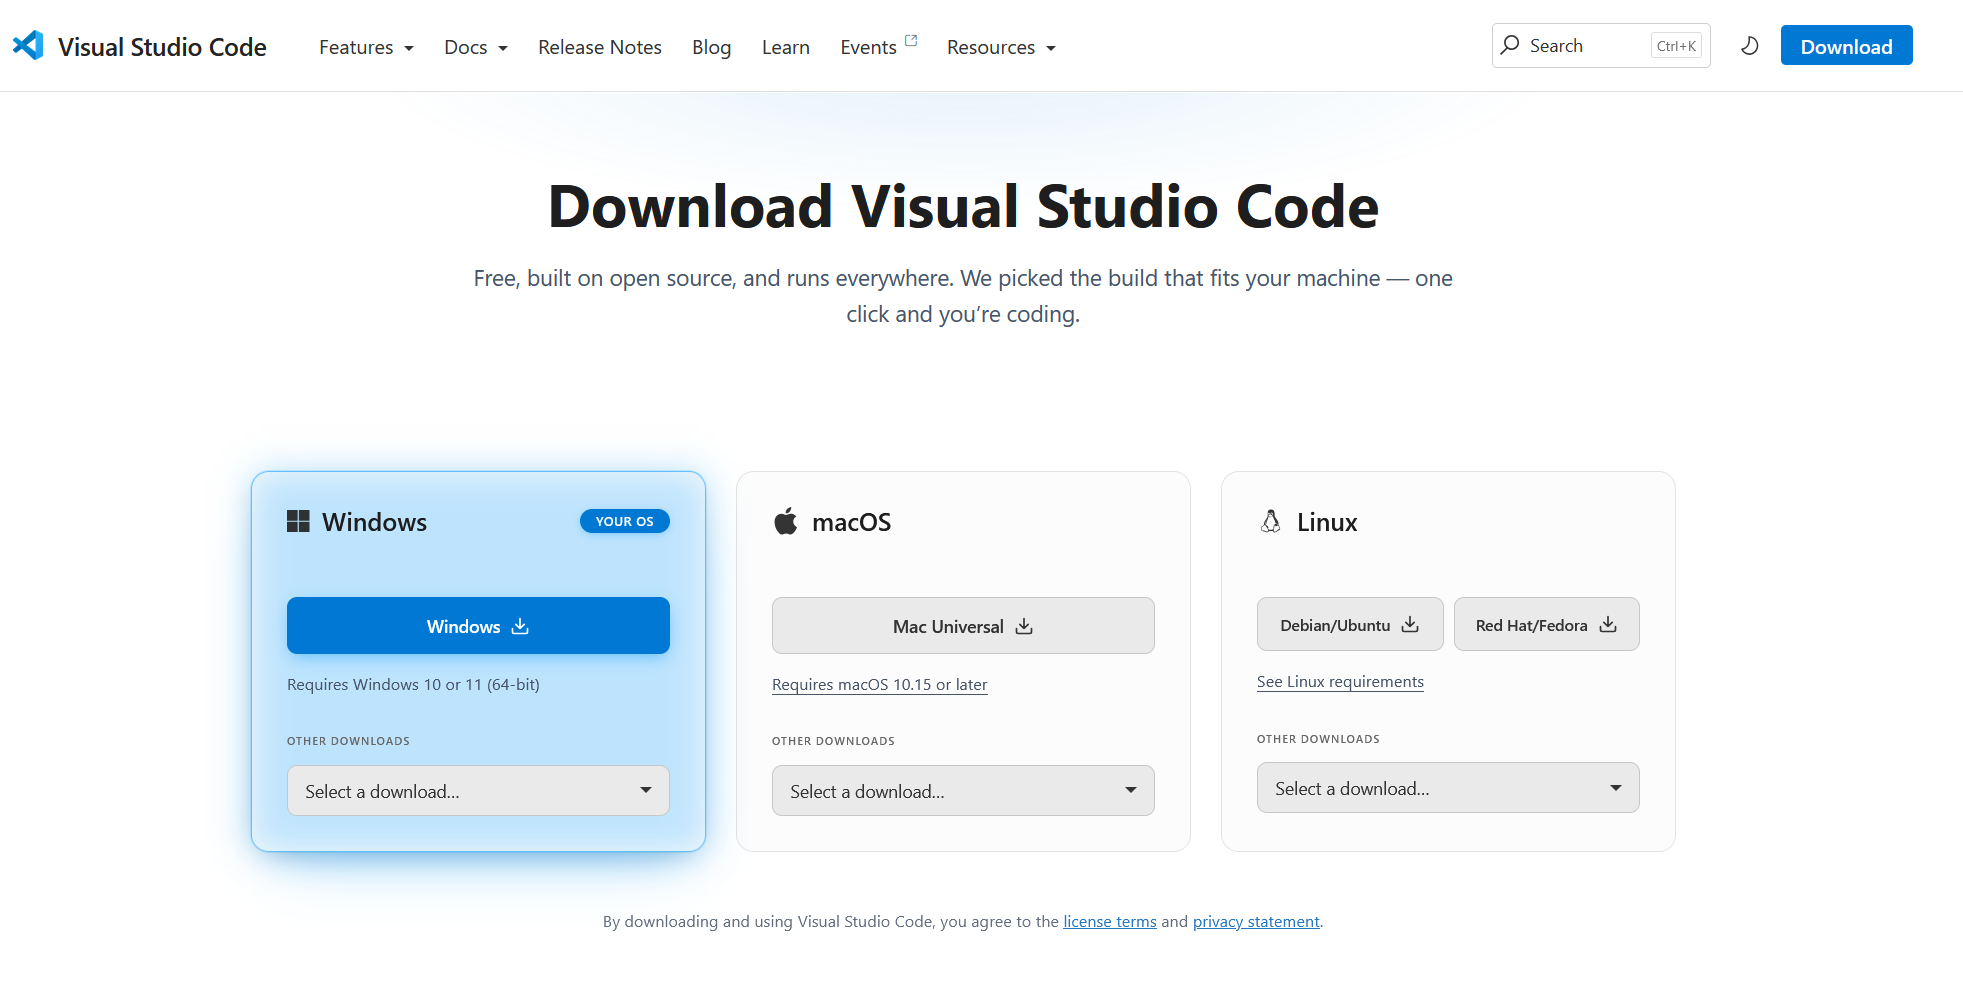
Navigate to the Download page (https://code.visualstudio.com/download) and select the Windows option:
- Run the installer and complete the installation.
2.3 Configure Editor for Python
Visual Studio Code (VSCode) has extensions which can be installed.
Navigate to the Extensions pane and search for python.
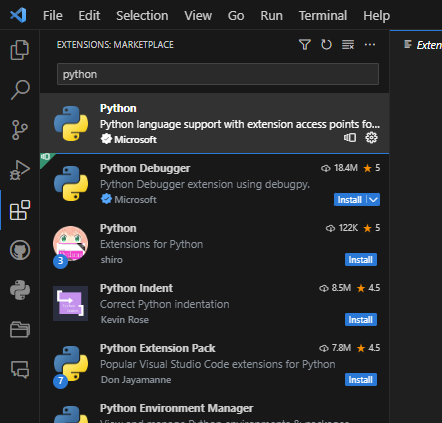
- Install the python extension.
- Restart VSCode.
2.4 Install the RSSeismic Library
- In VSCode, select View > Terminal in the menu to open a terminal.
- Install the library using pip, which is a package manager that comes with python:
pip install RSSeismicScriptingIf you are not using the latest release of RSSeismic, you need to specify a library version that matches your RSSeismic version. For example:
pip install "RSSeismicScripting==3.000.0"To find a list of available versions, see Release History.
You can find your version of RSSeismic by selecting Help > About in the RSSeismic menu.
The RSSeismic Python API Library is now installed.
2.5 Open a File
- In VSCode, select File > Open File in the menu:
- Select the Scripting-Tutorial_1.py python file from the tutorial folder directory: C:\Users\Public\Documents\Rocscience\RSSeismic Examples\Tutorials\Scripting\Tutorial_1