Section Cut
The Section Cut option allows you to view the model geometry and material assignments through any planar cross-section of your model. The section plane can be at any orientation or location.
- Select Geometry > Sectioning Tools > Section Cut

- You will see the Section Viewer dialog. The current section preview is displayed in the 2D Section Preview window at the bottom of the dialog.
- Adjust the Plane Orientation and Plane Location as described below.
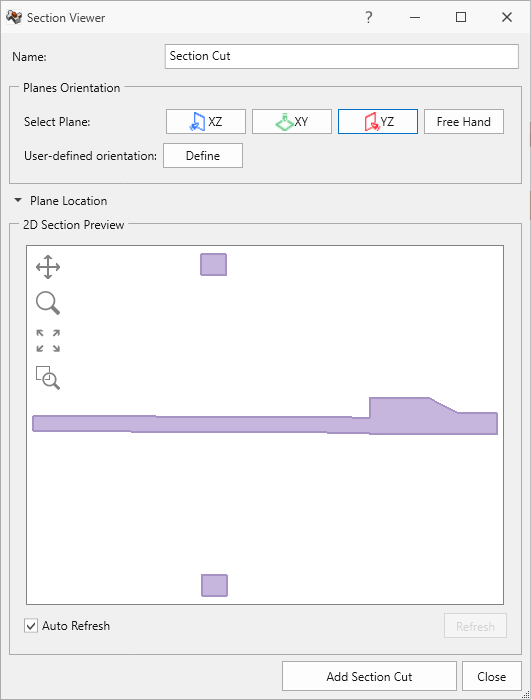
Plane Orientation
The Plane Orientation can be adjusted as follows:
- To view a section through the XZ, YZ or XY planes select the corresponding pre-set button.
- To view a vertical section at any orientation select the Pick Plane button and pick two points in the XY orthogonal view.
- To view a plane at any (non-vertical) orientation, click the User Defined Orientations option and you can enter any value of Dip and Dip Direction.
- You can also adjust the plane orientation graphically with the Freehand Manipulation tool in the model view.
Plane Location
The Plane Location can be adjusted by:
- Moving the Plane Location slider control, or
- Changing the Plane Origin coordinates, or
- Graphically moving the plane with the Freehand Manipulation
 tool in the view.
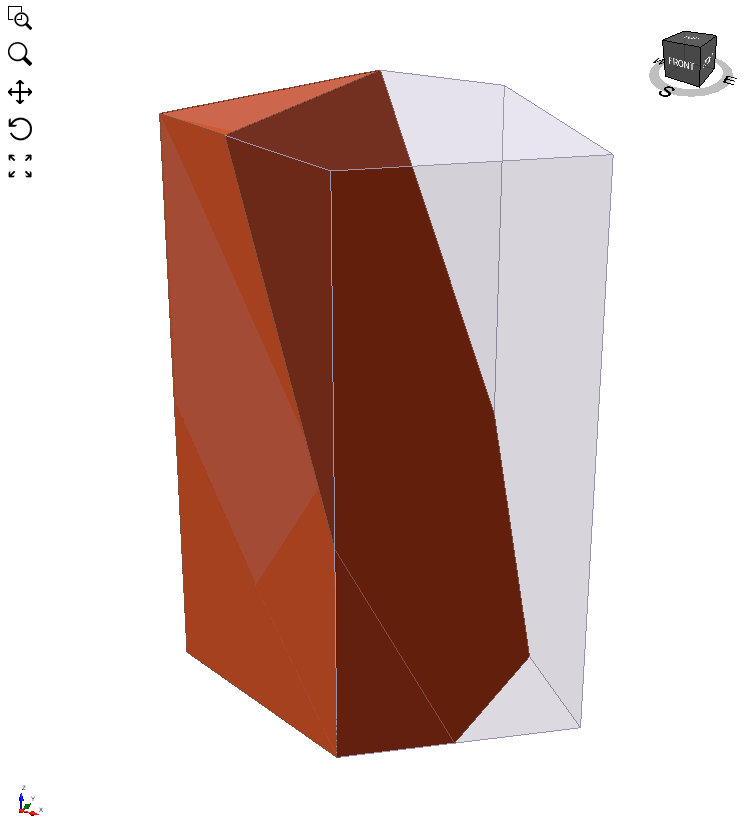
Add Section to Viewport
After defining the plane location, selecting Add Section Cut
will add a Visualization Node Section Cut to the Visibility Tree. When
cuts are added to the visibility tree, they can be saved to the file.
Editing the Cut
- Select section cut in the Viewport or the Visibility Tree.
- Right-click on the Viewport and select Edit Section Cut, or go to the Properties pane and click the Edit
 icon next to the Applied Property field.