11 - Getting Started With RocSlope2 Scripting
1.0 Introduction
In this tutorial, we will walk you through the setup process and provide an overview of how to run your first Python script for RocSlope2.
Topics Covered in this Tutorial:
- Python Environment
- RocScript
- Self-hosted Environment
Finished Product:
The finished product of this tutorial can be found in the Tutorial 11 Scripting.rocslope2 file, located in the Examples > Tutorials folder in your RocSlope2 installation folder.
2.0 Prerequisites
2.1 RocSlope2 Version 1.012
Before you begin, ensure you have the RocSlope2 program installed. You must have at minimum Version 1.012 in order to use this feature.
2.2 Python Environment
There are two methods to run a script, which differ in the Python environment used:
- Running on RocScript Editor (for all levels of users):
- Download and install RocScript from the RocScript Update History page.
- Running on your own Python environment (for advanced users):
- Install the RocSlope2 Python API library.
Each method is detailed below.
3.0 Method 1: Using RocScript
3.1 Opening the RocScript Editor
In RocSlope2:
- Select Scripting > Scripting Options > Launch RocScript Editor

- The RocScript Editor will launch in a separate application window.
3.2 Open a File
To open a file in the RocScript Editor:
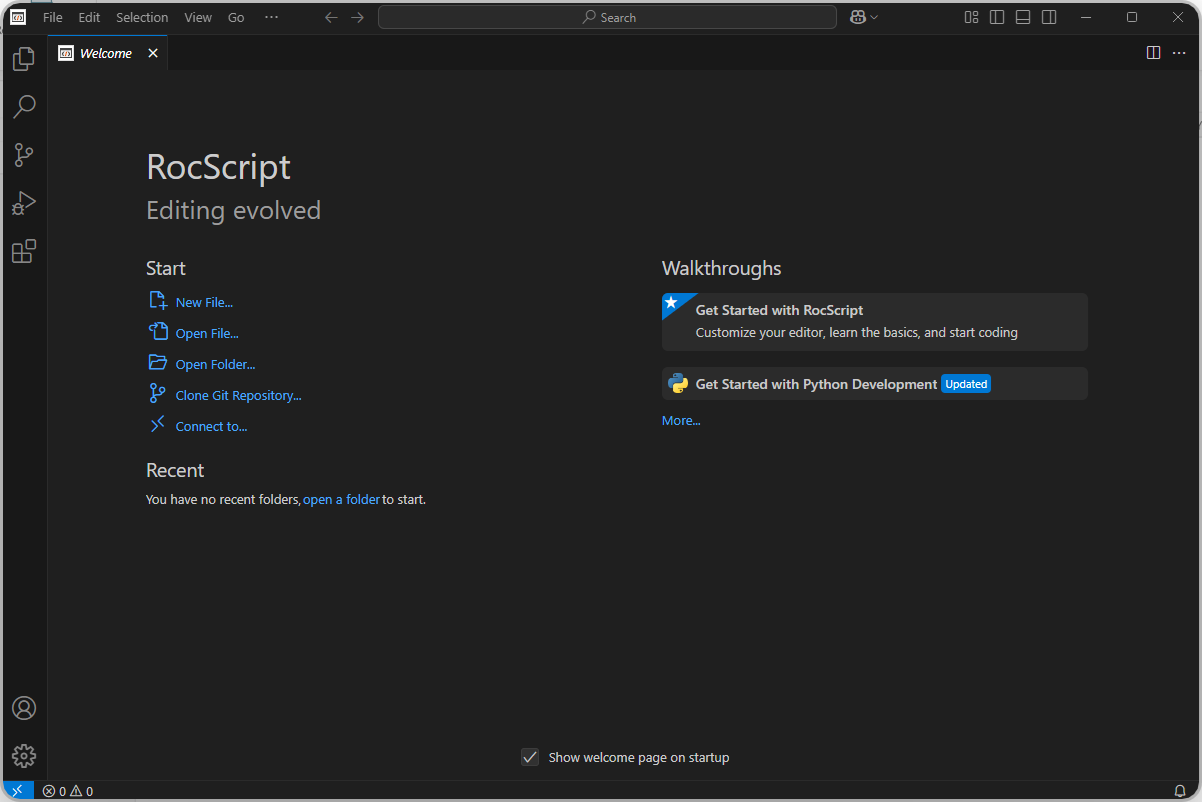
- Select File > Open File option from the RocScript menu.
- Select the helloScripting.py Python file from the tutorial folder directory located in the Examples > Tutorials folder in your RocSlope2 installation folder.
3.3 Run the File
To run the file:
- Click on the Run Python File button at the top right of the window:
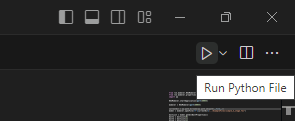
The helloScripting.py script showcases a simple application of RocSlope2 Scripting. Utilizing functions from the RocSlope2 Python API library, it:
- Launches the RocSlope2 application and a server at port 60084
- Creates a new RocSlope2 project
- Sets the Slope Geometry (slope dip, dip direction and height)
- Sets the Joint Properties strength to Mohr-Coulomb with a cohesion and friction angle
- Sets the dip and dip direction of two Individual Joints in the joint set
- Enables the Wedge analysis only and computes the model
- Gets the Wedge Analysis Results and prints the ID, Factor of Safety and Wedge Weight of each wedge
- Saves the project and closes RocSlope2
3.4 Tutorial Script
The full helloScripting.py script is shown below:
from rocslope2.RocSlope2Modeler import RocSlope2Modeler
from rocslope2.PropertyEnums import JointStrengthType
from rocslope2.analysisResults.AnalysisResultsEnum import AnalysisResultsType, ResultColumn
import os
# 1. Start RocSlope2 with the scripting server on the default port (60084) and connect to it
RocSlope2Modeler.startApplication(port=60084)
modeler = RocSlope2Modeler(port=60084)
# 2. Create a new project
model = modeler.newProject()
# 3. Define the slope geometry
slope_geometry = model.getSlopeGeometry()
slope_geometry.setSlopeDip(60.0)
slope_geometry.setSlopeDipDirection(180.0)
slope_geometry.setSlopeHeight(20.0)
# 4. Define the joint strength (Mohr-Coulomb)
joint_property = model.getAllJointProperties()[0]
strength = joint_property.strengthTab
strength.setSelectedStrengthTypeMethod(JointStrengthType.MOHR_COULOMB)
strength.setCohesion(0.0)
strength.setPhi(30.0)
# 5. Set the orientation of the first two joints in the joint set
joint_set = model.getAllJointSets()[0]
joints = joint_set.getAllIndividualJoints()
joints[0].setDip(50.0)
joints[0].setDipDirection(140.0)
joints[1].setDip(55.0)
joints[1].setDipDirection(220.0)
# 6. Run the wedge analysis only
analysis = model.getProjectSettings().analysisTab
analysis.setIsWedge(True)
analysis.setIsPlanar(False)
analysis.setIsToppling(False)
model.compute()
# 7. Read the results
wedge_results = model.getAnalysisResults(AnalysisResultsType.WEDGE).getWedgeResults()
print(f"Number of wedges: {len(wedge_results)}")
print(wedge_results.selectColumns(ResultColumn.ID, ResultColumn.FACTOR_OF_SAFETY, ResultColumn.WEDGE_WEIGHT))
# 8. Save the project next to this script and close RocSlope2
save_path = os.path.join(os.path.dirname(os.path.abspath(__file__)), "Scripting Tutorial.rocslope2")
model.saveAs(save_path)
print(f"Project saved to: {save_path}")
model.close(saveProject=False)
modeler.closeProgram()
The script prints the following output:
Number of wedges: 3
   ID  Factor of Safety  Wedge Weight (kN)
0 1.0          2.375232         369.220182
1 2.0          0.675657       10195.941469
2 3.0          1.000000         386.170444
Project saved to: C:\...\Scripting Tutorial.rocslope2
3.5 Install Libraries (Optional)
In RocSlope2:
- Select Scripting > Scripting Options > Manage Python Environment

- The RocScript WinPython Command Prompt will open.
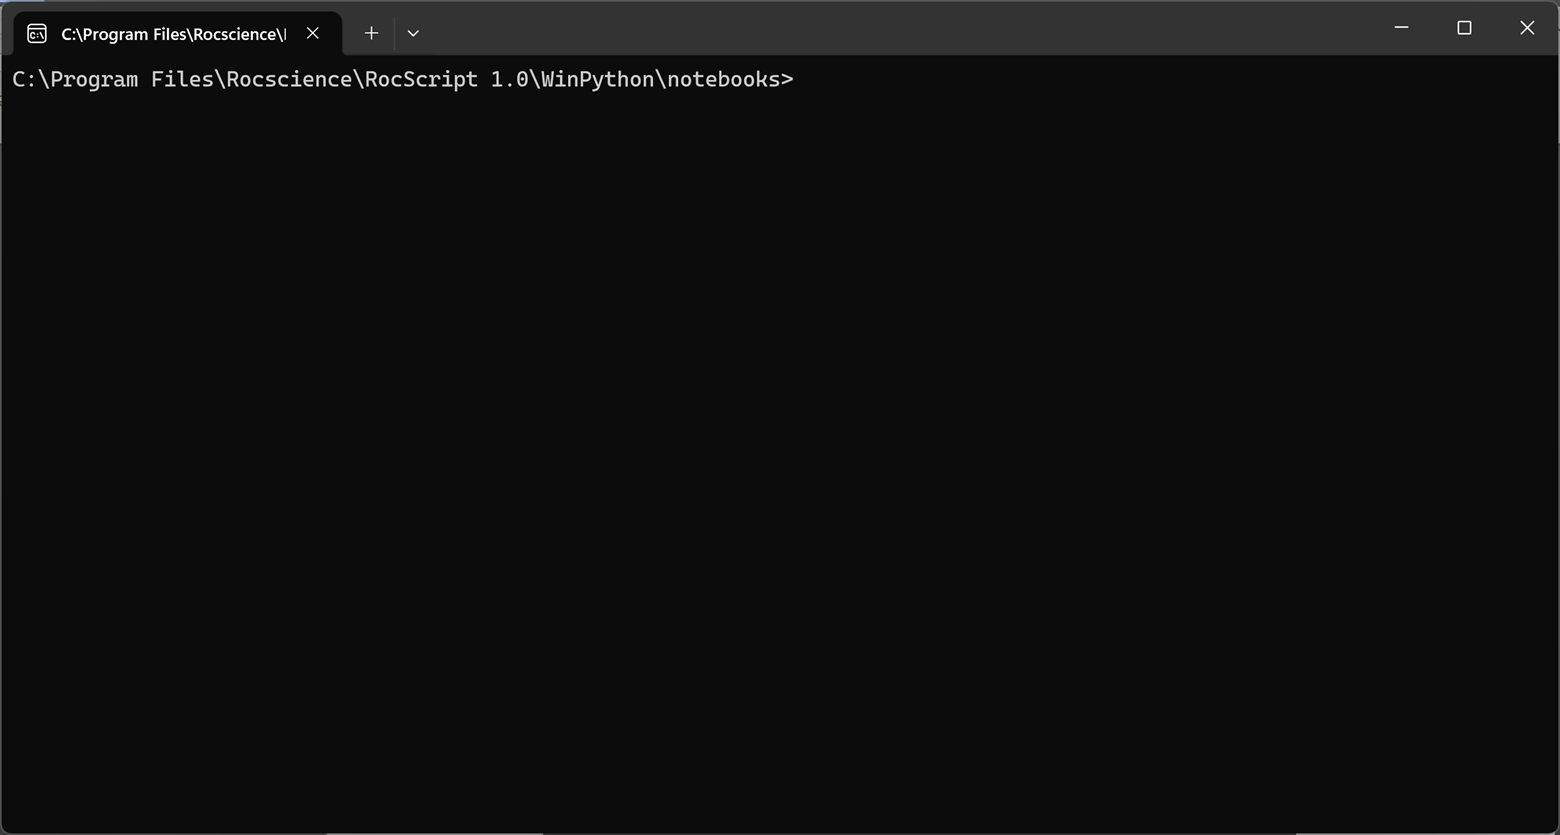
- Check the installed libraries with the command:
pip listPre-installed libraries include:
- The RocSlope2 Python API Library (i.e., RocSlope2Scripting 1.X.X on the list)
- Dependency Python libraries:
- colorama
- grpcio
- iniconfig
- packaging
- pluggy
- protobuf
- Pygments
- pytest
- pytest-mock
- typing_extensions
- Common Python libraries:
- Pandas
- Matplotlib
- If you wish to install more libraries, use the command to do so:
pip install [library name]4.0 Method 2: Using your Own Environment
The Python environment is made up of two parts which need to be installed:
- The Python interpreter (Section 4.1 below)
- The Code Editor (Section 4.2 below)
4.1 Install Python
- Navigate to the Python downloads page (https://www.python.org/downloads/),
- Select the Download for the desired release version.
- Scroll down and select 'Windows installer (64-bit)'.
- Run the installer. Keep the defaults and select Install Now. Installation should complete successfully.
4.2 Install a Python Code Editor
Any code editor can be used, but we recommend you use Visual Studio Code.
To download and install Visual Studio Code:
Navigate to the Download page (https://code.visualstudio.com/download)
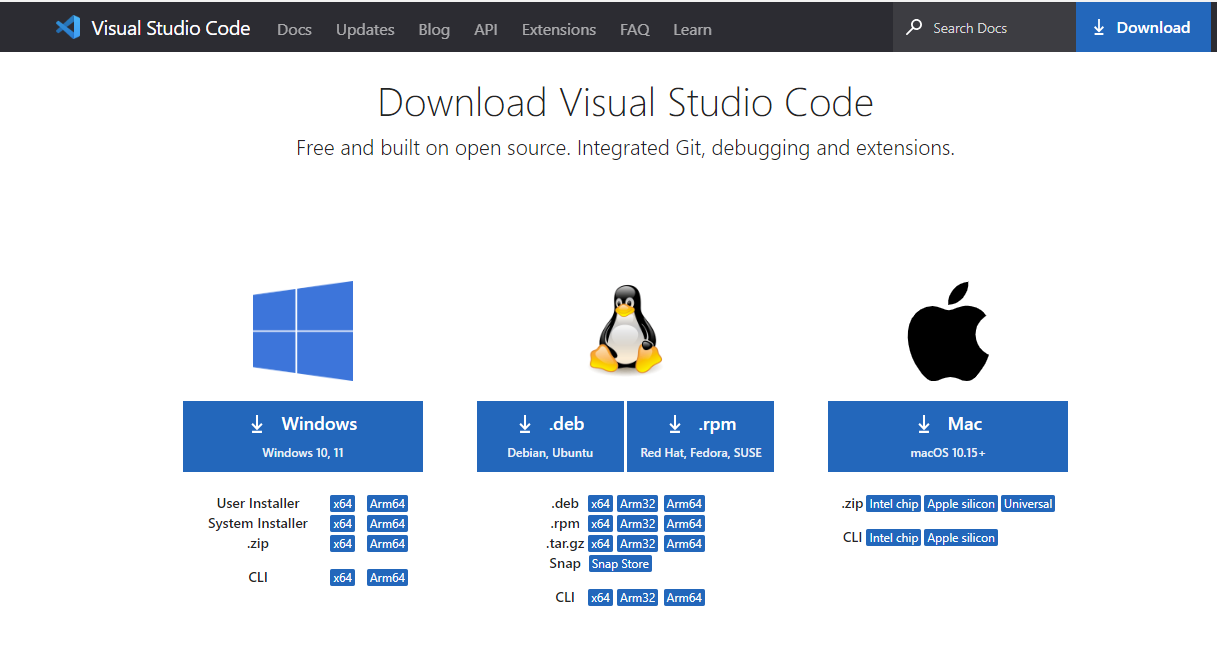
- Select the Windows option
- Run the installer and complete the installation.
4.3 Configure Editor for Python
Visual Studio Code (VSCode) has extensions which can be installed.
Navigate to the Extensions pane and search for Python.
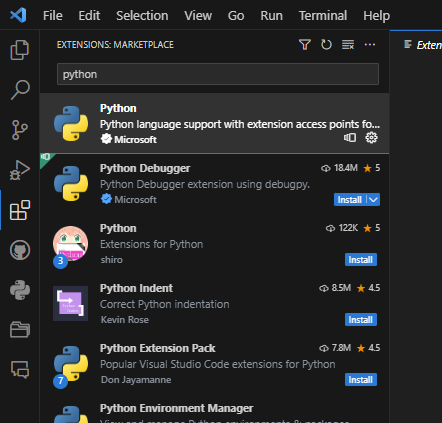
- Install the Python extension.
- Restart VSCode.
4.4 Install the RocSlope2 Library
- In VSCode, select View > Terminal in the menu to open a terminal.
- Install the library using pip, which is a package manager that comes with Python:
pip install RocSlope2ScriptingIf you are not using the latest release of RocSlope2, you need to specify a library version that matches your RocSlope2 version. For example:
pip install "RocSlope2Scripting==0.1.0" To find a list of available RocSlope2Scripting Python package versions, see [PyPI Link] Release History.
You can find your version of RocSlope2 by selecting Help > About in the RocSlope2 program.
The RocSlope2 Python API Library is now installed.
4.5 Open a File
In VSCode:
- Select File > Open File in the menu.
- Select the Tutorial.py Python file from the tutorial folder directory located in the Examples > Tutorials folder in your RocSlope2 installation folder.
4.6 Run the file
To run the file:
- Click on the Run Python File button at the top right of the window.
You've successfully set up your Python environment to use RocSlope2 Scripting. You can build your own Python scripts for RocSlope2 now!
5.0 Resources
For more information on RocSlope2 Scripting, check out the RocSlope2 Python Reference Guide.
This concludes the tutorial.