5 - Report Generator
1.0 Introduction
This tutorial is a simple introductory to help you become familiar with the features of the Report Generator (formerly the Info Viewer). The Reporter Generator is a dynamic tool to help organize and present the results of your analysis in a sleek and customized report.
Topics Covered in this Tutorial:
- Adding and removing sections from your report
- Adding Images and Comments
- Cover Page Options
- Editing Headers and Footers
- Export Options
Tutorial Files:
All tutorial files installed with EX3 can be accessed by selecting File > Recent Folders > Tutorials Folder from the EX3 main menu.
2.0 Model
From the EX3 main menu, select File > Recent Folders > Tutorials and open Tutorial_01_Underground_Tunnel.examine3
3.0 Launching the Report Generator
To launch the Report Generator:
- Select Analysis > Report Generator from the menu or click on the Report Generator
 icon in the toolbar.
A new window will open. Here is where you will see all the various options for customizing your report.
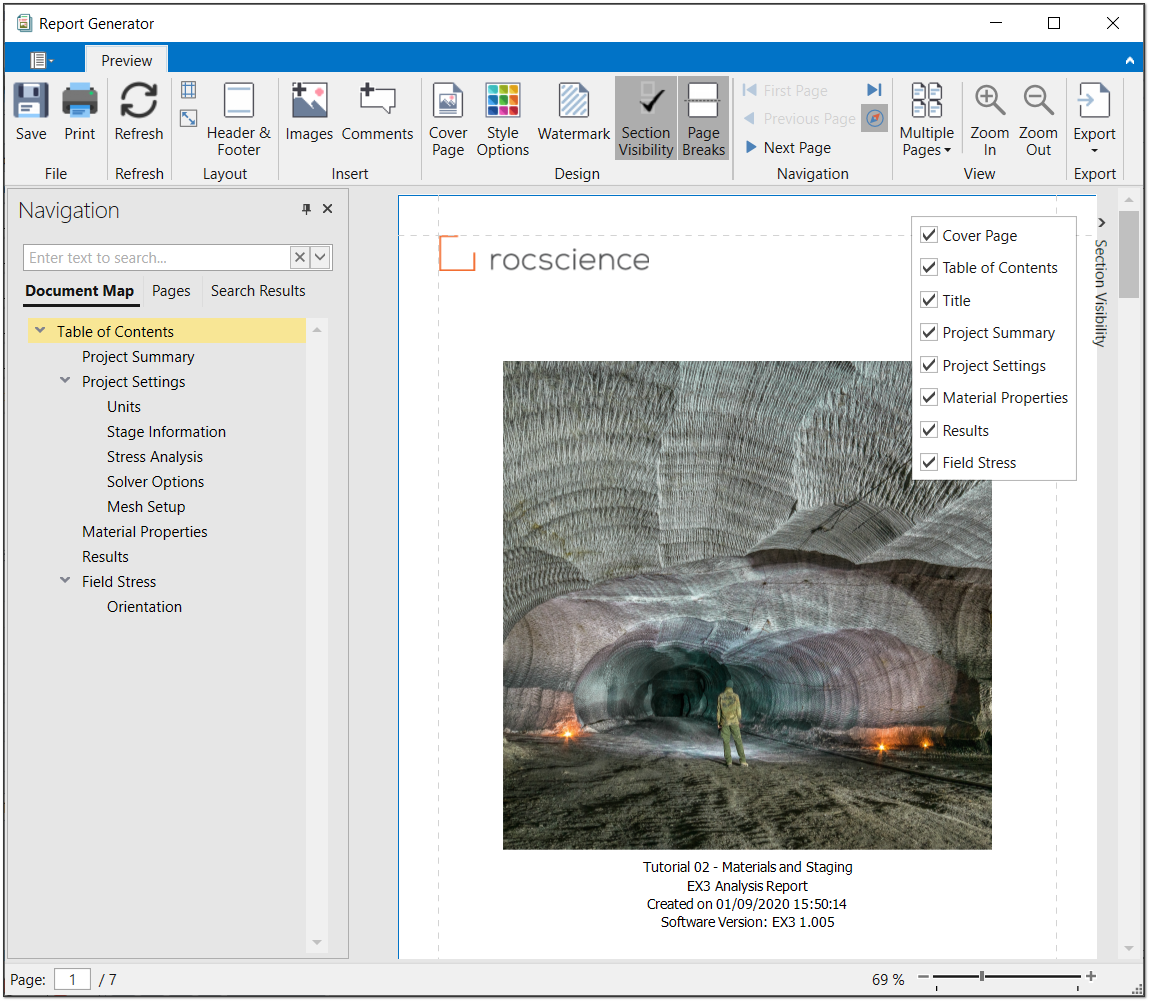
4.0 Navigating the Report
When you launch the Report Generator, the details of your project are automatically populated into the report. A table of contents and cover page are automatically created as well.
4.1 Navigation Bar
Use the Navigation bar on the left of the screen to quickly navigate to the different sections of the report.
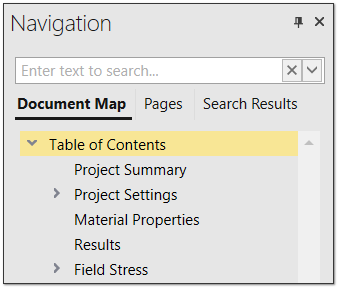
- Use the Document Map tab to find specific sections.
- Use the Pages tab to navigate to specific pages.
- You can also use the Search Field to search for specific sections of your report.
4.2 Section Visibility
The Report Generator allows you to select which sections you wish to include in the report. By default, all sections are included. To add or remove a section from your report:
- Click on the Section Visibility tab on the side of the screen or on the Section Visibility icon in the toolbar. The list of sections will appear.

- Un-check the boxes next to sections you do not want included in the report.
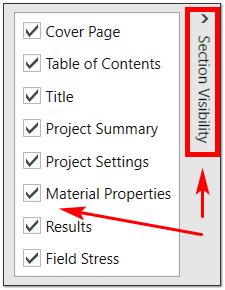
Section Visibility tab - When you’re done, click on the Section Visibility tab or icon again to close the menu.
5.0 Adding Images and Comments
The Report Generator lets you add images and comments to any section of the report.
5.1 Images
To add an image to your report:

- Click the Images button in the toolbar. A new dialog will appear.
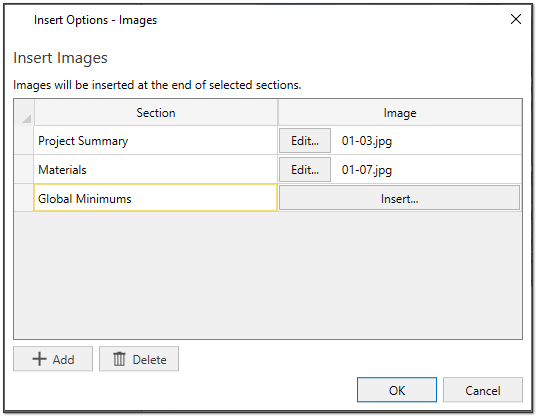
Insert Options - Images dialog - Click the + Add button to begin adding images.
- Use the Section drop down to select the section where you want to add the image.
- Click Insert to select a file to add.
- Repeat the above steps to add more images.
- If you wish to remove an image, click on the line you wish to remove and then click Delete.
- Click OK to close the dialog.
5.2 COMMENTS
To add comments to your report:

- Click on the Comments button in the toolbar.
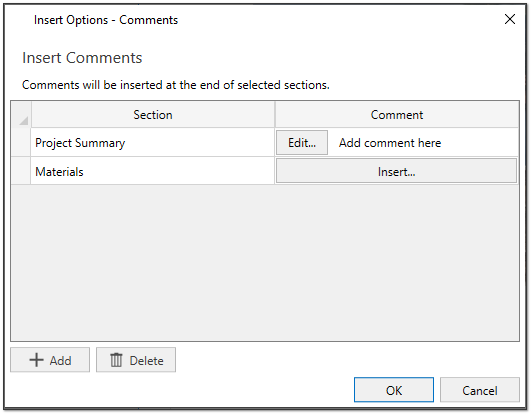
Insert Options - Comments dialog - Click the + Add button to begin adding comments.
- Use the Section drop down to select the section where you want to add the comment.
- Click Insert. A dialog will appear where you can enter your comment.
- Click OK.
- Repeat the above steps to add more comments.
- If you wish to remove a comment, click on the line you wish to remove and then click Delete.
- Click OK to close the dialog.
6.0 Page Breaks
The Page Breaks button allows you add page breaks between all major sections in the report.

Toggle the Page Breaks button on or off to add or remove the page breaks between each section.
7.0 Header & Footer
A Header and Footer are automatically added to your report with relevant content including the Date, Project Name and other details.
To customize the content in your header and footer:

- Click on the Header & Footer icon. A dialog will appear.
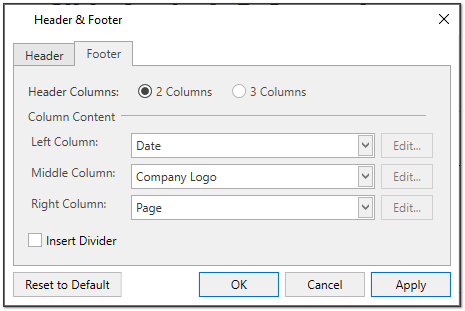
Header & Footer dialog - Use click on Header or Footer tab to select what section edit.
- Use the radio buttons to decide the number of columns you wish to include in your header or footer.
- Use the drop down menus to change what content appears.
- Click Apply to apply the changes to your report.
- Click Reset to Default to reset the header and footer to the default options.
- Click OK to close the dialog.
8.0 Cover Page options
When you launch the Report Generator a Cover Page is automatically created for your report.
To edit the contents of the Cover Page:

- Click on the Cover Page button in the toolbar. A new dialog will appear.
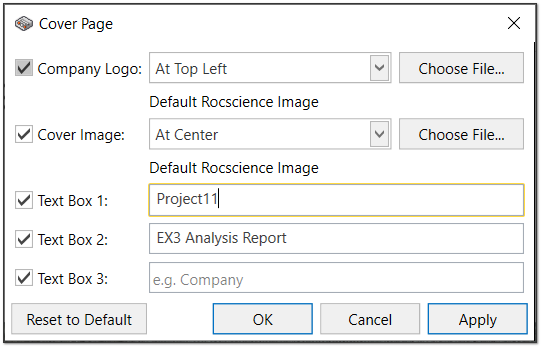
Cover page dialog - Use the check boxes on the left to select what elements to include on the cover page.
- Use the drop down menus to select the location and alignment of images.
- Click the Choose File button to change the logo and/or cover image and select your own image file.
- You can edit the text in any of the three text boxes.
- Once you have made the necessary changes, click OK to close the dialog and apply your changes.
9.0 Export Options
When you have completed customizing your report, you have the option to export a digital copy of your report.
To export your report:
- Click on the Export button in the toolbar.

- Select PDF. A new dialog will appear.
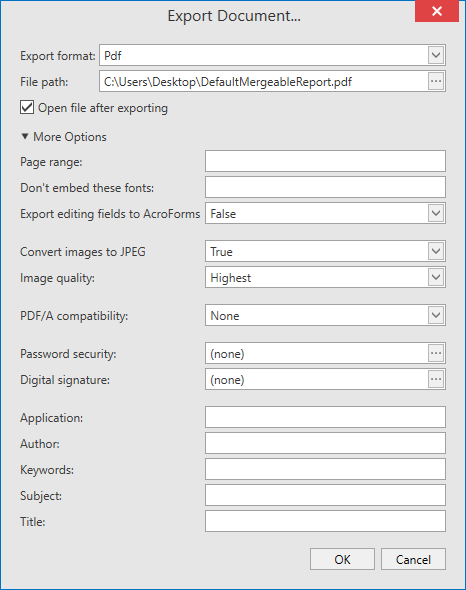
- Select the File path for your report.
- Enter any additional details you wish to include by clicking More Options.
- Click OK to finish exporting the file.
10.0 Saving your current display settings for future reports
You can save the current display settings for use on future reports. This includes Cover Page images and Header and Footer preferences.
To save your current display settings:

- Click the Save button in the tool bar. Your settings will be saved and will be the default when you next open the program.