RS3’s New Release: Projected Load, Import Bolts, and Shrink Wrap for Next-Level Modelling
- David Ko, Geotechnical Project Manager
- Sina Moallemi, Geotechnical Product Manager
- Dr. Reginald Hammah, Chief Scientific Officer at Rocscience
The Challenge of Complex Modelling
3D modelling in geotechnical engineering has long been challenged by complex geometries, changing excavation sequences, and the tedious manual routines required to keep numerical models accurate as projects progress. Updates like adding tunnels, managing support system, changing bolt patters, or correcting defective surfaces often force engineers to redo much of their work, leading to frustration and lost time. The latest RS3 enhancements—Projected Load, Import Bolts from CSV, and Shrink Wrap—eliminate these bottlenecks, allowing seamless transitions through each project stage and instantly resolving issues posed by evolving designs and input errors.
Projected Load: Reapply Surface Loads Instantly as Geometry Evolves
The projected load workflow in RS3 has been completely redesigned to streamline excavation sequencing. Now, all projected load samples and their properties are centrally stored and managed, allowing engineers to add, modify, or restore these loads seamlessly at any stage during model development.
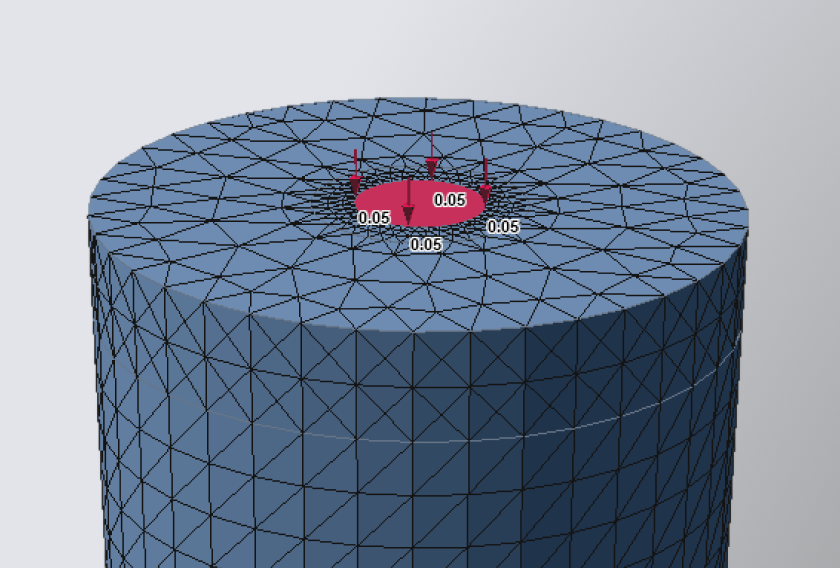
Consider a multi-stage progressive excavation model that introduces several surface loads in later stages to represent the distributed weight of pillars. At the start of the analysis, you may choose a simplified approach by minimizing geological or construction details—disregarding major discontinuities (faults or large-scale joints) and tunnel excavations for the initial simulation.
As the model evolves, complexity often increases with the addition of geological discontinuities and tunnel excavations. However, these additions require redivision of the model and geometrical manipulation, resulting in a retriangulation of the entire model; hence invalidating boundary applications such as groundwater, displacement restraints, structural supports, and surface loadings.
Previously, this required manual reconstruction and reapplication of loads—time-consuming and error-prone. With the new Projected Load feature, this manual rework is eliminated. All load samples remain saved in the Manage Loads dialog (except some geometry-specific projections), enabling quick reapplication by selecting desired samples and confirming. This ensures loads are reapplied instantly, preserving your setup through evolving geometries.
For example, the major principal stress diagram (below) illustrates its distribution on rock mass. It shows the stress concentration, following the shape of the load projection on the surface.
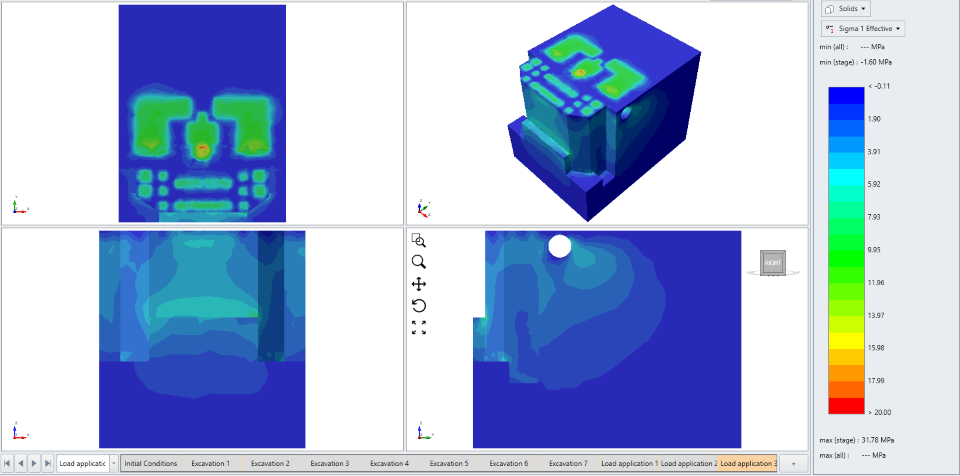
Why it matters: The Projected Load feature saves time and reduces errors by automatically managing and reapplying surface loads to your model, as the geometry evolves.
Import Bolts from CSV: Streamlined Reinforcement for Complex Excavations
Assigning bolts patterns in complex geometries is now faster and more precise with RS3’s Import Bolts from CSV capability. By importing a bolt database directly, users can streamline model setup and eliminate repetitive manual input.
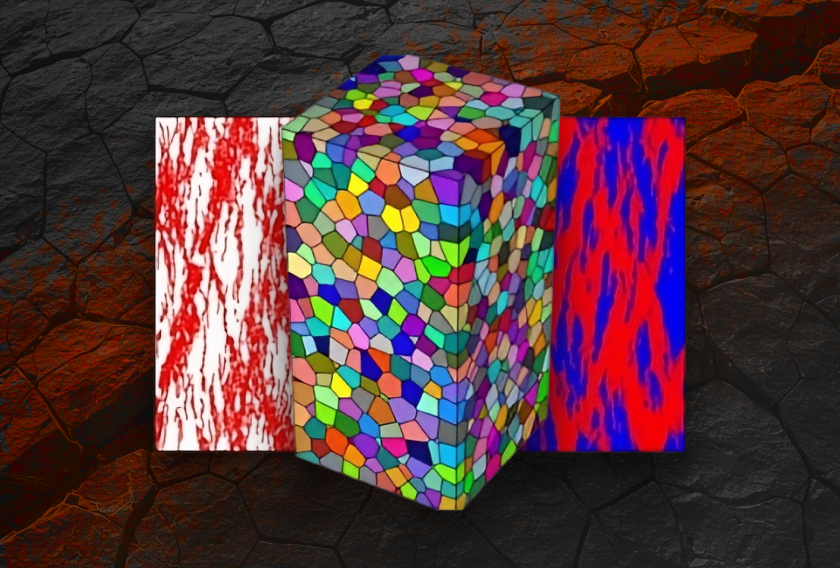
Let’s look at a case study of a progressive underground drift development. The Excavation Damage Zones (EDZs) estimated from site data is modelled as volumes surrounding the drift. During excavation sequencing, the material properties of these volumes were adjusted with drift excavation.

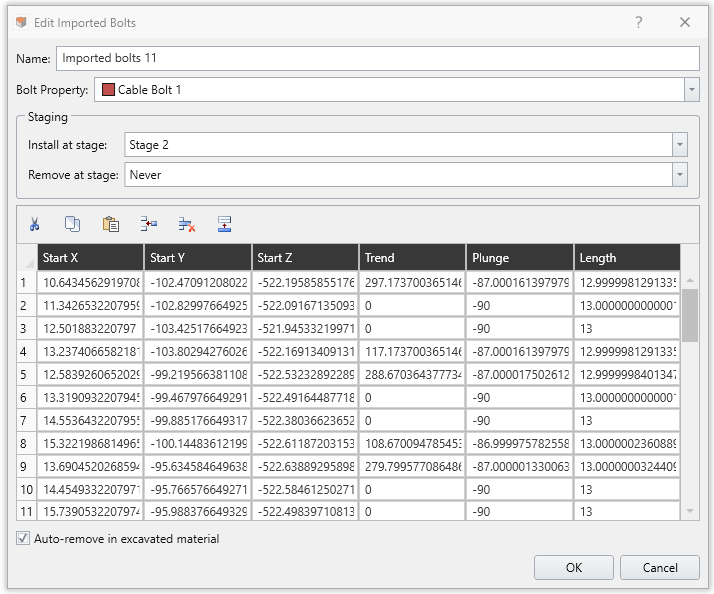
In this model, the bolt pattern was seamlessly imported using the Import Bolts from CSV feature. After selecting a CSV file, the import wizard prompts users to specify the geometry definition format; either by [Start Point and End Point] or by [Start Point, Orientation, and Length].
RS3 then provides both: a tabular summary of the imported bolts, and a 3D preview in the viewport. This preview displays all bolts at the active stage, giving a complete overview regardless of their assigned installation or removal stages.
For situations where bolt start points (bolt heads) in the database don’t perfectly align with excavation surfaces, RS3 offers the Snap Bolts option during import, or the Snap Imported Bolts feature afterward, to automatically adjust bolt positions. This snapping process is optional to account for cases of imperfect installations where bolts fail to seat correctly against the excavation face, preventing a support action from faceplate.
Users can also distinguish bolt types by assigning unique property IDs and specifying installation and removal stages during or after import. Once imported, bolts fully integrate into RS3’s environment, with the Edit dialog providing comprehensive control over their properties, staging, and geometry.
The axial force contour diagram of bolts (below) shows the magnitude of induced load on bolts with installation sequence. It is evident that the bolts within the EDZs experience higher tension compared to those outside.

Why it matters: Importing bolts via CSV saves time and reduces errors by allowing quick, bulk entry of bolt data directly from external files, streamlining the modeling process.
Shrink Wrap: Turning Messy Geometries into Analysis-Ready Models
One of the most significant new additions to RS3 is the Shrink Wrap feature, designed specifically to address challenges with complex or poor-quality input geometries frequently encountered in underground mining models. This tool automatically generates a clean, watertight mesh that encapsulates noisy, fragmented, or incomplete geometries — making them suitable for numerical analysis without the need for time-consuming manual repairs.
In underground mining, geometries often come from 3D laser scans or legacy CAD models that can have rough, fragmented surfaces, holes, or overlaps. The Shrink Wrap tool "wraps" a simplified, smooth outer surface tightly around your original geometry, eliminating defects and creating a robust analysis-ready model. Its batch processing capability allows simultaneous cleaning of multiple geometries (e.g., several drifts or excavation levels), ensuring consistent quality and saving significant preprocessing time.
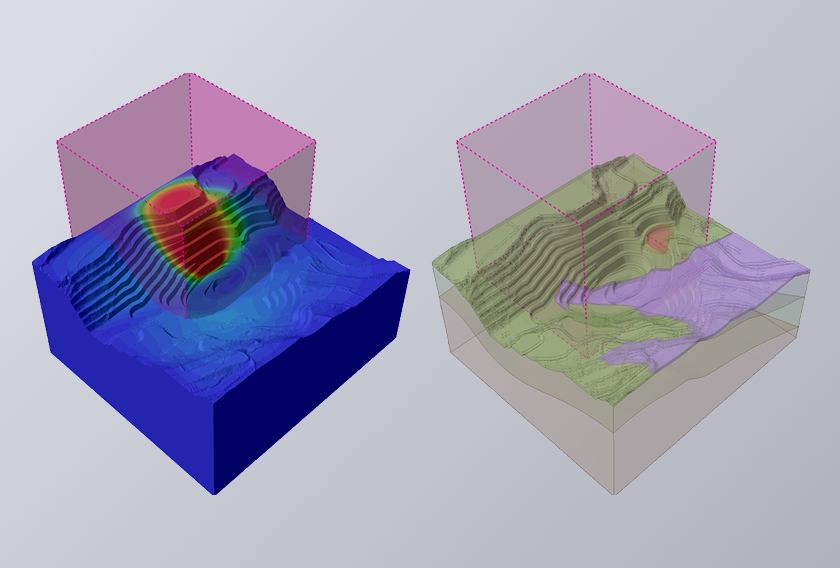
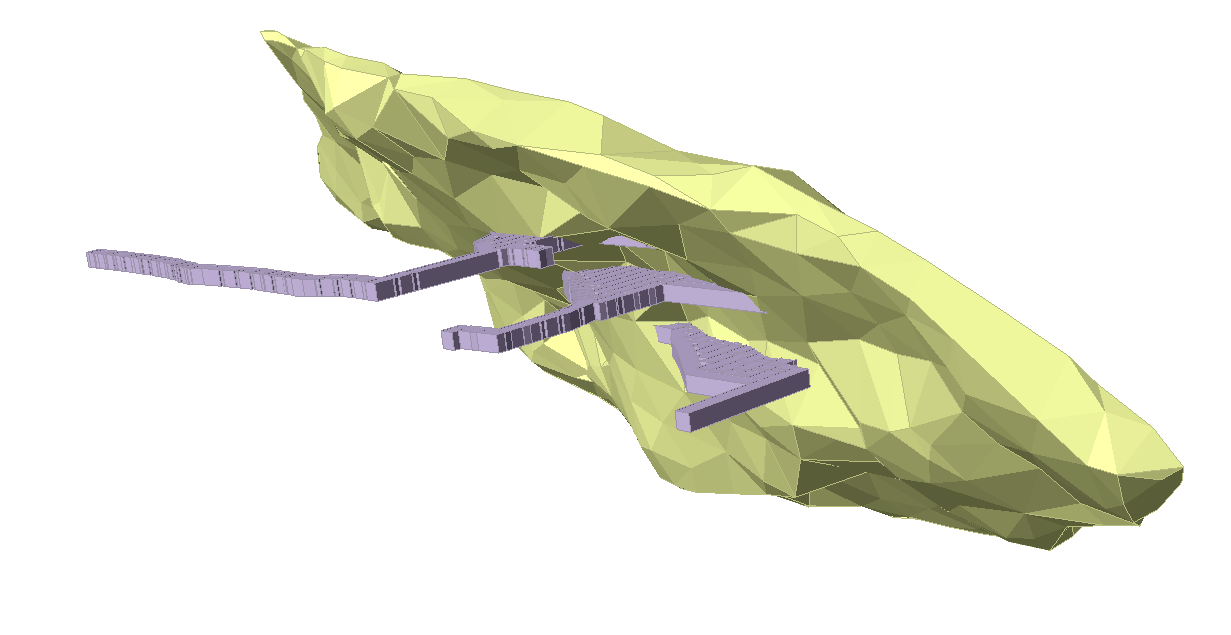
For example, the image below shows an original underground mine model where the drift geometries exhibit rough, poor-quality surfaces that can complicate meshing and numerical simulation:
Using the Shrink Wrap tool, you can quickly transform such raw input into clean, watertight volumes. The gif below illustrates the process step-by-step: selecting the geometry, applying the shrink wrap, and generating a smooth mesh ready for analysis.
Why it matters: Engineers can now bring real-world scans, legacy CAD models, or rough datasets into RS3 without time-consuming manual repair—cutting hours of preprocessing and freeing them to focus directly on analysis.
Smarter Workflows, Greater Confidence with RS3
As underground and geotechnical modelling grows increasingly complex, RS3 evolves to meet the challenge with smarter and more efficient tools:
- Projected Load saves time and reduces errors by automatically managing and reapplying surface loads as your model geometry evolves.
- Import Bolts from CSV speeds up bolt setup by allowing quick bulk import of bolt patterns, eliminating repetitive manual entry
- Shrink Wrap transforms rough, fragmented geometries into clean, watertight models ready for analysis, cutting hours of manual repair work.
Together, they reshape how models are built and managed in RS3 — delivering faster workflows, fewer barriers, and more confidence in every stage of your analysis.
Take Your RS3 Modelling Further With These Incredible New Features
Eliminate rework, streamline reinforcement, and transform imperfect data into dependable results.
Start Your Free Trial